Quick answer: Yes, wrapping a car is moderately to highly difficult for beginners due to the precise physical control, temperature management, and panel geometry involved. While completing simple, flat panels like hoods or roofs is manageable with basic patience, wrapping complex curves, bumpers, and door handles requires 30 to 40 hours of focused labor and realistic hands-on practice. However, using high-quality cast vinyl and the right troubleshooting methods makes fixing most beginner mistakes completely manageable.
Is It Hard to Wrap a Car? The Real DIY Difficulty Level
When newcomers ask if wrapping a vehicle is difficult, the honest answer depends entirely on the film you choose and the contours of the bodywork you are tackling. Applying a flat vinyl graphic to a flat door panel is relatively straightforward, but wrapping a deeply recessed front bumper on a modern sports car is an advanced mechanical task. Modern dual-cast wrapping films—such as 3M Series 2080 or Avery Dennison SW900—feature engineered pressure-activated adhesives and micro air-release channels that make learning far easier than it was a decade ago, yet physical technique still dictates 90% of the outcome.
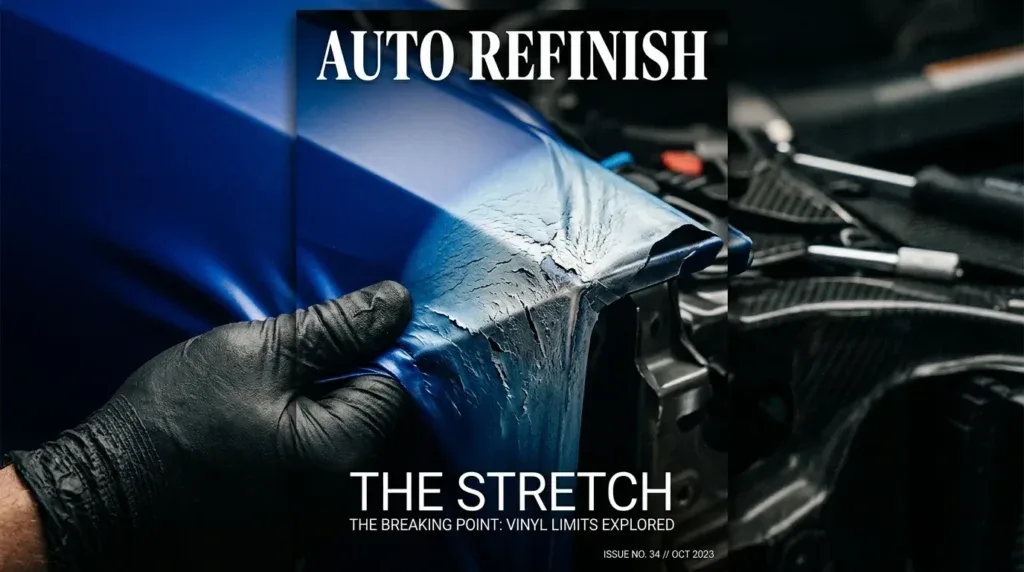
For a complete beginner, a full vehicle wrap typically takes between 30 and 45 hours of meticulous preparation and installation time. The steep learning curve stems from managing material tension without overstretching the film, controlling workplace dust, and controlling heat application. Overstretching a 3.5 mil cast vinyl film distorts the color pigment (causing whitewashing on matte or satin finishes) and weakens the adhesive bond, leading to lifting down the road. Patience, proper panel squeegee technique, and strict preparation matter far more than expensive specialty machinery.
Before attempting a complete vehicle overhaul, it is wise to familiarize yourself with basic application rules on smaller, less complex sections. Understanding how film relaxes under light heat and learning to read "stress lines" in the vinyl are skills that develop through tactile experience. If you enter the project with realistic expectations and the willingness to slow down when obstacles arise, you can achieve a result that looks crisp from five feet away on your very first try.
How to Fix Common DIY Car Wrap Mistakes
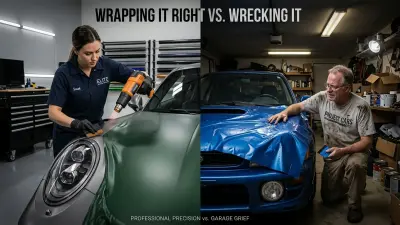
Even seasoned installers run into film tension issues or trapped dust from time to time. The difference between an amateur installation and a professional finish lies in knowing how to correct these flaws without tearing off an entire $120 panel of film. Below are the proven recovery methods for the three most common vinyl wrap defects.
1. Air Bubbles and Trapped Blisters
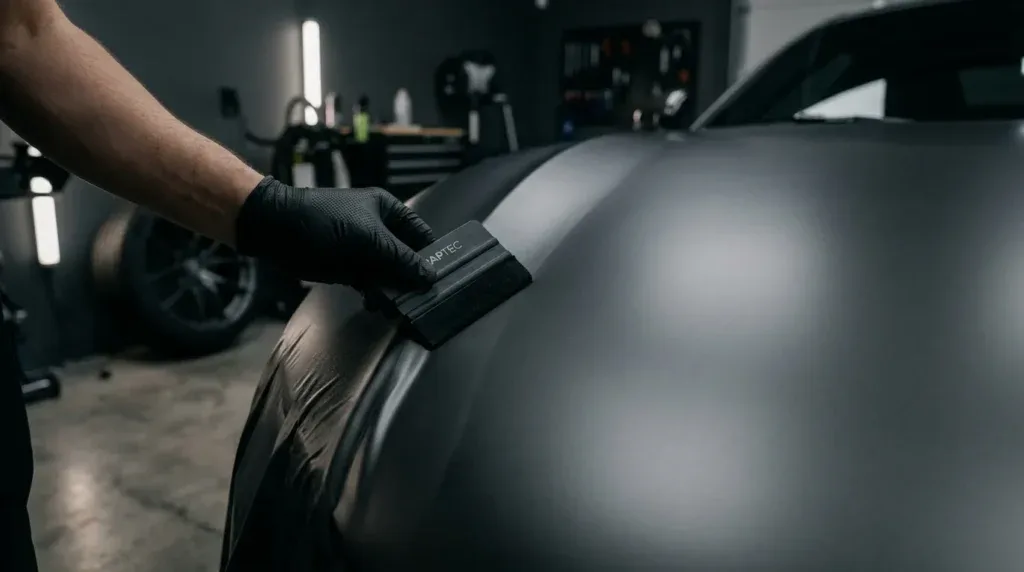
Trapped air pockets usually occur when squeegee strokes are randomized rather than applied in a continuous, overlapping 45-degree angle pattern. Small pinhead bubbles under air-release cast vinyl will naturally diffuse through the microscopic channels over a few days under direct sunlight. However, larger air blisters need manual intervention.
To fix large blisters, use a specialized air-release tool or a fine vinyl weeding needle. Pierce a tiny hole at the outer edge of the bubble—never directly in the center—and use your thumb or a soft felt squeegee to gently press the trapped air out toward the puncture. Apply light heat with a heat gun set to approximately 130°F–150°F (55°C–65°C) to allow the cast film memory to snap flat and hide the tiny hole.
2. Wrinkles, Creases, and Finger Lines
Wrinkles (often called "fingers") form when excess vinyl gathers along an edge without being evenly distributed across the panel face. Forcing these gathers flat with a squeegee will permanently crease the film and mar the surface finish.
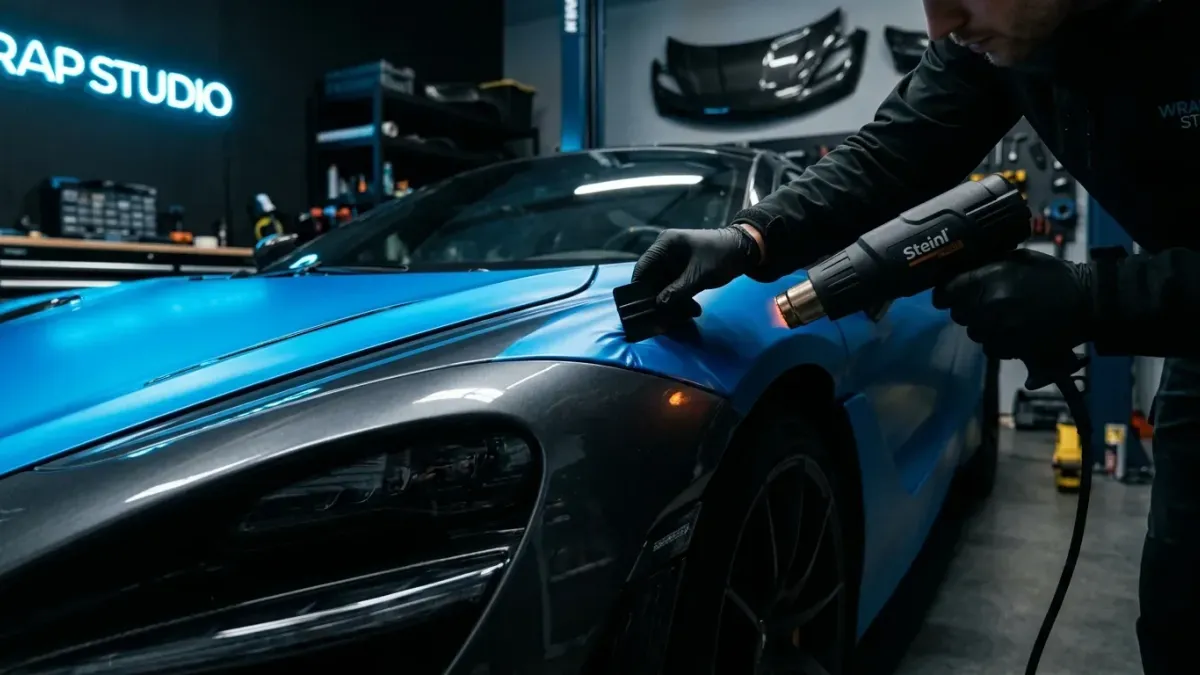
To recover from a heavy wrinkle, carefully lift the vinyl away from the panel back past the affected area. Hold the lifted film taut and apply gentle heat across the tension zone for 3 to 5 seconds using a heat gun held 8 inches away. Quality cast vinyl possesses "thermal memory"—it will visually shrink back to its original flat state as it warms. Allow the film to cool for a few seconds so the adhesive regains its tack, then re-lay the vinyl with glassing tension (a light, even pull outwards) before squeegeeing it down again.
3. Edges and Corners Lifting After Application
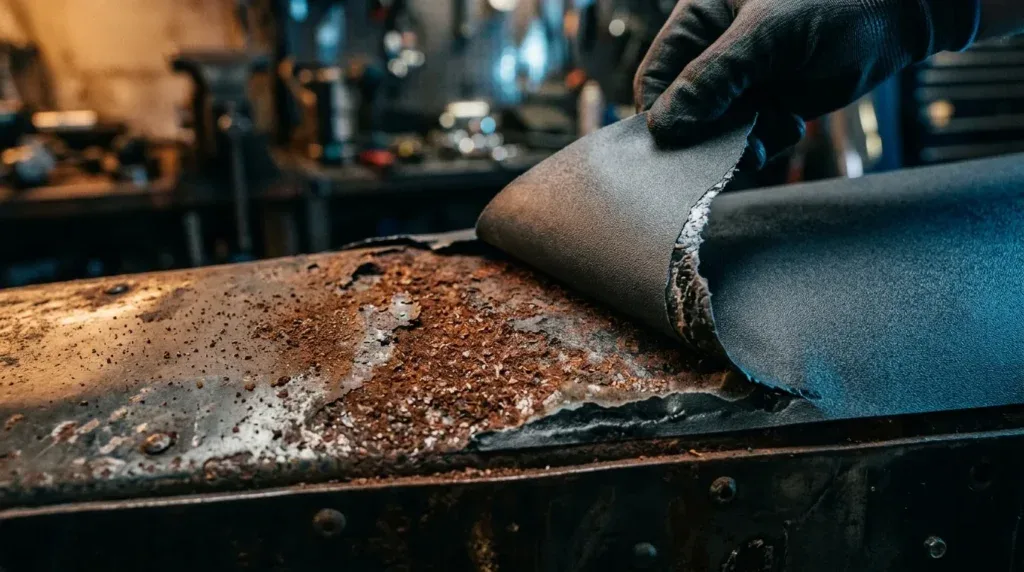
Edge lifting occurs when vinyl is stretched over a tight lip rather than fed into it, or when post-heating was omitted. When vinyl is stretched, it wants to snap back to its original dimensions like a rubber band. If the surface was contaminated with grease or polishing compounds, the adhesive bond will fail quickly.
To repair a lifted edge, peel back the loose material without ripping it. Clean the exposed paint substrate using a soft microfiber towel saturated with a 70% isopropyl alcohol (IPA) solution to remove any latent dust or oil. Allow the area to dry completely. Re-heat the vinyl to roughly 180°F (82°C) to relax the internal stress, then press it firmly into the recessed seam using a glove-covered finger or a plastic tucking tool. Finish by post-heating the edge to lock in its new shape.
Installer tip: Post-heating is non-negotiable! Once your panel looks perfect, you must pass a heat gun over every edge, recessed contour, and deep stretch zone until the film reaches 200°F–220°F (93°C–104°C) measured with an infrared thermometer. This permanently destroys the film's original flat memory and sets its new geometric shape, preventing shrink-back weeks later.
Vinyl Wrap Material Specifications & Difficulty Matrix
Selecting the correct material type dramatically changes how hard or easy your installation will be. Beginners often make the critical error of buying cheaper calendered film, thinking it saves money, only to find it stiff, difficult to conform, and prone to severe shrinking.
| Material Type | Average Thickness | Conformability & Stretch | DIY Installation Difficulty | Expected Lifespan | Est. Material Cost (Full Roll) |
|---|---|---|---|---|---|
| Cast Vinyl (e.g., 3M 2080, Avery SW900) | 2.5 – 3.5 mil | High (up to 130% stretch limit) | Moderate (Beginner Friendly) | 5 – 7 Years | $650 – $950 |
| Calendered Vinyl (e.g., Oracal 651) | 4.0 – 6.0 mil | Low (Stiff, flat surfaces only) | Very High (Unsuitable for full cars) | 1 – 3 Years | $200 – $350 |
| Paint Protection Film (PPF) | 6.0 – 8.0 mil | Medium (Requires wet application) | High (Requires wet prep & gel) | 7 – 10 Years | $1,200 – $2,200 |
To cover a standard midsize sedan or crossover, you will need approximately 18 to 22 linear meters (approx. 55 to 65 feet) of 60-inch wide film. Working with premium cast materials ensures you can lift, reposition, and heat-repair small mistakes during installation. Reviewing our comprehensive choosing the right vehicle wrap vinyl guide will help you select the exact finish and adhesive profile best suited for your specific vehicle design.
Essential Tools and Prevention Techniques for Beginners
Half the battle of vinyl wrapping takes place before the film even touches the paint. Having dedicated tools on hand prevents contamination and reduces physical frustration during installation.
- Heat Gun & IR Thermometer: Essential for relaxing film during tension release and reaching precise post-heating temperatures (200°F–220°F).
- Felt-Edge Squeegees: Protects delicate gloss and satin vinyl finishes from scratches while applying uniform pressure.
- knifeless tape (Design Line): Eliminates the need to cut vinyl with a razor blade directly on your vehicle's factory clear coat.
- 70% Isopropyl Alcohol (IPA) Prep Mix: Cleans wax, grease, and silicones out of deep body panel gaps.
- Adhesion Promoter (3M Primer 94): Used sparingly inside deep wheel well recesses or harsh sharp bends where extra mechanical adhesion is critical.
Before unrolling your vinyl, wash the vehicle thoroughly with a wax-free strip soap, then perform a clay bar treatment over high-impact zones like the hood and front bumper. Dust floating out from behind trim pieces is the leading cause of specs under the film. Before applying vinyl, follow our thorough vinyl wrap surface prep guide to clean out panel gaps with compressed air and alcohol towels.
Where to Go From Here: Professional vs. DIY Decision
If you have time, patience, and a enclosed garage free of wind and direct sun, tackling a DIY wrap project on a car with straightforward body lines (like a Ford Mustang or VW Golf) is a realistic and rewarding goal. Start by wrapping simpler sections such as the roof, trunk lid, or hood. This builds your physical confidence with squeegee pressure and heat management before taking on complex front bumpers. However, if your car features intricate air intakes, wide sharp body lines, or you lack a clean indoor environment, investing in a professional shop equipped with climate control will save you both time and material waste.
Frequently Asked Questions
Is it cheaper to wrap a car yourself or pay a professional shop?
DIY wrapping is significantly cheaper in terms of direct cash outlay. Buying a full 50ft x 5ft roll of premium cast vinyl (like Avery SW900 or 3M 2080) alongside basic installation tools costs between $700 and $1,000. In contrast, a professional full-body color change wrap costs between $3,500 and $5,500 depending on vehicle size and complexity. However, you must factor in the value of 30 to 40 hours of your own labor and the potential cost of replacing ruined panels if you make unfixable errors.
Can a vinyl wrap damage my car's original paint?
If your vehicle has intact factory OEM clear coat and paint, high-quality cast vinyl will not damage it. In fact, vinyl acts as a protective shield against minor road debris, light scratches, and UV fading. Damage typically only occurs if you apply vinyl over fresh repaints that haven't fully cured (minimum 30-day gassing period required), over damaged/peeling clear coat, or if you use a metal razor blade recklessly against the paint while trimming.
How do you fix vinyl wrap that has been overstretched and turned white?
Whitewashing or discoloration occurs when the film is pulled beyond its elasticity threshold, stretching the pigment layer. Light overstretching can sometimes be corrected by lifting the film and applying mild heat to allow it to shrink back into shape. However, if the pigment or metallic flakes inside the film have structurally separated, the color distortion is permanent, and that specific section of vinyl must be peeled off and re-wrapped with a fresh piece.
Sources
- 3M Commercial Solutions - 2080 Series Wrap Film Technical Data Sheet
- Avery Dennison Graphics Solutions - Supreme Wrapping Film Application Guide
- Wikipedia - Vehicle Wrap Overview