Disclosure: As an Amazon Associate, we earn from qualifying purchases.
Professional vehicle wrap design requires balancing vector graphics, precise scaling templates, and high-performance printable vinyl like 3M IJ180Cv3 or Avery Dennison MPI 1105 to turn cars and trucks into mobile brand assets. A complete custom graphics project typically costs between $2,800 and $5,500 for a medium-sized vehicle—comprising $600 to $1,200 in standalone graphic design fees, $800 to $1,400 in premium cast vinyl and matching laminate materials, and $1,400 to $2,900 in professional installation labor. Understanding digital printing specs, door seam bleeds, and post-heating requirements ensures your graphic layout converts seamlessly from screen to street without distorted logos or prematurely lifting edges.
Key Materials and Print Specifications
Designing a graphics wrap differs significantly from designing print media like brochures or billboards. Vehicle surfaces feature complex three-dimensional curves, door handles, gas caps, and body recessed channels. To prevent wrap failure, choosing the right material tier is essential before opening your design software.
For custom printed graphics, professional wrap shops rely on cast vinyl—a premium film manufactured by pouring liquid PVC onto a casting sheet, resulting in a thin (2.0 to 2.5 mil), stress-free material that conforms easily to deep recesses and rivets without shrinking back. This is distinct from calendered vinyl, which is squeezed through heavy rollers; calendered film is thicker (3.5 to 4.0 mil), contains memory tension, and is restricted strictly to flat or simple cylindrical surfaces like box truck sides.
- 3M Controltac Print Film IJ180Cv3: Industry-standard 2.0 mil cast film featuring pressure-activated adhesive and Comply air-release channels for repositionability and bubble-free installations. Paired with 3M Scotchcal Gloss Overlaminate 8518 (a 2.0 mil protective layer).
- Avery Dennison MPI 1105 Supercast: A 2.0 mil ultra-conformable cast vinyl engineered for extreme complex curves, paired with Avery DOL 1360Z gloss overlaminate.
- 3M Envision LX480mC: Non-PVC high-performance wrap film optimized for greener printing standard requirements while maintaining high conformability in extreme temperatures.
Every printed wrap film requires a protective clear overlaminate layer. Applying an overlaminate increases total film thickness to approximately 4.0 to 4.5 mil, providing essential UV protection against sun fading, solvent resistance from gasoline spills, and mechanical abrasion protection from road debris.
Step-by-Step Vehicle Wrap Layout and Bleed Rules
Creating a high-impact vehicle wrap design requires working with 1:10 scale vector templates (such as Badie Graphic or ArtStation blueprints) and transferring them to a 1:1 full-scale canvas before final print output.
- Verify Measurements On-Site: Vehicle templates provide general panel dimensions, but aftermarket trim, body repairs, or modified bumpers alter exact panel proportions. Always take tape-measure readings across hoods, side doors, and rear hatches.
- Establish Safe Zones and Door Bleeds: Keep crucial contact info, phone numbers, and company logos at least 3 inches inside panel edges, door handles, fuel doors, and fender gaps. Extend background artwork and color fills 4 to 6 inches beyond the physical panel boundary (known as print bleed) so installers can wrap film neatly around panel edges.
- Manage Resolution and File Formats: Build raster graphics (photos, textures) at a minimum of 100 to 150 DPI at 1:1 actual print scale. Save final print files in CMYK format as uncompressed TIFF or EPS files with all fonts converted to vector outlines.
- Account for Panel Seams and Overlaps: Commercial printers output film on standard 54-inch or 60-inch wide rolls. For vehicles requiring multiple vinyl panels (tiling), design a 0.5-inch vertical tile overlap running top-to-bottom and front-to-back to prevent water and wind from peeling the seam during highway driving.
Select Accurate Colors Before Printing: Official 3M 2080 Swatch Deck

Pricing Breakdown for Custom Graphic Vehicle Wraps
Clients often compare standard single-color wraps (such as 3M 2080 color change films) with custom printed graphic wraps. While solid color-change wraps use factory-pigmented vinyl, printed wraps involve graphic designer hours, large-format eco-solvent or latex printing, automated gassing-off delays, laminating, and complex panel alignment during installation.
Regional shops from major metropolitan markets offer competitive commercial packages. If you are looking for top-rated regional installers, searching for vehicle wraps San Diego or regional commercial wrap specialists will connect you with shops using certified 3M graphic systems. Evaluating a full project budget requires looking closely at national 3M custom vehicle wraps price tiers:
| Vehicle Segment | Design Fee Range | Print & Materials (3M/Avery) | Professional Labor | Total Investment Range |
|---|---|---|---|---|
| Compact Sedan / Hatchback | $500 – $800 | $750 – $1,100 | $1,200 – $1,800 | $2,450 – $3,700 |
| Full-Size Truck / Mid SUV | $650 – $1,000 | $950 – $1,400 | $1,600 – $2,200 | $3,200 – $4,600 |
| Extended Cargo Van / Fleet Bus | $800 – $1,400 | $1,300 – $2,000 | $2,000 – $3,200 | $4,100 – $6,600 |
Professional Installation Techniques for Printed Film
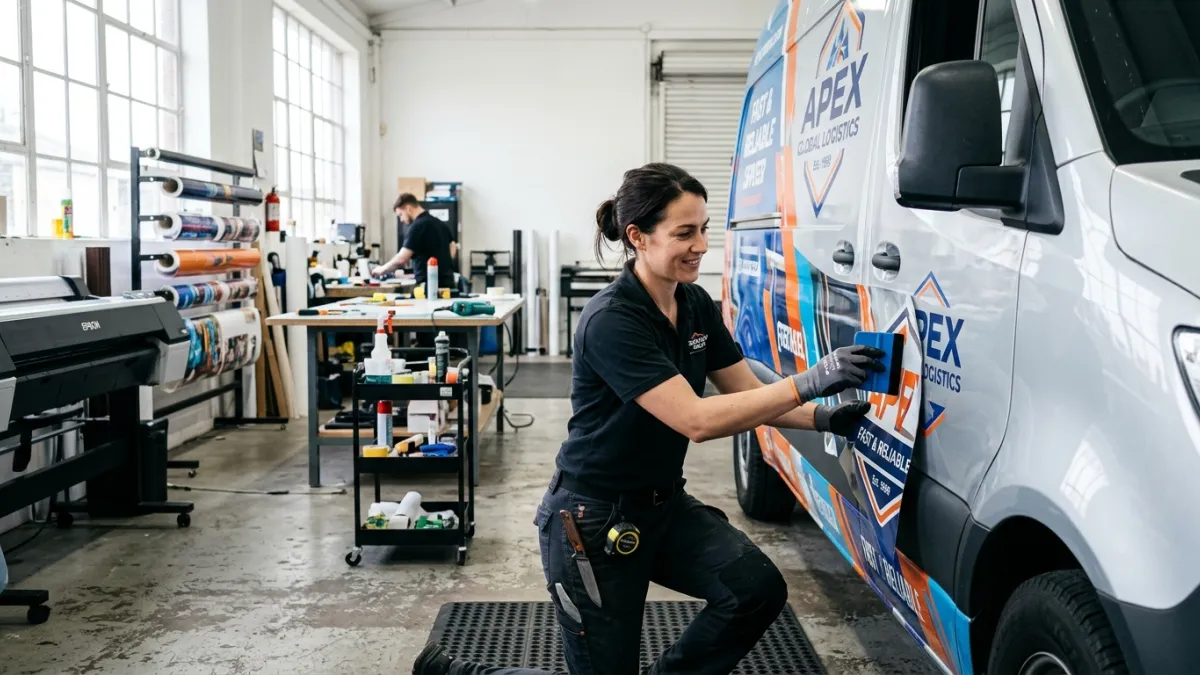
Installing printed graphic vinyl demands strict geometric precision to ensure side graphics align across multiple body panels and door gaps.
Surface Preparation
Clean paintwork with an isopropyl alcohol (IPA) and distilled water blend (70/30 ratio) to eliminate grease, road tar, and wax residue. Ensure panel temperature stays between 60°F and 80°F during installation.
Panel Alignment and Tacking
Precision Graphic Cuts Without Blades: 3M Knifeless Design Line Tape

Position printed panels using painter's tape or heavy wrap magnets. Check horizontal graphic text alignments across doors using a laser line level before removing the backing paper.
Squeegee Technique and Air Release
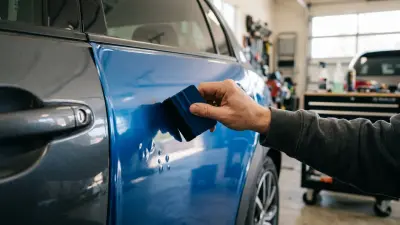
Use a medium-hard felt-edge squeegee held at a 45-degree angle. Apply firm, overlapping strokes moving from the center out to panel edges. Built-in micro-channels within 3M vehicle wraps force trapped air out without requiring pinpricks.
Post-Heating and Trim Sealing
After stretching vinyl into deep body channels or recess lines, heating the film to its plastic memory threshold (180°F to 200°F for 3M IJ180 cast vinyl) removes structural stress memory. Run a digital infrared thermometer across all stretched edges to confirm post-heat temperatures, then seal edges using a 3M Sealit Pen or primer where specified.
Maintenance and Care Practices
With proper care, high-quality cast printed graphics last 5 to 7 years on vertical surfaces. Follow these key care guidelines:
- Hand Washing: Wash every 2 weeks using pH-neutral car wash soap and micro-fiber wash mitts. Avoid automated drive-through car washes with rigid nylon bristles.
- Pressure Washing Safety: Maintain a spray distance of at least 18 inches, keep water pressure under 2,000 PSI, and hold nozzle angles perpendicular (90 degrees) to wrap edges to prevent lifting.
- Ceramic Coatings: Apply a wrap-safe ceramic coating formulated specifically for vinyl and laminate to add hydrophobic hydrophobic protection and resist bug splatter or oil stains.
Flawless Custom Graphic Alignment: Ehdis Wrap Gripper Magnets

Frequently Asked Questions
How long must printed vinyl gas-off before laminating?
Solvent-printed cast vinyl requires a minimum 24-to-48-hour gassing-off (outgassing) period in a climate-controlled room before clear overlamination. Laminating too early traps residual solvent vapors, causing vinyl shrinkage, curling edges, and adhesive failure.
Can you design a graphic vehicle wrap without professional vector software?
Raster-based editing software like Photoshop can handle photo elements, but core layout text, logos, and geometric lines must remain vector paths in Illustrator or CorelDRAW to prevent blurry, pixelated edges when scaled up to full vehicle dimensions.
What is the average lifespan of custom printed 3M graphics in sunny climates?
In high-sun regions, premium 3M cast graphic films with UV laminate maintain vibrant color integrity for 4 to 6 years on vertical vehicle panels and 2 to 3 years on horizontal surfaces like roofs and hoods, which absorb direct overhead solar energy.