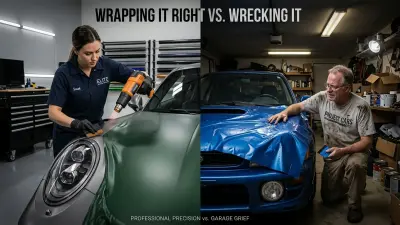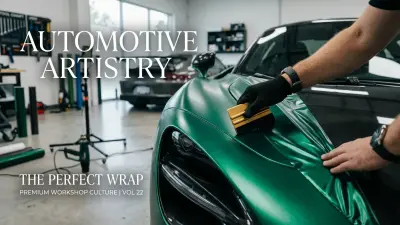
Car wrap bubbles are caused by trapped air, moisture, or outgassing solvents beneath the vinyl film, often resulting from improper squeegee technique, inadequate surface cleaning, or rapid temperature fluctuations during installation. Modern cast vinyl films—such as a premium 3M car wrap (like the 3M 2080 series) or a KPMF wrap—feature integrated air-release channels designed to let trapped air escape smoothly during application. If bubbles appear immediately after installation, small air pockets can usually be squeegeed out toward the edges or popped using a dedicated air-release tool and light heat (180°F to 200°F); however, liquid or outgassing blisters require distinct remedies depending on whether you are working with cast or calendered material.
Understanding Why Car Wrap Bubbles Occur
To fix a vinyl bubble without damaging the film or paint beneath, you must first identify what type of bubble you are dealing with. Vinyl wraps rely on a pressure-sensitive acrylic adhesive, and anything that interrupts the uniform contact between this adhesive and the factory clear coat will form a bubble.
- Trapped Air Pockets: The most common issue during DIY or rushed installs. Air gets trapped when the installer squeegees out of sequence, sealing off an outer ring before pushing the center flat.
- Outgassing (Solvent Bubbles): Occurs primarily with freshly printed custom graphics or newly painted panels. If paint or freshly printed vinyl has not cured for at least 48 to 72 hours, escaping solvent vapors build up under the film, creating small, persistent blisters.
- Moisture/Fluid Blisters: Common during wet application techniques (typically reserved for PPF or specialty calendered films rather than dry-apply cast color change wraps). Trapped slip solution creates soft fluid pockets that swell when exposed to direct sun.
- Contamination Bubbles: Dust, lint, or clay bar residue trapped underneath the wrap prevents the adhesive from touching the clear coat, raising a tiny dome around the particle.
Film Technology: 3M Comply vs. KPMF Air Release Systems
Understanding film construction makes bubble removal much easier. High-end cast films—which are thin (2.5 to 3.5 mil) heat-conformable materials designed to handle complex concave curves without pulling back—incorporate tiny micro-replicated channels in the adhesive layer.
For example, 3M's 2080 series uses Comply™ Adhesive Technology, featuring invisible air channels that push air sideways when direct squeegee pressure is applied. Similarly, premium UK-manufactured KPMF wrap lines utilize specialized Airelease technology. Conversely, cheaper calendered vinyl (often 4 mil or thicker) lacks these micro-channels, making air bubbles far more difficult to clear without physically piercing the face film.
Step-by-Step: How to Remove Air Bubbles safely
Method 1: Squeegee and Controlled Heat (Best for New Installs)
If you catch the bubble immediately while the adhesive hasn't fully cross-linked, you can clear it using basic wrap tools without puncturing the vinyl.
- Warm the Vinyl: Set your heat gun to approximately 150°F–180°F (65°C–82°C) and hold it 8 to 12 inches away from the surface for 3–5 seconds to soften the PVC face film.
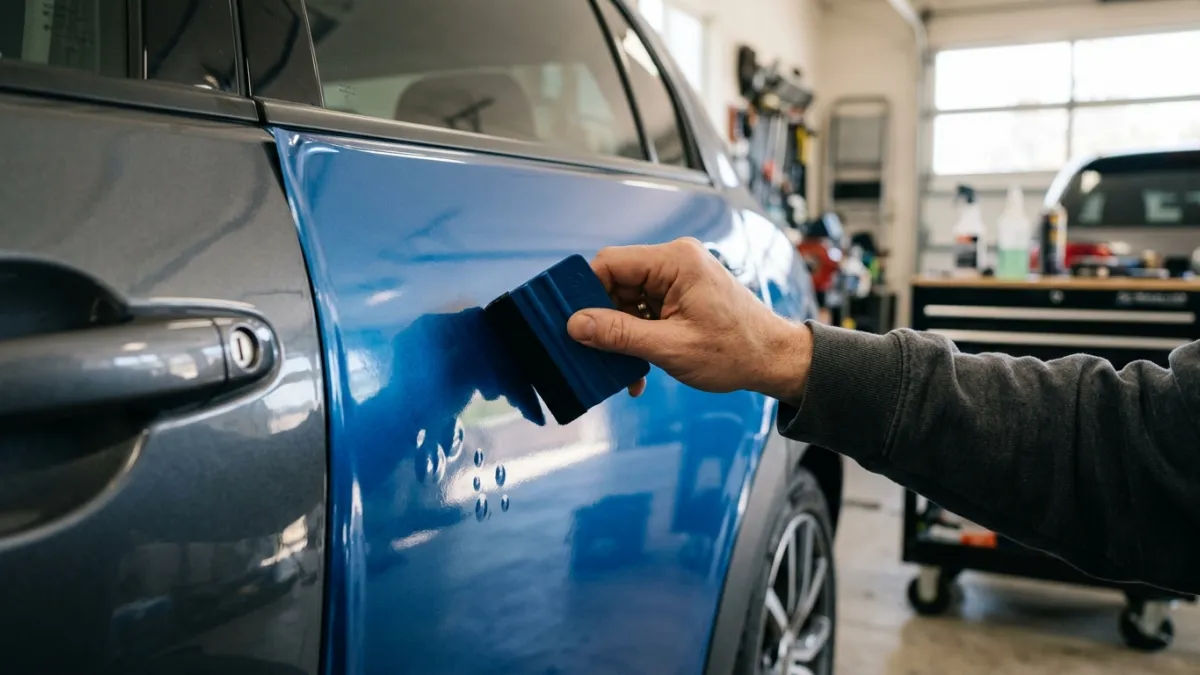
- Direct the Air: Using a hard felt-edge squeegee held at a 45-degree angle, work from the edge of the bubble toward the nearest edge of the panel or air release channel. Apply firm, overlapping strokes.
- Inspect: Allow the film to cool naturally. Do not overheat, as over-stretching soft vinyl can distort high-gloss finishes or stretch the grain on textured films.
Method 2: Air Release Tool or Fine Needle (Best for Stubborn Bubbles)
When a bubble is isolated in the middle of a flat door panel and cannot be worked to an edge, a precision puncture is necessary.
- Locate the Apex: Find the edge or center of the bubble where the air pocket creates the highest point.
- Puncture vertically: Use a specialized wrap air-release pen (or a 30-gauge medical needle). Hold the tool perpendicular to the vehicle panel and prick a microscopic hole at the very edge of the bubble. Never use a razor blade, as slicing creates a stress riser that will tear over time under sun exposure.
- Collapse the Pocket: Press down gently with your thumb or a squeegee wrapped in a microfiber towel, pushing the air directly toward the tiny puncture point.
- Post-Heat: Warm the area to 200°F–225°F (93°C–107°C) using your heat gun to activate the memory structure of the cast film, allowing the tiny puncture to seal back up invisibly.
Wrap Bubble Diagnostics: Quick Comparison
Not every bubble requires the same treatment. Use this reference table to evaluate the issue before attempting a repair:
| Bubble Type | Primary Cause | Appearance & Feel | Recommended Fix |
|---|---|---|---|
Cost Considerations & DIY vs. Professional Repairs
Fixing minor air bubbles yourself requires minimal investment—an air-release pen costs around $8–$15, and a basic dual-temperature heat gun runs $25–$40. However, if an entire panel has bubbled due to poor prep or adhesive failure, professional repair may be required.
When factoring in overall material expenses, the average 3m car wrap price for a full roll (5 ft x 75 ft) ranges from $650 to $850 for material alone. Professional installation costs reflect this quality; for example, a complete color change at a reputable shop for a sedan typically ranges from $3,200 to $4,500. If you consult local specialists—such as standard market rates for a professional car wrap San Diego installer—labor rates run between $100 and $150 per hour. Expect to pay roughly $150 to $300 for a single panel re-wrap if the original film was damaged by incorrect bubble removal techniques. Understanding the true overall 3m car wrap cost highlights why taking time during prep and using proper air-release technique is critical to protecting your investment.
Frequently Asked Questions
Will small wrap bubbles go away on their own in the sun?
If you are using high-grade cast vinyl with air release channels (like 3M 2080 or Avery SW900), tiny micro-bubbles under 2mm will often naturally disappear within 1 to 2 weeks of sunlight exposure as ambient heat expands the trapped air and forces it out through the adhesive matrix. However, larger pockets or contamination bumps will not vanish on their own.
Can I use a household sewing needle to pop a wrap bubble?
Yes, a clean sewing needle or safety pin can work in a pinch, but a dedicated air-release tool is preferred because its ultra-fine point creates a perfectly round, microscopic hole without tearing the vinyl polymer structure.
Why did bubbles appear days after my car wrap was finished?
Delayed bubbling usually stems from post-heating neglect or outgassing. If vinyl was stretched over deep contours without being post-heated to its thermal set point (typically 180°F to 200°F depending on brand specs), the material attempts to recoil to its flat shape, lifting off the paint and drawing air into the void.