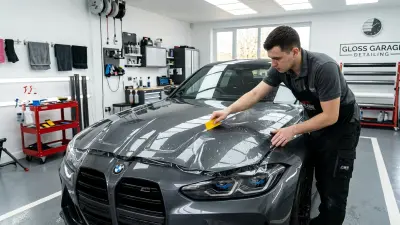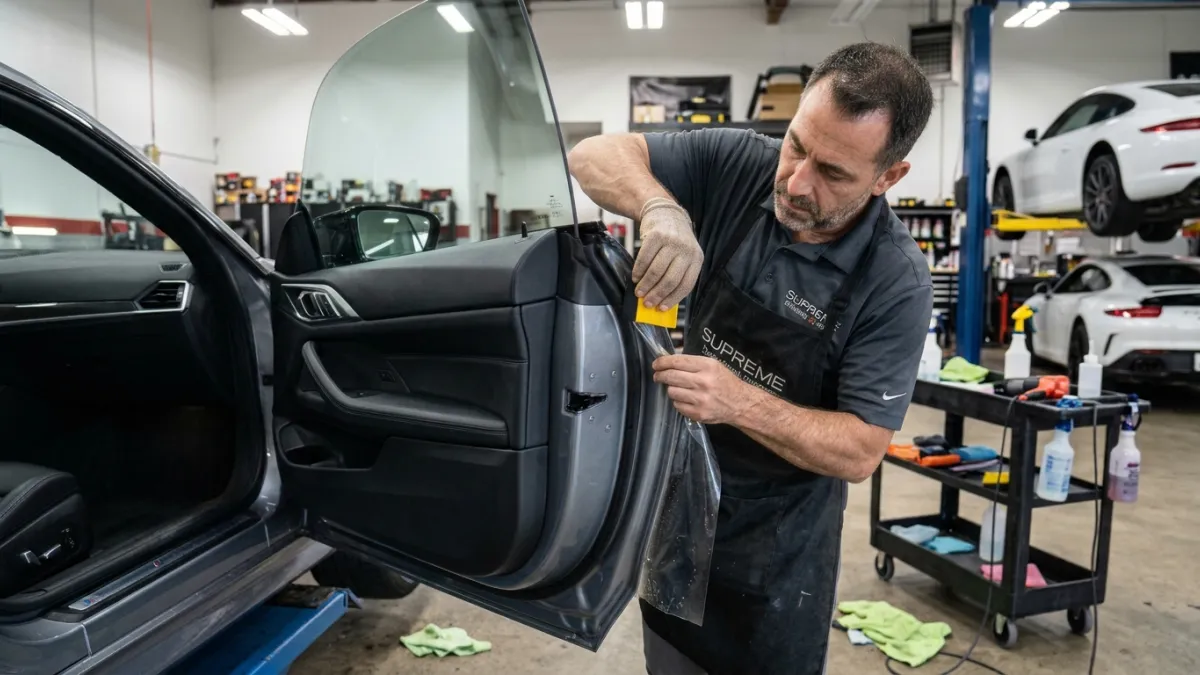
Flawless Paint Protection Film (PPF) application relies heavily on mastering ppf edge wrapping techniques and corner finishing. Wrapping 8-mil (200-micron) Thermoplastic Polyurethane (TPU) film cleanly around body panel edges requires switching from a soap-based slip solution to an Isopropyl Alcohol (IPA) tack solution, letting the adhesive flash-dry, making strategic 45-degree corner relief cuts, and post-heating wrapped edges to 120°F–140°F (50°C–60°C) to neutralize film memory tension.
Why Edge Wrapping Differs from Vinyl Wraps
Unlike 2.5–3.5 mil cast vinyl, which is highly elastic and heat-conforming, polyurethane PPF is much thicker and engineered to resist impacts. While vinyl can be heated and stretched over compound sharp corners with zero water present, PPF is applied wet and has high elastic memory. If you force TPU around a 90-degree panel edge without proper tension release and tacking time, the film will snap back, lift off the surface, and form tension wrinkles known as "fingers".
Executing clean ppf corner wrapping techniques requires a strict sequence: anchor the main panel flat, flush out the slippery detergent layer behind the edges, allow the adhesive to gain initial tack, relieve physical stress at sharp geometry transitions, and lock the film around the back of the panel.
Essential Edge Preparation and Chemical Solutions
Proper adhesion behind hoods, doors, and fender edges depends on spotless surface preparation and precise fluid mixtures. Contamination trapped behind a wrapped edge guarantees film failure within weeks.
- Panel Edge Decontamination: Clean the backside of all panels with a 15–20% IPA solution and a micro-fiber towel. Pay close attention to factory seam sealers, grease layers, and wax buildup along hemmed metal edges.
- Slip Solution: Mix 1.5–2.0 mL of baby shampoo or mild soap per 1 liter (32 oz) of distilled water. Spray this generously under the main surface to slide and position the sheet effortlessly.
- Tack Solution: Mix 150 mL of 99% IPA with 850 mL of distilled water (approximately 15% IPA concentration). Spray this directly onto wrapped margins to flush out the slip soap and accelerate adhesive bond time.
Step-by-Step PPF Edge and Corner Wrapping Process
1. Tack the Main Panel First
Never attempt to wrap edges while the center of the film is still floating on slip solution. Squeegee out all fluid across the flat face of the panel, leaving a 1-inch (2.5 cm) wet border along the perimeter. This stability prevents the sheet from shifting while stretching corners.
2. Flush and Dry the Overhang
Lift the exposed 0.5–0.75 inch (12–19 mm) overhang of film along the panel border. Spray tack solution thoroughly into the cavity behind the panel and under the film to wash out all remaining slip solution bubbles. Allow the tack solution to flash for 60 to 90 seconds until the acrylic adhesive feels sticky.
3. Execute Corner Relief Cuts
Corners collect excess material, which creates severe tension. To finish a tight rounded or sharp corner without bunching:
- Pull the corner film slightly outward at a 45-degree angle to distribute local tension evenly.
- Make a relief cut in the excess film, stopping approximately 1/16 inch (1.5 mm) short of the actual painted corner point. Never cut directly against the painted edge.
- Notch out a small V-shape wedge on tight radiuses so the overlapping edges sit flat without stacking thick layers of film over each other.
4. Squeegee and Wrap around the Hem
Using a soft-edged rubber squeegee or gloved finger, roll the overhang around the backside of the metal hem in smooth, fluid motions. Work from the center of the edge outward toward the corners to push out remaining moisture without creating trapped water pockets.
5. Post-Heat and Edge Seal
Once the film is wrapped, pass a heat gun set to low-to-medium over the wrapped back-side edges at a distance of 6–8 inches. Heat the TPU to between 120°F and 140°F (50°C–60°C). Press down firmly along the wrapped edge using a wrapped squeegee edge or microfiber-covered thumb to lock the adhesive into place.
Bulk Wrapping vs. Pre-Cut Edge Trimming
Choosing between wrapped edges and pre-cut micro-gaps depends on installer skill and vehicle design. The comparison table below highlights how edge treatments compare in real-world application:
| Installation Feature | Wrapped Edge (Bulk / Extended Kit) | Exposed Flush Cut (Standard Pre-Cut) |
|---|---|---|
| Visual Appearance | Invisible seams, full seamless finish | Visible 1/16-inch film boundary line |
| Debris Accumulation | Zero dirt buildup on visible paint surfaces | Wax and dirt can build up along exposed film edges over time |
| Installation Difficulty | High (requires relief cuts and dry-tack management) | Moderate (no stretching or backside wrapping) |
| Peel Risk from Pressure Washers | Very Low (edge is shielded behind panel gaps) | Moderate (direct spray can lift flush edges) |
| Time Required per Panel | Adds 20–40 minutes per panel for drying and wrapping | Faster installation, immediate hand-off |
Troubleshooting Common Edge Wrapping Problems
- Film Keeps Popping Up: Soap residue is still trapped under the edge. Lift the lifting section, flush it twice with pure tack solution, wait 2 minutes for the adhesive to reactivate, and press down with dry micro-fiber pressure.
- Fingers Forming at Corners: Excess tension in a single direction. Lift the corner, apply a minor 45-degree relief notch outside the paint line, re-tack, and roll the material over smoothly.
- Adhesive Lines (Silvering): Distorting the film by stretching dry adhesive too hard. Keep the film thoroughly lubricated with slip solution up until the exact point of tacking.
Frequently Asked Questions
How long should I wait before wrapping PPF edges after squeegeeing the main panel?
Allow 15 to 30 minutes of flash time for the main surface water to evaporate, or use a tack solution to flush out slip soap and wrap the edges within 2 to 3 minutes.
Can you use heat to stretch PPF around sharp corners like vinyl?
No. Over-stretching heated PPF thins out the protective polyurethane layer and weakens the acrylic adhesive. Heat should only be applied lightly (120°F–140°F / 50°C–60°C) after the film is wrapped to relax tension and accelerate curing.
What is the minimum overhang needed to wrap a PPF edge properly?
A standard overhang of 0.5 inches (12 mm) to 0.75 inches (19 mm) provides sufficient surface area for the film adhesive to grip behind the panel hem without bunching up.