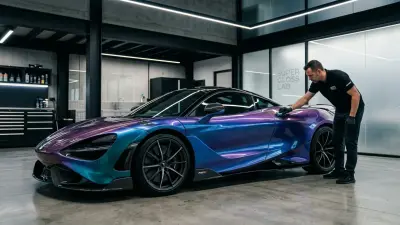
As a seasoned automotive vinyl wrapping specialist with over 15 years in the trenches, I’ve seen countless wraps go on, transform vehicles, and eventually, come off. There's a certain satisfaction in a perfectly applied wrap, but let me tell you, a perfectly *removed* wrap, leaving the original paint pristine, is equally gratifying. Many car owners dread the removal process, picturing sticky residue, chipped paint, or days spent meticulously scraping. I get it. I’ve rescued vehicles from poorly attempted DIY removals more times than I can count.
But here’s the truth: removing a vehicle wrap doesn't have to be a nightmare. With the right approach, tools, and a healthy dose of patience, you can pull off that vinyl like a pro, protecting your vehicle's underlying finish. This isn't just about getting the vinyl off; it's about doing it safely, efficiently, and without causing damage that costs more to fix later. Think of me as your trusted shop owner, giving you the real-world, no-fluff advice you need to succeed.
So, when is it time to bid farewell to your beloved wrap? While high-quality cast vinyl wraps (the premium, heat-activated film that conforms to complex curves without shrinking back, like 3M 2080 or Avery Dennison Supreme Wrapping Film) are designed to last 5-7 years, signs of aging often dictate an earlier removal. Look for:
- Fading or Discoloration: Especially on horizontal surfaces exposed to direct sunlight.
- Cracking or Shrinkage: The vinyl can become brittle over time, leading to small cracks, particularly around edges or high-stress areas.
- Lifting Edges: This is a common culprit. If edges are lifting significantly, moisture and dirt can get underneath, making removal harder and potentially compromising paint.
- Scratches or Damage: A wrap is great for protection, but if it takes a hit, you might want to remove it for repair or a fresh look.
- Just Time for a Change: Sometimes, you simply want a new color, finish, or to reveal the original paint.
Ideally, you want to remove a wrap before it degrades excessively. The longer a wrap stays on beyond its recommended lifespan, the harder the adhesive becomes, increasing the risk of residue and a more labor-intensive process. Aim for removal within 3-5 years for most full wraps to ensure the smoothest experience.
Your Pro-Grade Arsenal: Tools for a Clean Peel
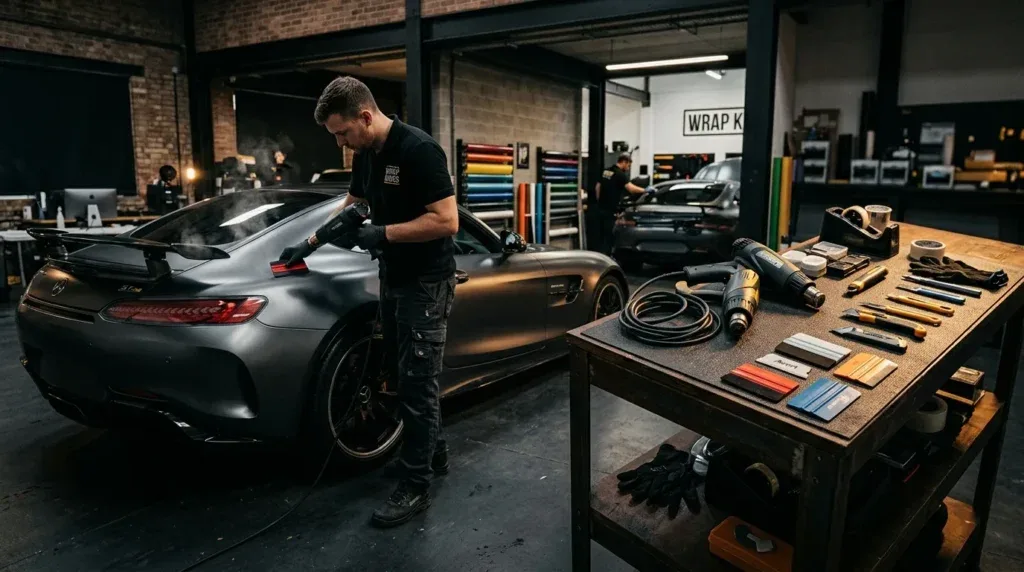
Just like installation, successful wrap removal starts with having the right tools. Skimping here is a recipe for frustration and potential damage. Forget the kitchen knife; we're using specialized gear that respects your paint.
Essential Tools You Can't Skip:
- Heat Gun (with Temperature Control): This is your primary weapon. Heat softens the adhesive, allowing the vinyl to stretch and release cleanly. A heat gun with adjustable temperature settings is crucial. I recommend models like the Steinel HL 2020 E or a Milwaukee M18 Cordless Heat Gun for freedom of movement. You'll typically be working in the 180-220°F (80-105°C) range. Too little heat, and the vinyl tears; too much, and the adhesive melts into a gooey mess, or worse, you risk damaging trim or plastic components.
- Plastic Razor Blades / Wrap Removal Tool: Forget metal blades! Plastic razor blades (like the Lil Chizler or similar automotive-specific plastic scrapers) are designed to lift vinyl edges without scratching paint. The 3M Wrap Removal Tool is another excellent option, offering various angles for different situations.
- Soft-Edge Squeegees: A standard gold or blue felt-edged squeegee can be surprisingly useful for gently pushing and lifting initial edges, especially if the wrap is still quite pliable.
- Adhesive Removers: Even with perfect heat, some adhesive residue is inevitable, especially with older wraps or certain film types. You’ll need a powerful, paint-safe solution. My go-to options include:
- 3M General Purpose Adhesive Cleaner: A robust solvent that breaks down tough adhesives.
- Rapid Remover: Excellent for vinyl adhesives, often less aggressive than pure solvents, and smells better.
- Goo Gone Pro Power: Good for lighter residue, readily available.
Always test any adhesive remover on an inconspicuous area first to ensure it doesn't affect your paint's clear coat.
- Clean Microfiber Towels: Lots of them! For wiping adhesive, cleaning surfaces, and general tidiness.
- Isopropyl Alcohol (IPA) 70% or 99%: For final surface cleaning and removing any lingering oils or light residue.
- Safety Gear: Heat-resistant gloves to protect your hands, and safety glasses to shield your eyes from debris or chemical splashes.
Optional, But Highly Recommended:
- Rubber Eraser Wheel (Caramel Wheel): This is a godsend for stubborn, widespread adhesive residue. It attaches to a drill (use a low RPM drill, 2000-4000 RPM max, never high speed!) and physically rubs off cured adhesive without damaging paint. Brands like 3M Stripe Off Wheel or similar are common. Use with caution, don't press too hard, and keep the wheel moving.
- Steam Cleaner: While a heat gun is primary, a steam cleaner can be effective for gently softening large areas, especially on intricate body lines or older, brittle wraps.
The Art of the Pull: Step-by-Step Damage-Free Removal
Okay, gear checked. Now let’s get down to the actual peeling. Remember, patience and a methodical approach are your best friends here. You’re aiming for large, consistent pulls, minimizing adhesive left behind.
Preparation is Paramount: Cleanliness First
Before you even think about heating, wash the vehicle thoroughly. Remove all dirt, grime, and road salt. This prevents scratching your paint with trapped debris as you pull the vinyl, and gives you a clean surface to work on. Park the vehicle in a shaded, temperature-controlled environment, ideally between 60-80°F (15-27°C). Extreme heat or cold will make the process exponentially harder.
Finding Your Starting Point: The Gentle Lift
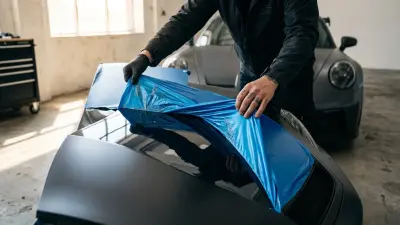
Choose an edge on a relatively flat panel that's easy to access, like a fender or door. Gently apply heat with your heat gun, sweeping it back and forth over a small section (say, 6-8 inches) until the vinyl feels pliable and warm to the touch. *Avoid overheating.* You want it warm enough to release, not scorching hot. Using a plastic razor blade or your fingernail, carefully lift a small corner of the vinyl, just enough to get a grip.
The Pro Pull: Angle, Speed, & Consistency
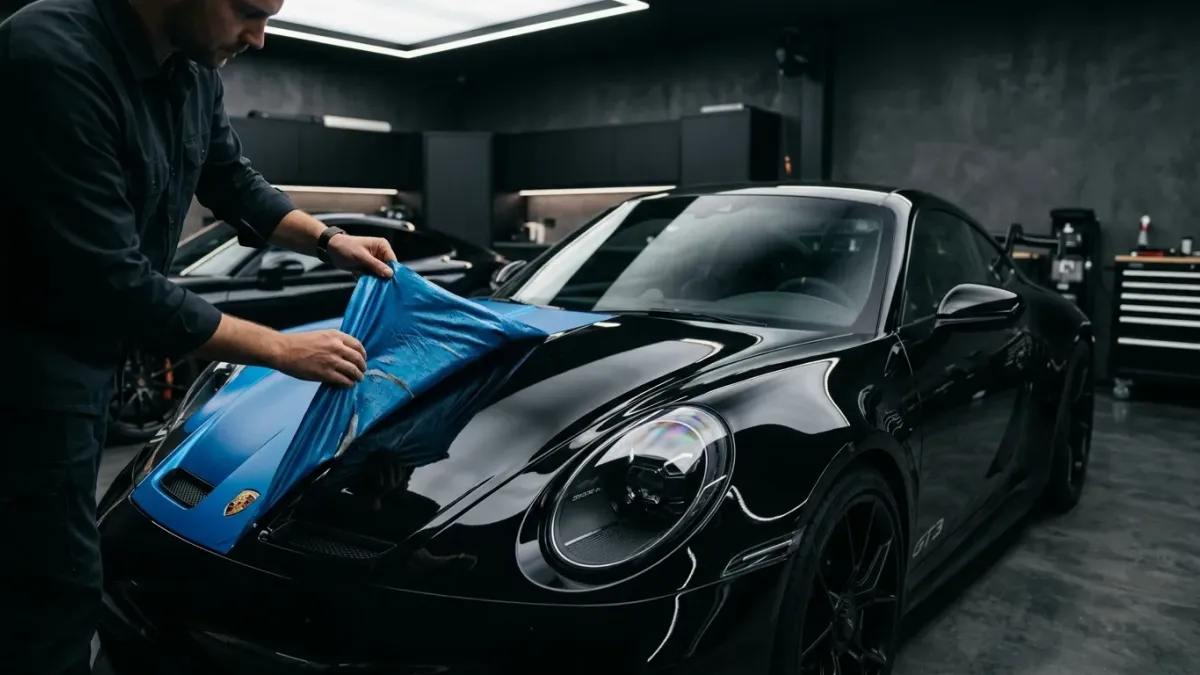
This is where the magic happens. Once you have a decent corner lifted, grab it firmly. The goal is to pull the vinyl at a low angle (10-45 degrees), keeping it as close to the panel as possible, and pull *slowly and consistently*. Imagine you're trying to stretch the vinyl as much as possible as it comes off. This low angle and slow speed help the adhesive release from the paint and stay on the vinyl, minimizing residue.
- Too Fast/High Angle: The vinyl will tear into small pieces, leaving behind most of the adhesive.
- Too Slow/Not Enough Heat: The vinyl will tear, and the adhesive will stick stubbornly.
Keep the heat gun moving slightly ahead of your pull, continuously warming the section you're about to peel. Work in manageable sections, about 1-2 feet at a time. For instance, on a full wrap of a 2024 Ford F-150 crew cab, you'd tackle each panel systematically, starting with the largest, flattest areas like the hood or roof, then moving to doors and fenders, and finally to bumpers and intricate areas.
Tackling Tricky Areas: Rivets, Recesses, & Trim
- Rivets/Emblems: Heat the area thoroughly. Often, the vinyl will stretch over the rivet/emblem and release. If not, use a plastic razor blade to carefully cut around the obstruction once the main panel is removed. For stubborn rivets on an older commercial van wrap, a 3M rivet brush can actually be used in reverse during removal to help work the vinyl off the rivet head.
- Deep Recesses/Bumper Inserts: These areas often have stretched and stressed vinyl. Apply consistent heat and pull slowly. It might tear into smaller pieces here, which is okay. Just be prepared for more adhesive residue in these spots.
- Around Trim/Rubber Seals: Be extremely careful. Use less heat here to avoid damaging delicate plastic or rubber. Use a plastic razor blade to gently pry the vinyl from under the trim.
- Door Jambs: These are often tucked in deeply. Heat well and pull slowly. Expect some small tearing here as the vinyl is heavily contoured.
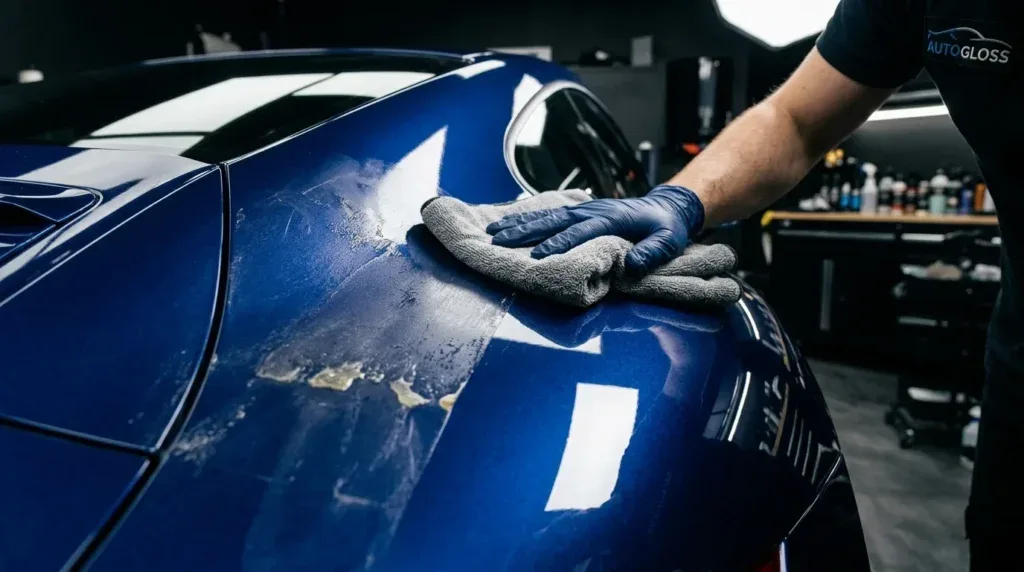
The Aftermath: Erasing Adhesive & Restoring Your Paint
Once the vinyl is off, the battle isn't over. The remaining adhesive is the final hurdle to a truly clean removal. This is where patience really pays off.
Initial Adhesive Attack: Chemical Warfare
Spray your chosen adhesive remover (e.g., 3M General Purpose Adhesive Cleaner or Rapid Remover) onto a small section of adhesive. Let it dwell for a minute or two – don't let it dry! The chemicals need time to break down the adhesive bond. Then, using a fresh microfiber towel, wipe the residue away. You might need to repeat this process a few times for heavily soiled areas. For slightly thicker residue, a plastic razor blade can be used very gently with the adhesive remover to help scrape it off, but always keep the surface lubricated with the remover.
Stubborn Residue & "Ghosting": The Rubber Wheel Method
If you're left with widespread, cured adhesive, or faint "ghosting" (a hazy adhesive residue pattern), the rubber eraser wheel is your next step. Attach it to a low-RPM drill (again, 2000-4000 RPM MAX). Apply light pressure and keep the wheel moving. The friction will roll the adhesive into small, easy-to-wipe balls. *Crucial: Do NOT press hard, do NOT hold in one spot, and do NOT use on plastic trim or unpainted surfaces.* This tool is for painted metal only. It can generate heat, so work in small sections and let the panel cool.
Final Cleanse & Paint Inspection
After removing all the adhesive, do a final wipe-down of the entire vehicle with IPA. This removes any remaining chemical residue and adhesive oils. Now, inspect your paint. Look for any faint residue, scratches (unlikely if you followed the steps), or any areas where the clear coat might look dull. A clay bar treatment can pick up any microscopic adhesive particles or contaminants left behind, leaving your paint silky smooth.
Post-Removal Paint Rejuvenation
Your paint has been protected under the wrap for years, so it's likely in great shape! After cleaning, consider a light polish to remove any swirl marks that might have accumulated during removal or from previous washing. Finish with a high-quality sealant, wax, or even a ceramic coating. This will not only make your paint shine but also provide a fresh layer of protection. Most modern ceramic coatings are perfectly compatible with paint after a thorough wrap removal and cleaning.
Pro Tips to Avoid Common Removal Headaches
- Don't Rush It: A full vehicle wrap removal can take anywhere from 4 to 8 hours for an experienced DIYer, and sometimes longer for older, more degraded wraps. Budget your time generously.
- Work in Sections: Don't try to strip an entire panel at once. Manageable 1-2 foot sections are best.
- Test, Test, Test: Always test your heat gun settings and adhesive removers on an inconspicuous area first, especially if you're unsure about the underlying paint condition or the type of wrap.
- Beware of Cheap calendered vinyl: While less common for full wraps, some cheaper, thicker calendered vinyls (the more affordable, stiffer film better suited for flat surfaces) can be a nightmare to remove, often shattering into tiny pieces and leaving behind copious amounts of adhesive. If you suspect you have one of these, double your patience.
- Professional Help is an Option: If the wrap is extremely old (8+ years), severely degraded, or you just don't have the time or confidence, don't hesitate to call a professional shop. Professional wrap removal typically costs between $500-$1500 for a full vehicle, depending on the film's age, condition, and vehicle size (e.g., an extremely degraded wrap on a large SUV will be on the higher end). It’s an investment in your paint's health.
Removing a vehicle wrap is an accessible DIY project, provided you have the right tools, knowledge, and patience. Follow these steps, and you’ll be amazed at how easily that vinyl comes off, revealing the perfectly preserved paint underneath. You'll not only save money but gain a deeper understanding of your vehicle and the incredible durability of modern paint protection.