Introduction to Vehicle Wrap Installation
Applying a vehicle wrap can be a daunting task, especially for those who are new to the world of vinyl wrapping. But what would you do in this situation: you've just purchased a brand new car, and you want to give it a unique, personalized look that sets it apart from the rest? You've decided to install a vehicle wrap, but you're not sure where to start. Honestly, I've been in your shoes before, and I know how overwhelming it can be. That's why I'm here to guide you through the process, sharing my expertise and experience to help you achieve a bubble-free finish.
Based on my experience, I believe that the key to a successful vehicle wrap installation is preparation and attention to detail. It's not just about slapping on some vinyl and hoping for the best; it's about taking the time to properly clean and prepare the surface, choosing the right materials, and using the right techniques. So, let's get started!
In my opinion, the first step to a successful vehicle wrap installation is to choose the right vinyl. There are two main types of vinyl: cast vinyl and calendered vinyl. Cast vinyl is the premium, heat-activated film that conforms to complex curves without shrinking back, making it ideal for vehicle wraps. Calendered vinyl, on the other hand, is a more affordable, stiffer film that's better suited for flat surfaces. For a vehicle wrap, you'll want to use cast vinyl, such as 3M 2080 or Avery Supreme Wrapping Film.
Preparation is Key
Cleaning and Preparing the Surface
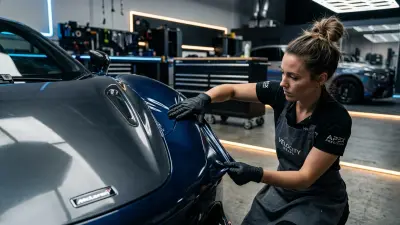
Before you start applying the vinyl, you need to make sure the surface is clean and free of contaminants. This includes dirt, dust, wax, and other substances that can interfere with the vinyl's adhesion. Use a mild soap and water to clean the surface, and then dry it thoroughly with a microfiber cloth. For example, imagine this situation: you're wrapping a car that's been sitting in a dusty garage for months. You'll need to take extra time to clean the surface, making sure to remove all the dirt and grime before applying the vinyl.
Once the surface is clean, you'll need to remove any existing graphics or decals. This can be a tedious process, but it's essential to ensure a smooth, bubble-free finish. Use a hair dryer or heat gun to heat up the adhesive, making it easier to remove. Then, use a scraper or removal tool to carefully pry off the old graphics.
Now that the surface is clean and free of contaminants, it's time to start applying the vinyl. But before you do, make sure you have all the necessary tools and materials, including a squeegee, cutting tool, and heat gun. To be fair, it's better to have too many tools than not enough, so take the time to gather everything you need before starting the installation.
Applying the Vinyl
Centering and Aligning the Vinyl
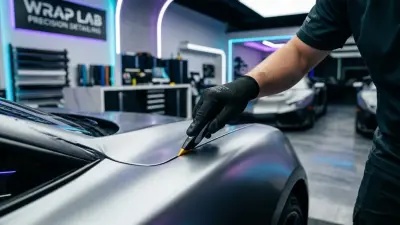
Applying the vinyl can be a bit tricky, but with the right techniques, you can achieve a bubble-free finish. Start by centering and aligning the vinyl on the vehicle, using a level and a measuring tape to ensure it's straight and even. Use a combination of knifeless tape and magnets to hold the vinyl in place while you work.
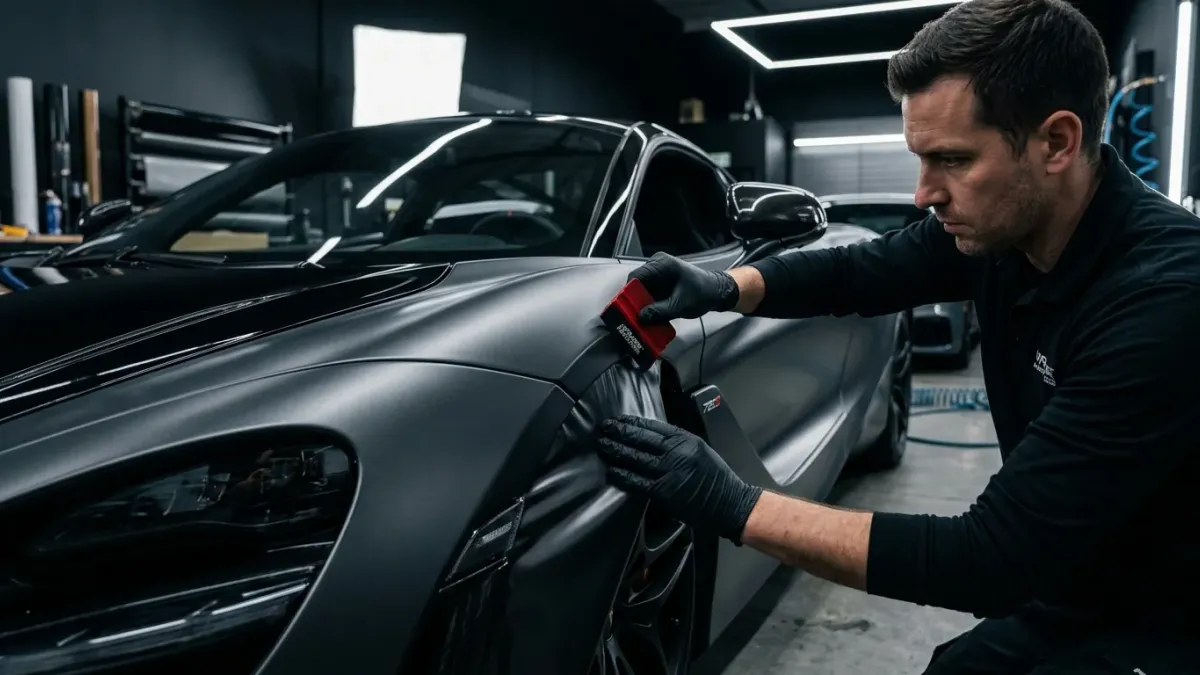
Once the vinyl is centered and aligned, use a squeegee to apply pressure and remove any air bubbles. Start at the center and work your way outwards, using a gentle, even motion. Don't apply too much pressure, as this can cause the vinyl to stretch or distort. Instead, use a series of light, gentle strokes to remove any air bubbles and ensure a smooth, even finish.
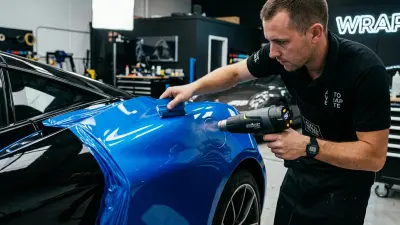
As you apply the vinyl, use a heat gun to heat up the adhesive, making it more pliable and easier to work with. This is especially important for complex curves and contours, where the vinyl needs to conform to the shape of the vehicle. Honestly, I've found that using a heat gun can make all the difference in achieving a bubble-free finish, especially on tricky areas like the hood and roof.

Troubleshooting Common Issues
Dealing with Bubbles and Lifting Edges
Despite your best efforts, you may still encounter some common issues during the installation process, such as bubbles and lifting edges. But what would you do in this situation: you've applied the vinyl, and you notice a large bubble forming on the hood? Don't panic! Use a needle or pin to carefully puncture the bubble, and then use a squeegee to remove the air and smooth out the vinyl.
For lifting edges, use a heat gun to heat up the adhesive, and then use a squeegee to press the edge back down. You can also use a 3M rivet brush to clean out any dirt or debris that may be causing the edge to lift. In my experience, lifting edges are often caused by poor adhesion or contamination, so make sure to clean the surface thoroughly before applying the vinyl.
Let me add something here: it's not just about fixing the problem, but also about preventing it from happening in the first place. By taking the time to properly clean and prepare the surface, choosing the right materials, and using the right techniques, you can avoid many common issues and achieve a bubble-free finish.
Conclusion and Final Tips
Applying a vehicle wrap can be a challenging but rewarding process, especially when you achieve a bubble-free finish. By following these tips and tricks, you can ensure a successful installation and enjoy a unique, personalized look that sets your vehicle apart from the rest. So, what are you waiting for? Get out there and start wrapping!
In my opinion, the key to a successful vehicle wrap installation is patience and attention to detail. Don't rush the process, and take the time to properly clean and prepare the surface, apply the vinyl, and troubleshoot any common issues that may arise. With practice and experience, you'll become a pro at applying vehicle wraps, and you'll be able to achieve a bubble-free finish every time.
Finally, remember to take care of your vehicle wrap by washing it regularly, avoiding harsh chemicals, and protecting it from the elements. With proper care and maintenance, your vehicle wrap can last for years to come, providing a unique and personalized look that you'll love. Honestly, I believe that a well-applied vehicle wrap is an investment worth making, and with the right techniques and materials, you can achieve a professional-looking finish that will turn heads on the road.