How-to Guide to Motorcycle Wraps: From Fairings to Tanks – Mastering Two-Wheel Vinyl
Hey there, fellow riders and customization enthusiasts! If you’ve been dreaming of giving your motorcycle a fresh new look, protecting its paint, or simply standing out from the crowd, then wrapping your bike with vinyl is an incredible option. As someone who’s spent over 15 years in the automotive vinyl game, I can tell you that wrapping a motorcycle presents its own unique challenges and rewards. But with the right knowledge and a bit of patience, you can achieve stunning results. Let’s dive into mastering two-wheel vinyl!
Why Wrap Your Motorcycle?
There are several compelling reasons to consider a motorcycle wrap:
- Unmatched Customization: The color and finish options are virtually endless – matte, gloss, satin, chrome, metallic, carbon fiber, even custom graphics.
- Paint Protection: Vinyl acts as a sacrificial layer, protecting your original paint from scratches, chips, UV damage, and minor abrasions.
- Cost-Effective: Significantly cheaper than a high-quality paint job, and it’s completely reversible.
- Resale Value: Protects your OEM paint, preserving its condition for future resale.
Choosing the Right Film for Your Bike
This is critical for motorcycles. Don't skimp here!
- cast vinyl is King: For motorcycles, you absolutely want to use cast vinyl. This premium, heat-activated film (typically 2.5–3.5 mil thick) is designed to conform beautifully to complex, multi-directional curves, deep recesses, and compound shapes without shrinking back over time. Brands like 3M (2080 series), Avery Dennison (Supreme Wrapping Film), Oracal (970RA), Hexis, and Arlon are top-tier choices. Their air-release technologies also make installation much smoother.
- Avoid calendered vinyl: Steer clear of calendered vinyl. This more affordable, stiffer film (often 3.5–4.5 mil thick) is better suited for flat surfaces or simple curves like vehicle roofs or hoods. It will almost certainly lift, bubble, and fail on a motorcycle’s intricate fairings and tank.
How much film do you need? Wrapping a sportbike like a Yamaha R6 or Honda CBR600RR usually requires about 8-12 linear feet of 60-inch wide film, while a larger cruiser or touring bike might need 12-18 feet. It's always better to have a little extra than to run short.
Essential Tools for Motorcycle Wrapping
Having the right tools makes all the difference, especially on complex motorcycle parts.
- Heat Gun: A quality heat gun (e.g., Steinel HG 2120 E or Milwaukee M18) is indispensable for stretching and conforming film.
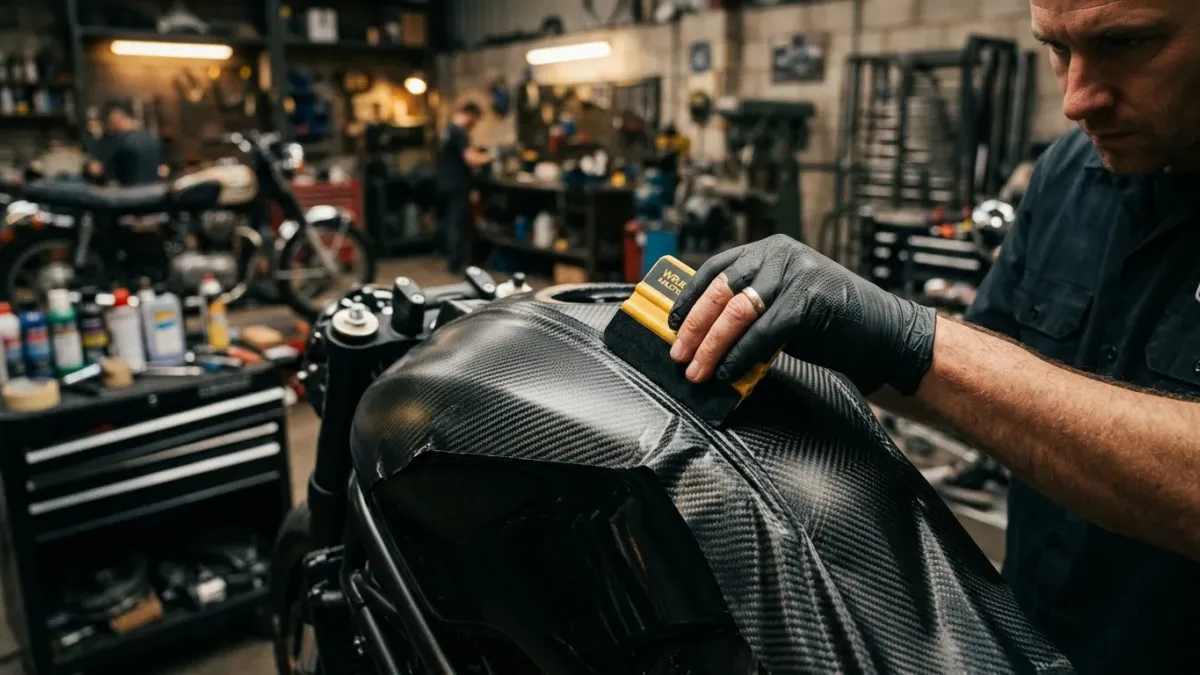
- Squeegees: A variety of felt-tipped squeegees (e.g., 3M Gold, Avery Blue) for different pressures and contours.
- Cutting Tools: An Olfa or 3M cutting knife with fresh, sharp breakaway blades. Invest in an accurate Knifeless tape (Design Line is my go-to) for clean cuts without damaging paint.
- Surface Prep: Isopropyl alcohol (IPA) wipes, a good degreaser (like RapidPrep), and lint-free microfiber towels.
- Magnets: Strong wrap magnets for holding panels in place.
- Gloves: Lint-free cotton gloves to prevent fingerprints and oil transfer.
- Detail Tools: A rivet brush for deep recesses, a tucking tool, and possibly a snitty (trimming tool).
Prepping Your Bike: The Foundation of Success
I can't stress this enough: 90% of a good wrap is in the prep. On motorcycles, it's even more crucial.
- Disassembly: This is where motorcycle wrapping differs significantly from cars. You’ll need to remove fairings, the fuel tank (drain it first!), fenders, mirrors, turn signals, and any emblems or trim pieces. Wrap individual parts off the bike for the best finish, allowing you to wrap edges fully.
- Deep Clean: Wash all parts thoroughly with soap and water. Then, use a high-quality degreaser to remove all grease, wax, and road grime. Follow up with a 70% Isopropyl Alcohol (IPA) solution to remove any remaining residue.
- Inspect and Repair: Check for any deep scratches, dents, or paint imperfections. Vinyl will highlight these. Minor scratches can sometimes be filled or smoothed, but severe damage should be addressed before wrapping.
Installation Techniques for Motorcycle Parts
Patience, heat, and proper technique are your best friends here.
Fairings: The Curves Challenge
- Section by Section: Don't try to cover an entire complex fairing with one piece of film without proper relief cuts. Plan your attack.
- Heat Management: Use your heat gun to make the vinyl pliable. Gentle, even heat is key. Overheating can damage the film and make it too stretchy, leading to lifting. Aim for roughly 180-200°F (80-95°C) for most cast films when stretching.
- Anchoring and Stretching: Anchor the film in a relatively flat area, then work your way out, using heat and squeegee pressure to conform it to the curves. Use relief cuts as needed in deep concave areas to prevent excessive stretching and wrinkling.
- Edge Wrapping: Wrap all edges fully around the back of the fairing for a secure, long-lasting finish.
Fuel Tank: The Ultimate Test
The tank is often the most challenging part due to its compound curves and deep recesses.
- Strategic Placement: Start at the highest point or a central flat area.
- Controlled Stretching: This requires careful heating and stretching. You'll likely need to make several strategic relief cuts, especially around the fuel cap and any sharp transitions.
- Overlap and Seams: For very complex tanks, you might need to use an overlap technique or a discreet seam. If you must seam, ensure it’s clean, precise, and post-heated thoroughly. knifeless tape is excellent for creating perfect seams.
- Deep Recesses: Use your rivet brush or a soft squeegee to gently work the film into emblems or deep contours without overstretching.
Fenders and Smaller Parts
These are generally simpler but still require attention to detail.
- Clean Lines: Ensure all edges are neatly trimmed and wrapped around the back for a factory-like finish.
- Chrome Deletes: For smaller items like levers, covers, or trim, use small pieces of film, heating to conform them perfectly.
Post-Installation Care & Longevity
To ensure your motorcycle wrap lasts 5-7+ years:
- Curing Time: Avoid washing your bike for at least 48 hours to allow the adhesive to fully cure.
- Washing: Hand wash with mild car soap and a soft microfiber cloth. Avoid automatic washes, harsh brushes, or high-pressure washers used too close to edges.
- Products: Use wrap-specific detail sprays or ceramic coatings designed for vinyl (e.g., Chemical Guys Wrap Detailer, Gyeon Q2M Cure for matte finishes). Avoid petroleum-based products or abrasive waxes.
- Storage: Store your bike in a garage or under a cover to protect it from harsh UV exposure when not riding.
DIY vs. Professional Installation: Costs and Considerations (2025-2026)
While DIY is rewarding, it's not for everyone, especially with a motorcycle's complexity.
- DIY Costs: Expect to spend $300-$800 on high-quality cast vinyl materials for a full motorcycle wrap. Add another $100-$300 for essential tools if you don't already own them.
- Professional Costs: A professional full motorcycle wrap can range from $1,500 to $3,500+, depending on the bike's complexity, film choice (matte vs. gloss vs. chrome), and regional labor rates. custom graphics or intricate designs will increase the price.
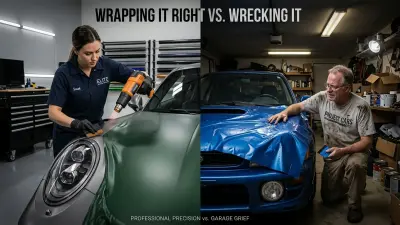
If you're a complete beginner and have a complex sportbike, hiring a pro is often worth the investment to avoid costly mistakes and get a flawless finish.
Common Mistakes to Avoid
- Contamination: Dust, dirt, or grease under the film will create unsightly bubbles and adhesion issues.
- Overstretching: Leads to premature lifting, discoloration, and pattern distortion.
- Insufficient Post-Heating: After installation, always post-heat all wrapped areas, especially edges and stretched zones, to about 200-220°F (95-105°C). This sets the film's memory and prevents lifting.
- Improper Trimming: Damaging the underlying paint with your knife can lead to rust or devalue your bike. Use knifeless tape!
Wrapping a motorcycle is an art form that requires patience and precision. But with the right materials, tools, and techniques, you can transform your ride and protect its paint for years to come. Whether you tackle it yourself or trust a seasoned professional, your bike will thank you. For more expert advice on all things vinyl, keep checking back here at Car Wrap Info!