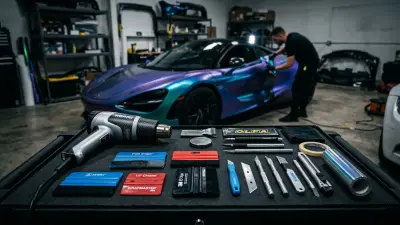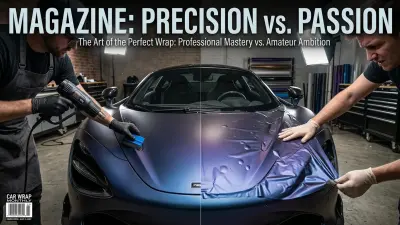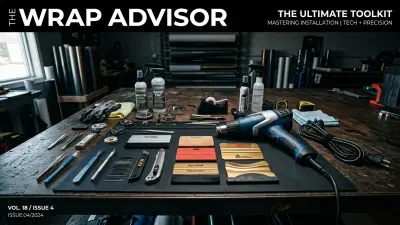
If you've ever tried to tackle a vehicle wrap with just a utility knife and a basic plastic squeegee, you know the struggle is real. While those beginner tools get you started, achieving a truly flawless, long-lasting, and professional-grade wrap – the kind that makes people stop and stare – demands more. Much more. As someone who's spent over 15 years in this industry, wrapping everything from compact cars to massive commercial fleets, I can tell you that the difference often comes down to the tools in your hand. This isn't just about speed; it's about precision, durability, and ultimately, your reputation.
So, if you're ready to move beyond the basics and wrap like the pros, let's dive into the advanced equipment that makes all the difference. These aren't just fancy gadgets; they're essential investments that save time, prevent costly mistakes, and elevate the quality of every single wrap you touch.
Precision Heat Management: Beyond the Basic Heat Gun
Heat is the lifeblood of vinyl wrapping. It activates the adhesive, allows the film to stretch and conform to complex curves, and is crucial for proper post-heating to prevent lifting. A cheap hardware store heat gun just won't cut it when you're working with premium materials like cast vinyl – the high-performance, heat-activated film designed for intricate automotive applications that needs precise temperature control to avoid overstretching or burning. Or what about PPF (paint protection Film), the thicker, self-healing urethane film (typically 4-5 mil) that also requires specific heat levels for optimal adhesion and stretch?
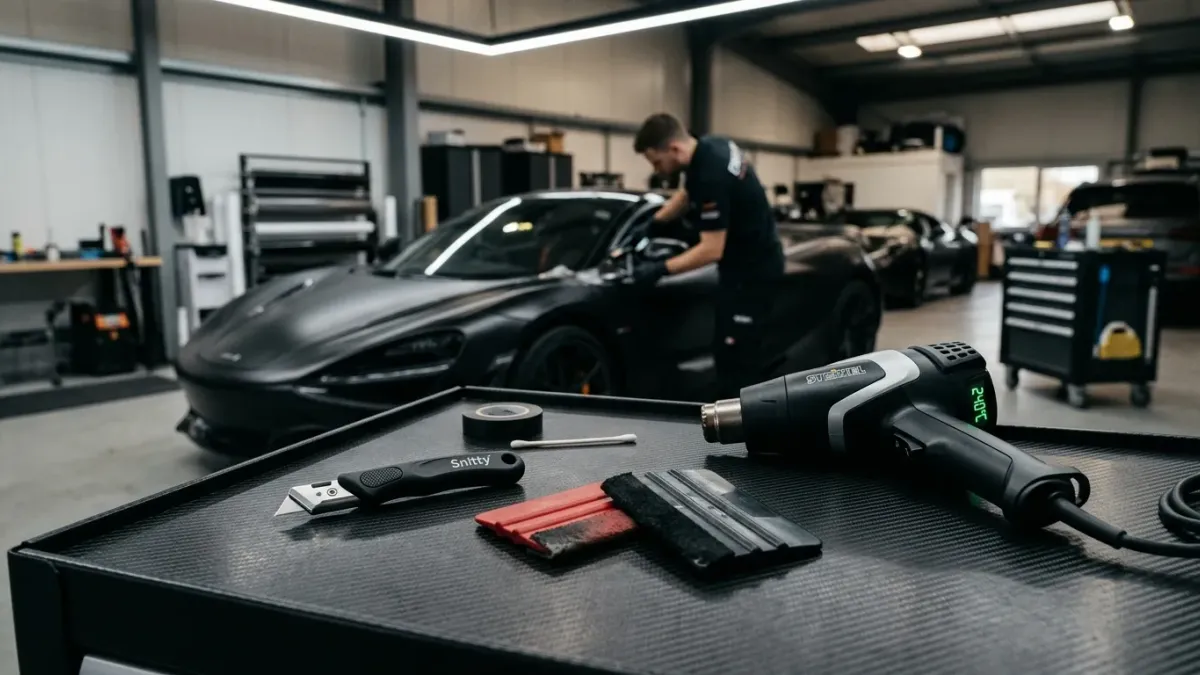
What you need: A professional-grade heat gun with digital temperature control. Brands like Leister (e.g., Leister Triac AT) or Steinel (e.g., Steinel HG 2320 E) are industry standards for a reason. These allow you to set exact temperatures, often in 10-degree increments, giving you unparalleled control. Different nozzles are also critical – a wide-angle nozzle for large areas and a concentrator nozzle for intricate details or post-heating edges.
But how do you know if the film is actually at the right temperature? That's where an infrared (IR) thermometer comes in. Point it at the film, and it gives you an instant surface temperature reading. This is invaluable for ensuring proper stretching (avoiding overheating that can damage the film) and especially for post-heating – the critical step where you heat the film edges and recessed areas to 180-200°F (for most cast vinyls like 3M 2080 or Avery Supreme Wrapping Film) to "set" the adhesive and prevent future shrinkage or lifting. Honestly, skipping this step is one of the biggest reasons DIY wraps fail. In my opinion, this combination of precise heat and temperature verification is non-negotiable for professional results.
Cutting & Finishing Mastery: The Sharp Edge of Professionalism
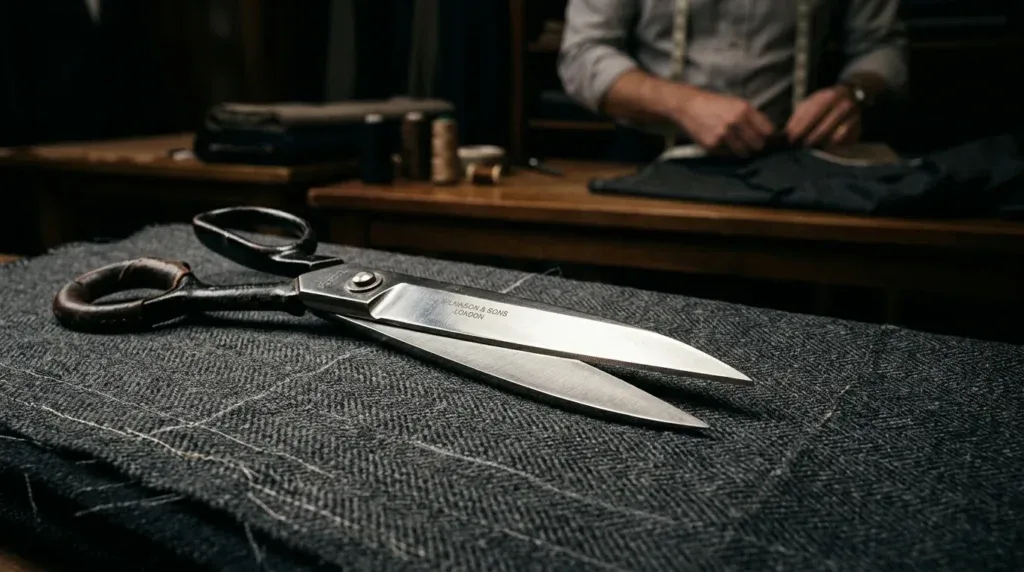
A clean cut is the hallmark of a professional wrap. Ragged edges or paint damage from careless blade work scream amateur. This is where specialized cutting and finishing tools shine. You'll need more than just a standard box cutter.
Precision Knives & Blades
Invest in high-quality snap-off knives like the Olfa Silver or Stainless Steel series. The key here is *always* using a fresh, sharp blade. Snap off a dull segment every few cuts. For intricate cuts and tight corners, a swivel knife or a specialized detail knife with a smaller, sharper blade is invaluable. A safety cutter, like 3M's model, designed to protect the vehicle's paint underneath the film, is also a wise addition, especially for novices. For example, imagine you're trimming around a delicate rubber seal on a new 2024 Tesla Model Y – you wouldn't dare use a dull, imprecise blade there, right? You need something that glides and cuts cleanly without risk.
Knifeless Tape Systems
This is where many DIYers get blown away. Knifeless Tape (like 3M DesignLine, FinishLine, or PerfLine) allows you to create perfectly clean, sharp cut lines on the wrap film *without a blade ever touching the vehicle's paint*. It's a filament embedded in a thin, adhesive tape. You lay the tape down, apply the wrap over it, and then pull the filament up through the vinyl, creating a perfect cut. This is essential for detailed designs, overlapping panels, creating stripes, or achieving complex cutouts around badges or body lines. It's truly a game-changer for intricate work and paint protection.
Specialized Trimming & Detail Tools
Beyond the knives, consider specialized tools like gap knives for tucking film into tight seams, felt-edge blades for scoring without scratching, or rivet brushes and rollers (like the 3M Rivet Brush) for perfectly conforming film over rivets on vans and trucks. These seem small, but they make a massive difference in the final look and longevity, preventing common issues like lifting around rivets or imperfectly tucked edges.
Specialized Squeegees & Application Aids: The Right Pressure, Every Time
If you're still using just one type of squeegee for every part of a vehicle, you're making life harder for yourself. Pros have a whole arsenal of squeegees, each designed for a specific task or curve. The right squeegee, with the right pressure, is paramount to prevent bubbles, wrinkles, and trapped moisture.
A Squeegee for Every Curve
You'll want a variety: a stiffer, hard-card squeegee (like a 3M Gold or Avery Pro Series) for flat panels and initial tack, softer squeegees (rubber or silicone) for conforming over gentle curves, and felt-edged or Teflon-coated squeegees to prevent scratching delicate finishes, especially gloss films. Don't forget specialized shapes: cone-shaped squeegees for deep recesses (like door handles or mirror bases), and flexible plastic cards for getting into tight crevices. Adding squeegee sleeves or buffers (felt or microfiber) to your hard cards is also key to protect the film surface during application, especially when applying a high-gloss finish that shows every tiny scratch.
Application Aids
Beyond squeegees, several aids improve efficiency and quality. Application gloves (like WrapGlove) reduce friction, allow you to slide your hand over the film, and prevent fingerprints or oils from transferring to the adhesive. Powerful magnets are indispensable for holding panels in place during initial positioning, especially on larger vehicles like a Ford F-150 crew cab. And for wet applications, particularly with PPF, a good slip solution is crucial for repositioning the film without marring the adhesive.
Detailing & Post-Installation Essentials: The Final Touch
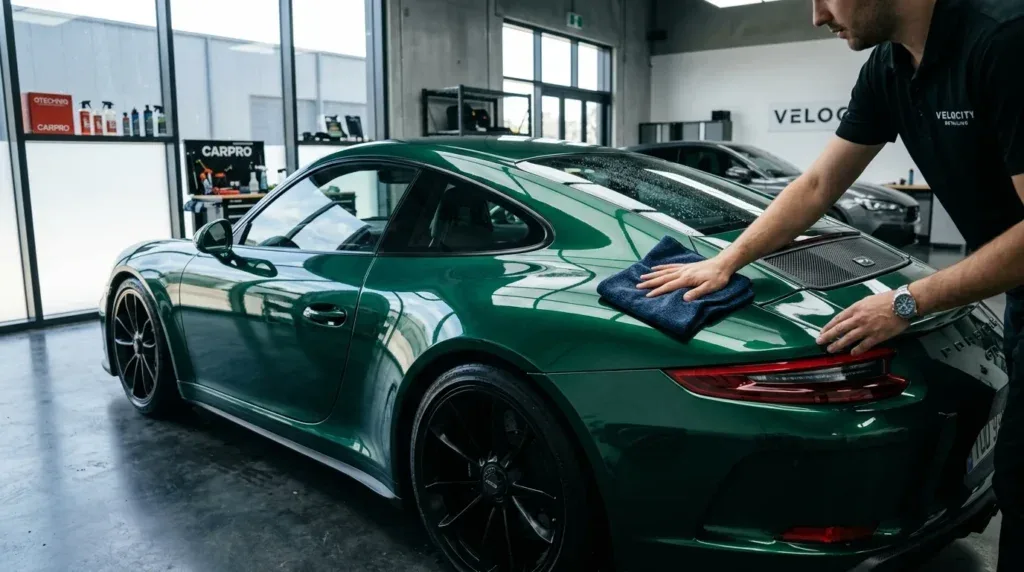
The job isn't done when the last piece of vinyl is laid. True professionals understand that the final detailing and crucial post-installation steps are what ensure longevity and a pristine finish. This is where you prevent premature lifting and create a truly "painted on" look.
Edge Sealing & Adhesion Promoters
For high-wear areas or edges prone to lifting (think wheel arches, door jambs, or intricate cutouts), an edge sealer is a must. This can be a liquid sealer or specialized tape like 3M Edge Sealer Tape. It creates a barrier, protecting the film's edge from dirt and moisture ingress, significantly extending the wrap's life. Similarly, adhesion promoters (such as 3M Primer 94) are critical for tricky, low-energy surfaces, deep recesses, or areas with extreme curvature where the adhesive might struggle. A small dab applied carefully before wrapping can make all the difference in preventing a lifted edge down the road.
Inspection & Post-Heating Tools
I can't stress enough the importance of meticulous inspection. A good detailing light or inspection light will reveal tiny bubbles, dust specs, or imperfections that are invisible in ambient light. Catching these early allows for quick fixes. And as mentioned earlier, post-heating is non-negotiable. Use your digital heat gun and IR thermometer to systematically heat all edges, recessed areas, and stretched zones to the manufacturer's recommended temperature. This relaxes the vinyl's memory, "sets" the adhesive, and drastically reduces the risk of shrinkage or lifting, ensuring your wrap lasts the full 5-7+ years it's designed for.
Investing in these advanced tools isn't about spending more money; it's about making a smarter investment in your craft, your efficiency, and the quality of your work. These tools are the silent partners of every successful wrap installer, helping them turn challenging projects into works of art. If you're serious about elevating your wrapping game, start integrating these into your toolkit. You'll see the difference in your results, and so will your clients.