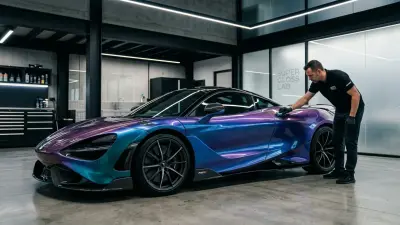
You've proudly rocked your custom vehicle wrap, perhaps a vibrant 3M 2080 Gloss Flame Red on your Tesla Model 3 or a stealthy Avery Supreme Matte Black on your Ford F-150. But now, the journey with that particular wrap is ending. Maybe it’s time for a fresh look, the wrap has gracefully aged, or you're preparing for resale. The thought of peeling off that large sheet of vinyl can be daunting. Will it come off cleanly? Will it leave a sticky mess? Or worse, will it damage your precious factory paint?
As someone who's spent over 15 years knee-deep in vinyl, from initial installations to painstaking removals on hundreds of vehicles, I can tell you this: removing a wrap isn't just about pulling. It's an art and a science that, when done right, leaves your paint looking untouched, ready for its next adventure. Done wrong, and you're looking at expensive paint correction, or hours of frustrating adhesive scrubbing. This guide isn't just about general tips; it's my pro-level playbook, detailing advanced strategies to ensure your wrap removal is as clean and problem-free as possible, regardless of the wrap's age or type.
The Foundation of an Easy Removal: What Happens Before You Peel
Believe it or not, the ease of wrap removal starts long before you even consider peeling. It begins with the initial installation and the materials chosen. Understanding these factors gives you a crucial advantage when it's time to say goodbye to your wrap.
Material Matters: Cast vs. Calendered vs. PPF
Not all vinyl is created equal, and this distinction becomes incredibly clear during removal:
- Cast Vinyl: This is the premium stuff, like 3M 2080/1080 series, Avery Supreme Wrapping Film, Oracal 970RA, Hexis, or Arlon Ultimate Series. Cast vinyl is typically 2.5–3 mil thick. It's manufactured by pouring liquid vinyl onto a casting sheet, which results in a very stable film that conforms beautifully to complex curves and has minimal "memory" (tendency to shrink back). This stability also means its adhesive is designed for long-term adhesion and clean removal, often leaving minimal residue when removed within its recommended lifespan (5-7+ years).
- calendered vinyl: More affordable and generally thicker (3-4 mil), calendered vinyl is produced by extruding and pressing vinyl through rollers. This process stretches the material, giving it inherent "memory." While great for flat surfaces like fleet graphics, it's less stable than cast vinyl. Over time, especially with sun exposure, calendered films tend to shrink, crack, and become brittle. Removing an aged calendered wrap is often a battle, as it frequently tears into small pieces and leaves behind significant adhesive residue.
- paint protection Film (PPF): This is a completely different beast. PPF is a much thicker, clear urethane film (typically 4-5 mil). Its primary purpose is impact protection, and it uses a much stronger, pressure-sensitive adhesive to withstand abuse. While designed for clean removal, the sheer strength of its adhesive means PPF removal requires more heat, slower peeling, and extreme patience compared to color change vinyl wraps.
Installation Quality and Environment's Impact
A professional installation minimizes issues during removal. Thorough surface preparation, proper post-heating of edges (to 200-220°F or 93-104°C), and correct tensioning during application all contribute to a wrap that maintains its integrity. A wrap that was poorly prepped, installed over existing damage, or not properly post-heated can lead to adhesive failure or excessive residue during removal. Likewise, prolonged exposure to harsh UV rays, extreme temperatures, or corrosive elements (like road salt) will degrade any vinyl faster, making removal more difficult.
Decoding the Peel: Tailoring Your Removal Strategy by Wrap Type & Condition
The "one-size-fits-all" approach to wrap removal is a myth. Your strategy must adapt to the vinyl type, its condition, and the underlying paint. Here’s how I tackle different scenarios in the shop:
Essential Gear for Any Removal (and why):
- High-Quality Heat Gun: This is your most critical tool. I recommend a variable-temperature heat gun like a Wagner Furno 750 or a DeWalt D26960. It allows precise control.
- Infrared Thermometer: Absolutely essential for monitoring surface temperature. Overheating vinyl can make it brittle; overheating paint can cause damage. Aim for 150-200°F (65-93°C) on the vinyl surface.
- Plastic Razor Blades/Scrapers: Never metal! These are for gently lifting edges without scratching paint. The 3M Plastic Scraper is a solid choice.
- Automotive-Grade Adhesive Remover: My go-to is 3M General Purpose Adhesive Cleaner. Other good options include CarPro TarX or even a quality citrus-based cleaner like Goo Gone Pro-Power (ensure it's safe for automotive paint).
- Plenty of Microfiber Towels: For cleaning and wiping.
- Gloves and Safety Glasses: Protect your hands from heat and chemicals, and your eyes from flying debris.
Strategy 1: The "Perfect Peel" – High-Quality, Well-Maintained Cast Vinyl (e.g., 3M 2080, Avery SWF)
This is the ideal scenario, often found with wraps 3-5 years old. The goal here is to remove the vinyl in large, continuous sheets with minimal adhesive residue.
- Warm-Up the Vehicle: Work in a warm environment, ideally 70-80°F (21-27°C). If it's cold, let the vehicle sit in the sun or use a space heater (carefully!) to warm the panels.
- Targeted Heating: Using your heat gun, apply even heat to a small section (about 1-2 sq ft) of the vinyl. Keep the heat gun moving constantly, about 6-10 inches away from the surface. Use your infrared thermometer to ensure the vinyl surface temperature is between 150-180°F (65-82°C). The vinyl should feel warm and pliable, not hot and crispy.
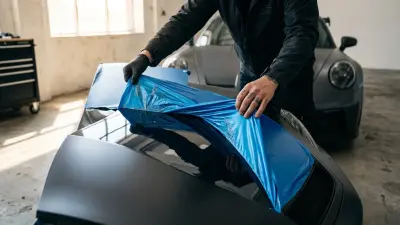
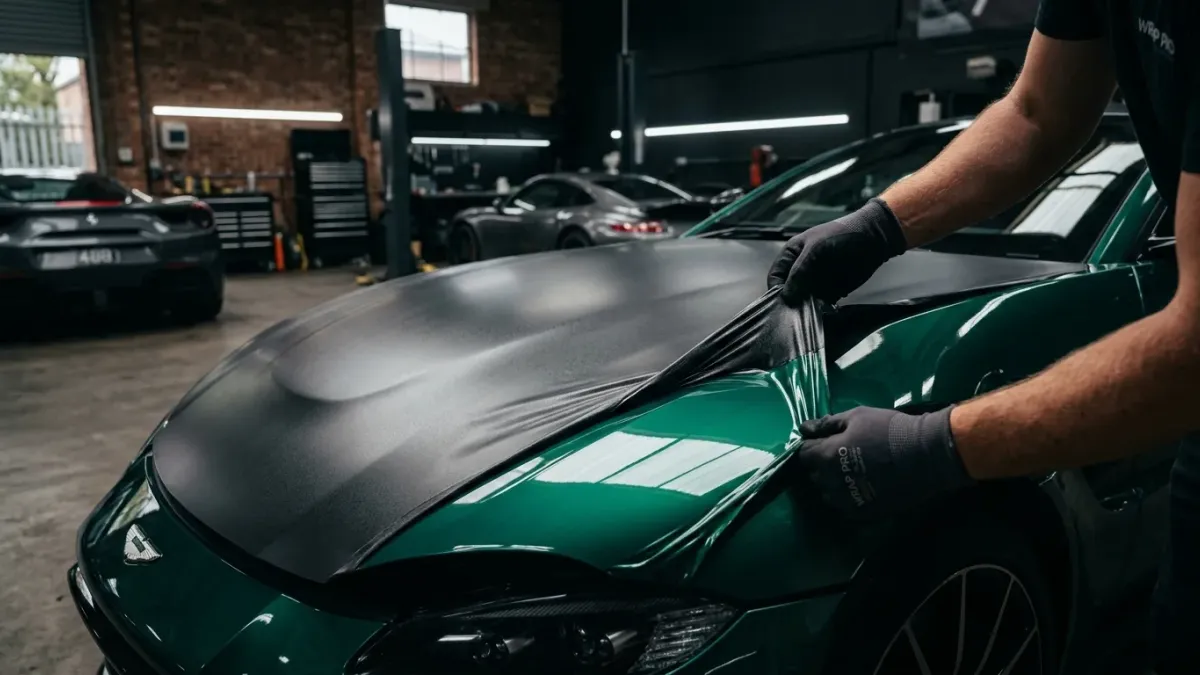
- The 45-Degree Peel: Once warm, use a plastic scraper to carefully lift an edge or corner. Once you have a grip, slowly pull the vinyl back on itself at a low, consistent 45-degree angle. This angle allows the adhesive to stretch and release cleanly from the paint rather than breaking off.
- Slow and Steady: Pull slowly. If the vinyl tears or leaves adhesive, apply more heat to the area you're about to peel. Aim to keep the vinyl warm as you peel, using the heat gun a few inches ahead of your pulling point.
- Overlap for Grip: For larger panels like a hood or roof (a 2024 Tesla Model Y hood, for instance), try to get an overlap of vinyl in your hand, perhaps 6-8 inches, and pull that entire section consistently.
Strategy 2: The "Piece-by-Piece" – Aged or Calendered Vinyl (e.g., 7-year-old fleet graphics)
This is where patience becomes your superpower. Older, degraded vinyl will be brittle and prone to tearing. The goal is to remove it in manageable pieces while minimizing adhesive left behind.
- More Heat, More Patience: You might need slightly higher temperatures here, up to 180-200°F (82-93°C), to soften the brittle vinyl and stubborn adhesive. Again, use the infrared thermometer to prevent paint damage.
- Smaller Sections: Instead of aiming for large sheets, work in much smaller sections, perhaps 6x6 inches or even smaller.
- Aggressive Angle (Sometimes): With brittle vinyl, a very low 15-20 degree angle or even pulling straight back on itself (180 degrees) can sometimes be more effective if it prevents tearing, but this often means more adhesive residue. Experiment carefully.
- Immediate Adhesive Cleanup: If a piece tears and leaves a patch of adhesive, address it immediately (see the next section on residue removal) before moving too far, as it can be harder to remove later.
Strategy 3: The "Tough Pull" – Paint Protection Film (PPF)
PPF removal requires a different level of commitment. The adhesive is incredibly strong, designed to withstand impacts.
- Consistent, High Heat: PPF requires consistent heat to activate its strong adhesive. Aim for 180-200°F (82-93°C) across the entire section you're working on. Heat a larger area than with vinyl, as the film is thicker and retains heat longer.
- Extremely Low Angle, Very Slow Pull: This is critical. Pull the PPF back at an almost flat 10-20 degree angle, directly back on itself. Pull incredibly slowly, just an inch or two at a time. This allows the strong adhesive to release in a controlled manner, preventing it from "snapping" and potentially pulling paint or clear coat, especially on repainted panels.
- Listen and Feel: You'll often hear a distinctive "crackle" as the adhesive releases. If you feel excessive resistance or hear a ripping sound, stop, reapply heat, and adjust your angle.
- Expect Some Residue: Even with perfect technique, some adhesive residue is common with PPF. Be prepared for cleanup.
Beyond the Vinyl: Conquering Adhesive Residue and Prep for What's Next
So, the vinyl is off. Congratulations! But now you're often left with a sticky, sometimes gritty, residue. This isn't just an annoyance; it needs to be removed thoroughly to prevent future paint issues and ensure a clean surface for waxing, polishing, or a new wrap.
Tackling the Gunk:
- Initial Wipe Down: After the majority of the vinyl is off, give the entire vehicle a quick wash with car soap and water to remove any loose dirt or light surface stickiness.
- Apply Adhesive Remover: Generously spray or wipe your chosen automotive-grade adhesive remover (like 3M General Purpose Adhesive Cleaner) onto a section of residue. Let it dwell for 30 seconds to a minute. The cleaner will begin to break down the adhesive.
- Gentle Agitation: Using a clean microfiber cloth, gently wipe and agitate the softened adhesive. For stubborn spots, a plastic razor blade can be used at a very shallow angle (almost flat) to carefully scrape the softened goo away. Never press hard!
- Repeat as Necessary: For heavy residue, you might need to repeat the application and wiping process several times. Always use fresh, clean sections of your microfiber cloth to avoid spreading the residue.
- Clay Bar Treatment (Optional, but Recommended): Once the visible residue is gone, a clay bar treatment can be incredibly effective for removing any microscopic adhesive particles or contaminants that the cleaner missed. Follow the instructions on your clay bar kit.
- Final Wash: After all residue is gone, give the vehicle a thorough final wash and rinse to remove all traces of adhesive remover and ensure the paint is spotless.
What if the Paint is Damaged?
In rare cases, especially with cheap vinyl on poor quality or repainted surfaces, you might uncover clear coat lifting or paint chips. This is why a professional assessment is crucial before any removal, and why patience during DIY removal is paramount. If you encounter damage:
- Stop and Assess: Determine the extent of the damage.
- Consult a Professional: For anything beyond minor blemishes, take it to a reputable body shop. They can advise on paint correction, touch-ups, or repainting.
- Document Everything: Take photos of the damage before, during, and after removal for your records.
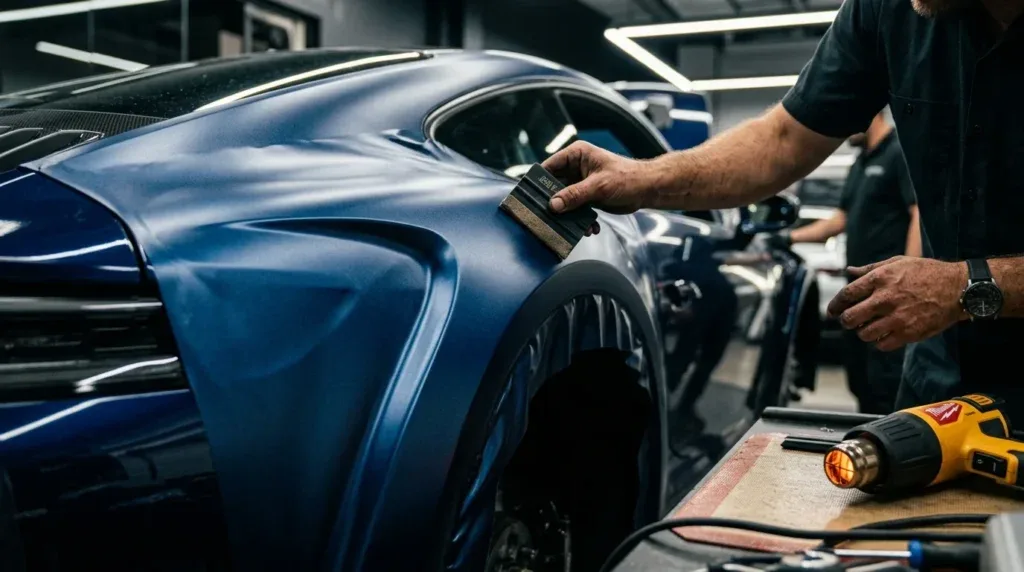
Common Pitfalls & Pro Tips for a Clean Finish Every Time
Even with the best intentions, mistakes happen. Here are common pitfalls and how to avoid them, straight from my 15 years of experience:
- Removing in the Cold: This is the #1 mistake. Cold vinyl is brittle vinyl, and brittle vinyl tears, leaving behind a nightmare of tiny pieces and stubborn adhesive. Always aim for a minimum surface temperature of 65°F (18°C), ideally higher.
- Pulling Too Fast: Speed is the enemy of clean removal. The adhesive needs time to release. Pulling too fast can snap the vinyl, tear the adhesive, or even damage paint. Think of it like peeling a sticker off paper – slow and gentle is key.
- Insufficient Heat: Not enough heat means the vinyl won't be pliable, and the adhesive will cling stubbornly. Use that infrared thermometer!
- Overheating: Too much heat can melt the vinyl, making it gooey and messy, or worse, damage your paint. Never hold the heat gun in one spot for too long. Keep it moving.
- Using Metal Tools: Seriously, just don't. A quick slip with a metal scraper or razor blade means a permanent scratch in your paint. Stick to plastic.
- Not Using Gloves: Heat, chemicals, and sticky adhesive are a recipe for discomfort and skin irritation. Gloves are cheap protection.
- Forgetting Post-Removal Clean-Up: Skipping the adhesive removal and a proper wash/clay bar will leave a tacky surface that attracts dirt and can affect future paint protection or wrap adhesion.
When to Call in the Pros:
While DIY removal is achievable for many, there are times when professional help is worth every penny. For instance, removing a full wrap from a Ford F-150 crew cab or a large Sprinter van can be a 4-8 hour job for a pro, potentially costing anywhere from $500 to $1,500 depending on the wrap's condition and the amount of adhesive. Removing an extremely degraded calendered wrap or PPF from a high-value vehicle (like a Porsche 911 or a Ferrari) is almost always best left to the experts. We have specialized tools, industrial-strength removers, and the experience to mitigate risks, ensuring your underlying paint remains pristine.
Ultimately, removing a vehicle wrap doesn't have to be a dreaded task. With the right knowledge, tools, and a healthy dose of patience, you can achieve a flawless finish, preparing your vehicle for whatever comes next. Happy peeling!