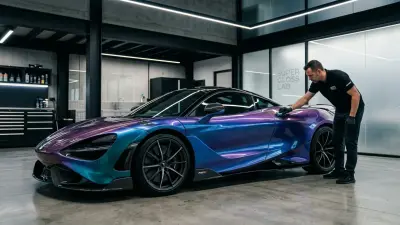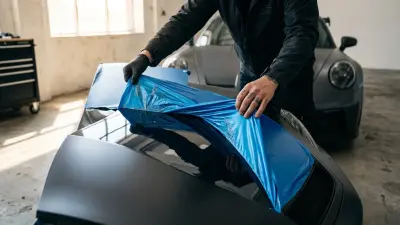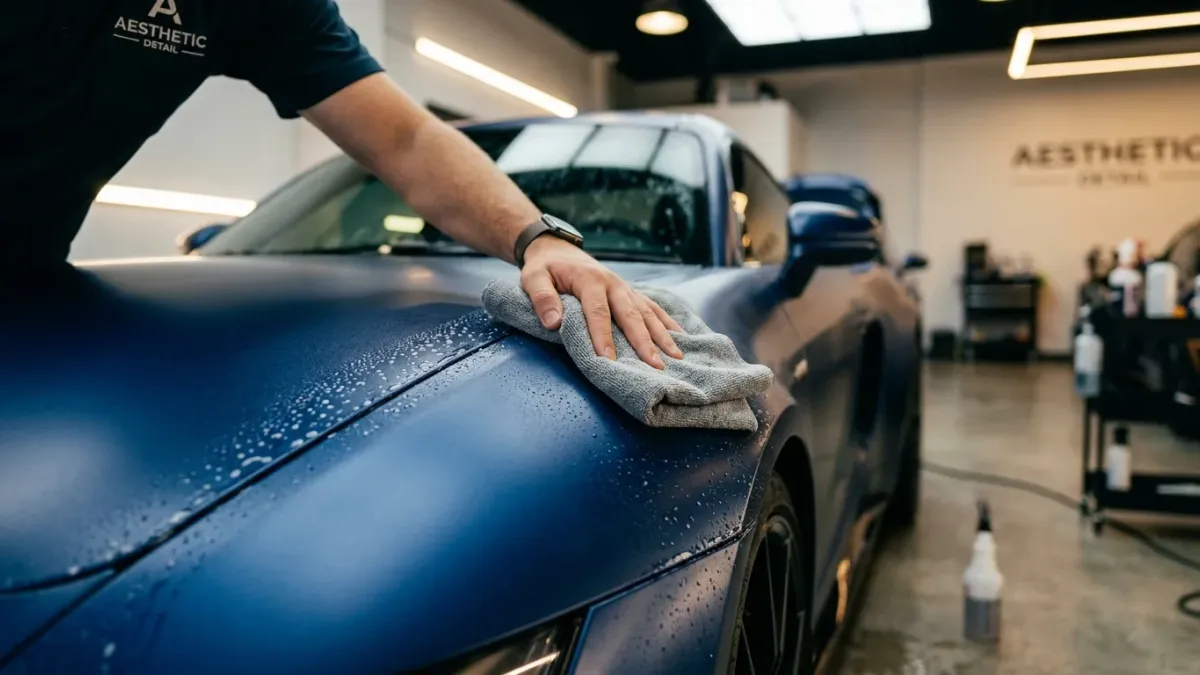
You’ve invested in a stunning vehicle wrap, transforming your car, truck, or motorcycle into a head-turning masterpiece. Whether it’s a vibrant color change, a stealthy matte finish, or robust paint protection film (PPF), that wrap is more than just a cosmetic upgrade—it's a significant investment in your vehicle's appearance and protection. But here's the honest truth from my 15+ years in the industry: a wrap is only as good as the care it receives. What’s the point of investing thousands in a premium film if it looks worn and faded after just a year or two?
The first and most critical step in maintaining your wrap's pristine condition is understanding what kind of film you have. Not all vinyls are created equal, and their unique properties dictate the best cleaning and protection methods. For instance, a high-performance cast vinyl, which is a premium, heat-activated film typically 2.5 to 3.5 mil thick (like 3M 2080/1080 series, Avery Supreme Wrapping Film, or Oracal 970RA), is designed to conform beautifully to complex curves without shrinking back. These films offer superior durability and color stability. In contrast, calendered vinyl, which is a more affordable, stiffer film usually 3 to 4 mil thick (like Oracal 651), is better suited for flat surfaces or short-term applications and is more prone to shrinkage over time. Using harsh chemicals or abrasive tools on a delicate satin or matte finish, regardless of film type, can permanently damage its unique texture.
Beyond color change wraps, many vehicles are now protected with paint protection film (PPF). This is a clear, self-healing urethane film, typically 8 mil thick, designed to shield your original paint from chips, scratches, and road debris. While PPF is incredibly durable, its care requirements are slightly different, often benefiting from specific ceramic coatings designed to enhance its self-healing properties and ease of cleaning. Always consult the film manufacturer’s recommendations – whether it's 3M, Avery Dennison, Hexis, or Arlon – as they know their products best. Sticking to these guidelines is your best defense against premature wear, lifting edges, and a wrap that looks tired long before its time.
The Art of Deep Cleaning: Washing Your Wrapped Vehicle
Regular washing isn't just about aesthetics; it's about preserving your wrap's integrity. Dust, road grime, pollutants, and environmental fallout can degrade the film over time, making it dull, brittle, or difficult to clean. Think of it like this: a full wrap on a 2024 Tesla Model Y costs around $4,200–$5,800 depending on the finish. Protecting that investment with proper cleaning is far more cost-effective than replacing panels due to neglect.
Pre-Cleaning Preparation: Set Yourself Up for Success
Before any water touches your wrapped vehicle, preparation is key. First, park your car in a shaded area and ensure the wrap is cool to the touch. Washing a hot wrap in direct sunlight can lead to rapid drying of soaps and water spots, especially on darker colors or matte finishes. Use a leaf blower or a gentle stream of water to rinse off any loose debris like leaves, sand, or heavy dust. This initial step prevents scratching the wrap during the washing process, as these particles can act like sandpaper under a wash mitt.
Next, assemble your cleaning arsenal. You'll need two buckets (one for wash solution, one for rinsing your mitt), a high-quality pH-neutral car shampoo (many brands like Chemical Guys, Meguiar's, or specific wrap shampoos from 3M offer excellent options), and several soft, clean microfiber wash mitts. Avoid dish soap or household cleaners; they can contain harsh detergents or degreasers that strip the wrap's protective layers or even damage the film itself. For a standard wash, a ratio of 1-2 ounces of concentrated car shampoo per gallon of warm water is a good starting point, but always follow the product's specific dilution instructions.
Washing Techniques: Gentle Care for Lasting Brilliance
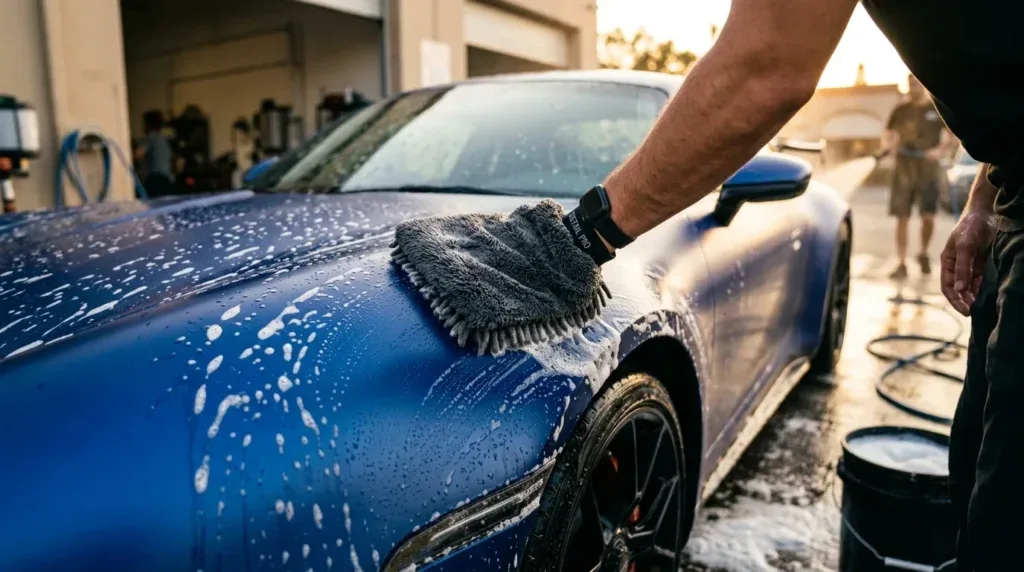
When it comes to the actual wash, adopt the "two-bucket method." Dip your clean microfiber mitt into the wash solution, wash a small section of the vehicle (working from top to bottom), then rinse the mitt thoroughly in the second bucket of clean water before reloading it with soap. This prevents transferring dirt back onto the wrap. Use straight, overlapping strokes rather than circular motions, which can sometimes create swirl marks, particularly on gloss finishes. Apply gentle pressure; there’s no need to scrub aggressively.
Pay close attention to recessed areas, door jams, and around badges where dirt tends to accumulate. For these spots, a soft detailing brush can be invaluable. Once you've washed the entire vehicle, rinse it thoroughly with a gentle stream of water, ensuring all soap residue is removed. From my experience, a spot-free rinse attachment or simply letting the water sheet off can significantly reduce water spots. Finally, dry the wrap immediately using clean, plush microfiber drying towels (like a waffle-weave towel) by gently patting or dragging the towel across the surface. For crevices and panel gaps, a leaf blower works wonders to prevent trapped water from dripping later.
How often should you wash? For a daily driver, I recommend a thorough wash every 1-2 weeks, or immediately after exposure to heavy contaminants like bird droppings, bug splatters, or road salt. Neglecting these can lead to etching or permanent staining on the wrap, especially on matte or satin finishes where the texture can trap contaminants more easily. Remember, consistent, gentle care is the secret to a wrap that looks factory fresh for 5-7 years or even longer.
Tackling Troublesome Stains: Targeted Removal Strategies
Despite your best efforts, life happens, and stubborn stains will inevitably appear. The key to successful stain removal on a wrapped vehicle is acting quickly and using the right product and technique. The longer a stain sits, especially from harsh contaminants, the harder it is to remove without damaging the film. Always approach stain removal with caution and patience.
Common Stains and How to Banish Them Safely
Before attempting any stain removal, always test the cleaning solution or remover on a small, inconspicuous area of the wrap (like an inner door jamb or a less visible panel) to ensure it doesn't cause discoloration or damage. This is critical, especially for matte or satin finishes, which can be more sensitive to certain chemicals.
- Tree Sap: This is one of the toughest offenders. For fresh sap, try a small amount of isopropyl alcohol (IPA) diluted 1:1 with water on a clean microfiber towel. Gently dab and wipe. For tougher, dried sap, a dedicated tree sap remover (ensure it's wrap-safe!) like Gyeon Q²M Tar or 3M General Purpose Adhesive Cleaner can be effective. Apply to a towel, let it sit for a moment to soften the sap, then gently wipe away. Avoid scraping.
- Bug Splatters & Bird Droppings: These are highly acidic and can etch a wrap if left too long. Pre-soak the area with a wet microfiber towel for 5-10 minutes to soften the residue. Then, use a wrap-safe bug and tar remover (e.g., Meguiar's Gold Class Bug & Tar Remover or Chemical Guys Bug & Tar Remover) applied to a fresh microfiber cloth. Gently wipe away. Repeat if necessary.
- Road Tar & Grease: These sticky contaminants often require a solvent-based approach, but you must choose carefully. Citrus-based degreasers that are specifically formulated for automotive finishes and safe for wraps are excellent. Again, Gyeon Q²M Tar or a small amount of IPA can work. Apply to a clean microfiber, gently wipe the area, and immediately rinse with water afterward to remove any residue.
- Fuel Spills: Accidental fuel spills can quickly stain and even degrade vinyl, especially around the fuel filler cap. Wipe them off immediately with a dry microfiber cloth. If a residue remains, a quick wash with mild soap and water is usually sufficient. Never let fuel sit on the wrap.
- Hard Water Spots: These mineral deposits can be unsightly. For fresh spots, a quick wipe with a clean, damp microfiber towel is often enough. For more stubborn, dried spots, try a solution of distilled white vinegar diluted 1:1 with distilled water. Spray it on a microfiber towel, gently wipe the spot, and rinse thoroughly with clean water immediately. There are also specific wrap-safe water spot removers available.
Remember, always use clean, soft microfiber towels for stain removal. Rubbing too hard can scuff or damage the wrap's surface, especially on delicate finishes. The goal is to lift the stain, not abrade it away.
Long-Term Protection & Pro Tips for Wrap Longevity
Cleaning is essential, but protecting your wrap against the elements is what truly ensures its longevity and keeps it looking phenomenal for years. From my experience managing a busy wrap shop, I've seen vehicles with the same film look drastically different after 3-5 years, purely based on how well they were protected and stored.
Protective Coatings: The Shield Against Wear
Once your wrap is clean, applying a protective coating is a game-changer. These products add an extra layer of defense against UV rays, environmental contaminants, and make future cleaning much easier. Think of it as sunscreen for your car. For a quick and effective boost, a good spray sealant or wrap-specific detailer (like Chemical Guys Wrap Detailer or 3M Wrap & Sealant) can be applied after every wash. These products enhance hydrophobicity, causing water to bead off, and provide a sacrificial layer that protects the vinyl from light abrasion and UV degradation. They're easy to apply: simply spray onto a panel, spread with one microfiber towel, and buff to a streak-free finish with another.
For more serious protection and extended durability, consider a ceramic coating specifically designed for vehicle wraps or PPF. Unlike traditional waxes that sit on the surface, ceramic coatings bond at a molecular level, creating a durable, transparent layer that can last 1-3 years. Brands like Gyeon Quartz (Cancoat, Mohs Evo), CarPro (Cquartz Lite, Skin), and Feynlab offer excellent wrap-friendly ceramic coatings. These coatings provide superior UV protection, extreme slickness for easier cleaning, and increased resistance to minor scratches and chemical etching. Applying a ceramic coating is a more involved process—requiring a perfectly clean surface and careful application according to manufacturer instructions—but the benefits are undeniable. For example, a matte black Ford F-150 crew cab, which might take 18-22 linear meters of 60-inch film to wrap, will benefit immensely from a ceramic coating, preventing the common issue of fingerprints and oils permanently staining the matte finish.
Parking, Environmental Factors, and Avoiding Damage
Where you park your vehicle plays a huge role in wrap longevity. Prolonged exposure to direct sunlight and harsh UV rays is the number one enemy of any vinyl wrap, leading to fading, cracking, and premature degradation. Whenever possible, park in a garage, carport, or shaded area. If outdoor parking is unavoidable, consider a breathable car cover for extended periods. Extreme temperatures, both hot and cold, can also stress the wrap adhesive and film, making it more brittle or prone to lifting.
Finally, some preventative measures can save you a lot of heartache and expense:
- Automatic Car Washes: Avoid these at all costs! The harsh brushes, aggressive chemicals, and high-pressure jets are notorious for scratching wraps, lifting edges, and even tearing the film. Stick to hand washing.
- Pressure Washing: If you must use a pressure washer, do so with extreme caution. Maintain a distance of at least 3-4 feet from the wrap, use a wide fan nozzle (40-degree or wider), and never aim directly at seams, edges, or lifted areas. Too much pressure can force water under the film or lift the edges.
- Sharp Objects & Abrasives: Keep anything sharp or abrasive away from your wrap. This includes ice scrapers, stiff brushes, and harsh scouring pads.
- Minor Repairs & Edge Sealing: If you notice a small edge lifting, address it immediately. A quick application of an edge sealer (like 3M Edge Sealer or Avery Edge Sealer) can prevent further peeling. For small tears or scuffs, sometimes a professional shop can patch or repair a section, saving you the cost of re-wrapping an entire panel. Neglecting a lifting edge on a critical area like a bumper can quickly lead to the entire panel failing, requiring a costly re-wrap of $300-$800, which far exceeds the price of a small tube of edge sealer.
By consistently applying these maintenance and protection strategies, you're not just preserving the look of your wrap; you're actively extending its lifespan, aiming for that 5-7+ year mark and beyond. A well-maintained wrap isn't just a point of pride; it's a testament to smart ownership and a truly pristine vehicle.