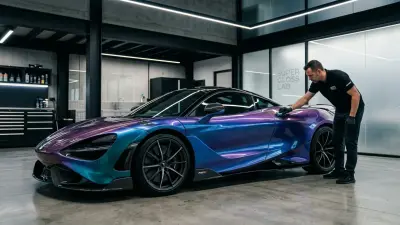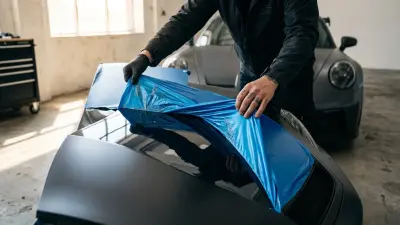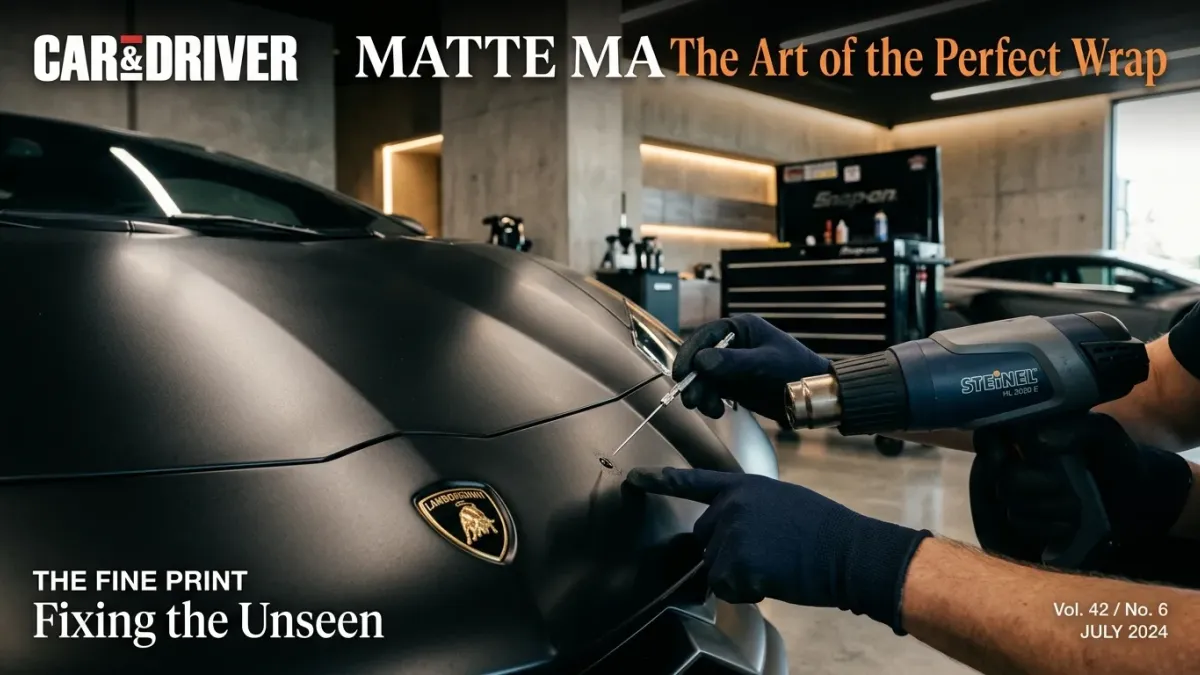
You’ve invested in a beautiful vehicle wrap, transforming your ride with a fresh color or stunning graphic. It looks incredible, but then you spot it: an irritating bubble, an unwelcome imperfection staring back at you. Don't panic. Seeing a bubble or two on your freshly wrapped car is a common occurrence, even for seasoned pros. The good news? Most bubbles are straightforward to fix, and knowing how to handle them correctly can save your wrap, keep it looking sharp, and extend its lifespan significantly.
I remember early in my career, staring at a particularly stubborn bubble on a client's pristine sedan, feeling that knot in my stomach. But with years of practice and the right techniques, I learned that these small issues are just part of the wrapping journey. Here at Car Wrap Info, we want to equip you with the knowledge to tackle these challenges head-on, giving you that professional edge whether you're a DIY enthusiast or just want to understand what your installer is doing.
Understanding Your Bubble: Diagnosis is Key
Before you even think about touching that bubble, you need to understand what kind you’re dealing with. Not all bubbles are created equal, and the fix depends entirely on their origin. Misdiagnosing can lead to more damage, so let’s get this right.
Air Bubbles vs. Moisture Bubbles vs. Contamination
- Air Bubbles: These are the most common culprits. They're typically rounded, can range from pin-sized to several inches across, and appear when air gets trapped between the vinyl and the vehicle's surface during installation. Modern films, especially premium cast vinyl (the high-quality, heat-activated film designed for complex curves that won't shrink much), feature tiny "air-release channels" that help air escape. However, sometimes air still gets trapped, especially in recessed areas or if squeegeeing wasn't perfect.
- Moisture Bubbles (Water/Slip Solution): These usually look a bit different – often cloudier, less perfectly round, and might appear after a wash, rain, or if a wet application method (common for PPF or small decals, but rare for full vehicle wraps) wasn’t fully squeegeed dry. The trapped moisture can create pockets.
- Contamination Bubbles: These are the trickiest. They feel solid or gritty when you press on them. These aren't air or water; they’re a tiny piece of dirt, dust, lint, or debris stuck underneath the vinyl. Unfortunately, these can’t be "fixed" in the traditional sense without lifting the vinyl.
So, why is this distinction so important? Because an air bubble can be punctured, but a contamination bubble cannot. Pressing on a contamination bubble won’t make it disappear; it’ll just stretch the vinyl over the debris, often making it more noticeable. Understanding what you're up against is the first step to a successful repair.
The Right Tools for the Job
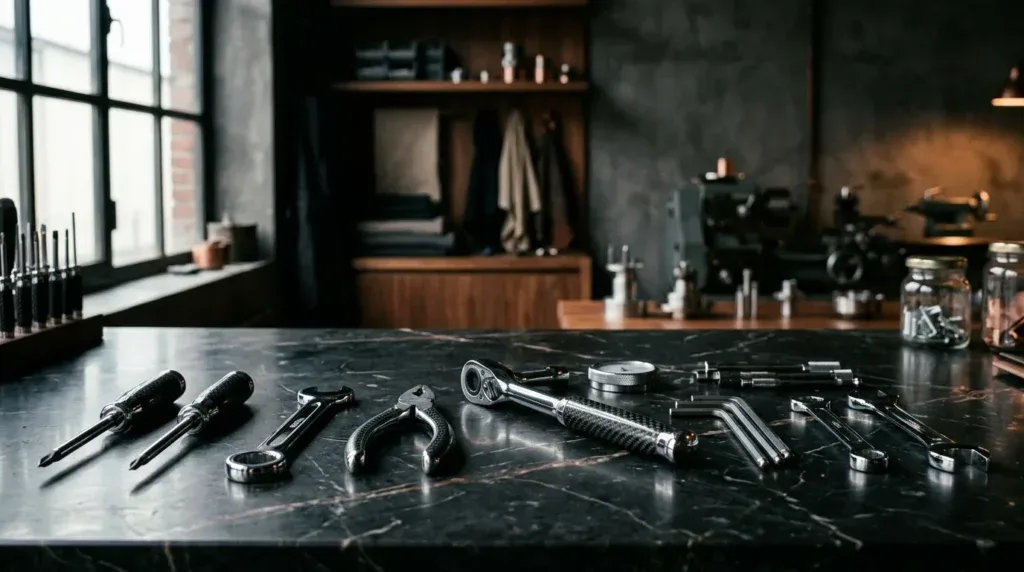
Honestly, having the right tools makes all the difference between a clean, invisible repair and a botched job. Don't reach for a sewing needle or a sharp knife; specialized tools are designed to work with vinyl wraps specifically. Here's what you'll need:
- vinyl wrap Needle / air release Tool: This is your primary weapon. These tools have an ultra-fine, sharp point designed to create a tiny, almost invisible hole in the vinyl. A regular sewing needle is too thick and will leave a more noticeable puncture. Brands like 3M's Air Release Tool or equivalent specialty needles are perfect.
- Felt-Tipped Squeegee: Essential for pressing out air without scratching your vinyl. Brands like 3M (e.g., the Blue or Gold series) or Avery Dennison offer excellent felt-tipped squeegees. Always make sure the felt edge is clean and free of debris.
- Heat Gun (or Mini Torch): A heat gun is crucial for softening the vinyl, making it more pliable, and activating the adhesive for a secure re-bond after fixing. Use a reliable model with adjustable temperature settings. Aim for low heat, around 100-120°F (38-49°C), just warm enough to make the vinyl flexible. A mini torch can be used with extreme caution for very small, localized heat, but a heat gun is safer and more controlled for beginners.
- Clean Microfiber Cloth: For cleaning the area around the bubble before you start working. You don't want to introduce new contaminants.
- Isopropyl Alcohol (IPA) 70% or 90%: For thoroughly cleaning the vinyl surface.
Equipping yourself with these items is a small investment that pays huge dividends in maintaining your wrap's pristine appearance. Trust me, it’s worth it.
Step-by-Step Bubble Busting Techniques
Now that you know what kind of bubble you have and you’ve got your tools ready, let's get down to business. These techniques are applicable whether you're working with premium cast vinyl like 3M 2080/1080 or Avery Supreme Wrapping Film, or even the slightly stiffer, more affordable calendered vinyl (films like Oracal 651, better suited for flat surfaces, though less common for full wraps).
Technique 1: For Small to Medium Air Bubbles (No Contamination)
- Clean the Area Thoroughly: Use your microfiber cloth and IPA to wipe down the vinyl surface around the bubble. This removes any wax, dirt, or oils that could hinder the repair or introduce new debris. Let it dry completely.
- Puncture Carefully: Take your vinyl wrap needle. Hold it almost parallel to the wrap surface, and gently pierce the very edge of the bubble, not the center. Piercing at the edge allows the air to escape more easily as you squeegee, and the small hole will be less noticeable. For a larger bubble, you might need 2-3 small punctures strategically placed around its perimeter.
- Squeegee Out the Air: With your felt-tipped squeegee, start from the side of the bubble opposite your puncture point. Apply moderate, firm pressure and slowly push the trapped air towards the hole you just made. Use overlapping strokes to ensure all air is pushed out. The goal is to flatten the vinyl completely back down onto the surface.
- Post-Heat and Re-squeegee: This step is critical for ensuring the vinyl's adhesive re-bonds properly and prevents the bubble from returning. Using your heat gun on a low setting (remember, warm to the touch, not hot), gently warm the area you just worked on for about 10-15 seconds. Immediately after heating, re-squeegee the area with firm pressure. This reactivates the pressure-sensitive adhesive and helps the vinyl conform and bond to the surface, engaging its "memory" to stay flat.
Technique 2: For Larger, Stubborn Air Bubbles or Moisture Pockets
Sometimes, bubbles are larger or contain moisture, making them a bit more challenging. This technique builds on the first one.
- Apply Gentle Heat: For a larger or more stubborn bubble, gently warm the entire bubble area with your heat gun first. This makes the vinyl more pliable and stretchy, which helps immensely. Think 'warm to the touch,' not 'hot to handle.'
- Puncture and Release: As before, use your wrap needle to make one or more tiny punctures at the edge of the bubble. If it’s a moisture bubble, you might see a tiny bead of liquid escape. Use your microfiber to dab this away immediately.
- Squeegee with Purpose: For larger bubbles, you might need to work from the center outwards towards multiple puncture points, or from one edge towards a single puncture, gradually coaxing the air (or moisture) out. Apply consistent, firm pressure.
- Crucial Post-Heat and Re-squeegee: For larger areas, post-heating is even more vital. Warm the entire repaired area thoroughly but carefully (again, low heat, sweeping motion to avoid overheating any one spot). Immediately follow with firm squeegee pressure. This "sets" the vinyl and adhesive, preventing lifting and future bubble recurrence. This step is what separates a temporary fix from a lasting one.
To be fair, sometimes a bubble isn't just air. If you diagnose a contamination bubble, where a speck of dirt is clearly trapped, puncturing won't help. The only true fix for these is to carefully lift the vinyl in that area (if possible without stretching or damaging), clean the surface and the underside of the vinyl, then re-apply and post-heat. If the contamination is large or the vinyl is difficult to lift, you might need to consider professional help or even a small patch if it's in an inconspicuous area, but often, it's best to leave these to a pro to avoid further damage.

Prevention is the Best Cure
Based on my experience, most bubbles can be avoided with proper installation techniques. While this article focuses on fixing them, let me add something here: preventing them in the first place is always better.
- Thorough Surface Preparation: A clean surface is paramount. Degreasing, a clay bar treatment, and multiple IPA wipes ensure no dirt or contaminants are lurking to cause those annoying contamination bubbles.
- Proper Squeegee Technique: Consistent, overlapping strokes with firm pressure during installation are key. Always push air towards an open edge, or if working on a panel, ensure you’re pushing air out through the air-release channels effectively.
- Adequate post-heating: Don't skip post-heating during the initial installation! Heating all edges and recessed areas to the vinyl manufacturer's recommended post-heat temperature (e.g., 180-200°F / 82-93°C for many 3M and Avery films) ensures the adhesive fully bonds and the vinyl's memory is set, drastically reducing the chances of lifting or bubbles appearing later.
- Allow for Curing: After installation, let your wrap cure for at least 24-48 hours before washing it. This allows the adhesive to fully set.
Conclusion
Don't let a few bubbles diminish the joy of your vehicle wrap. Learning how to properly identify and fix these common imperfections is a skill that empowers you to maintain your investment and keep your vehicle looking its best for years to come. With the right tools and a careful, methodical approach, you can confidently tackle most air and moisture bubbles, extending your wrap's life and preserving that flawless finish. Remember, practice makes perfect, and even the smallest repair can make a big difference in the overall appearance of your ride. If you encounter something truly stubborn or a contamination bubble that requires lifting, don't hesitate to reach out to a professional installer. They have the expertise to ensure a seamless repair.