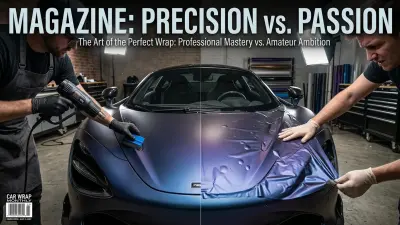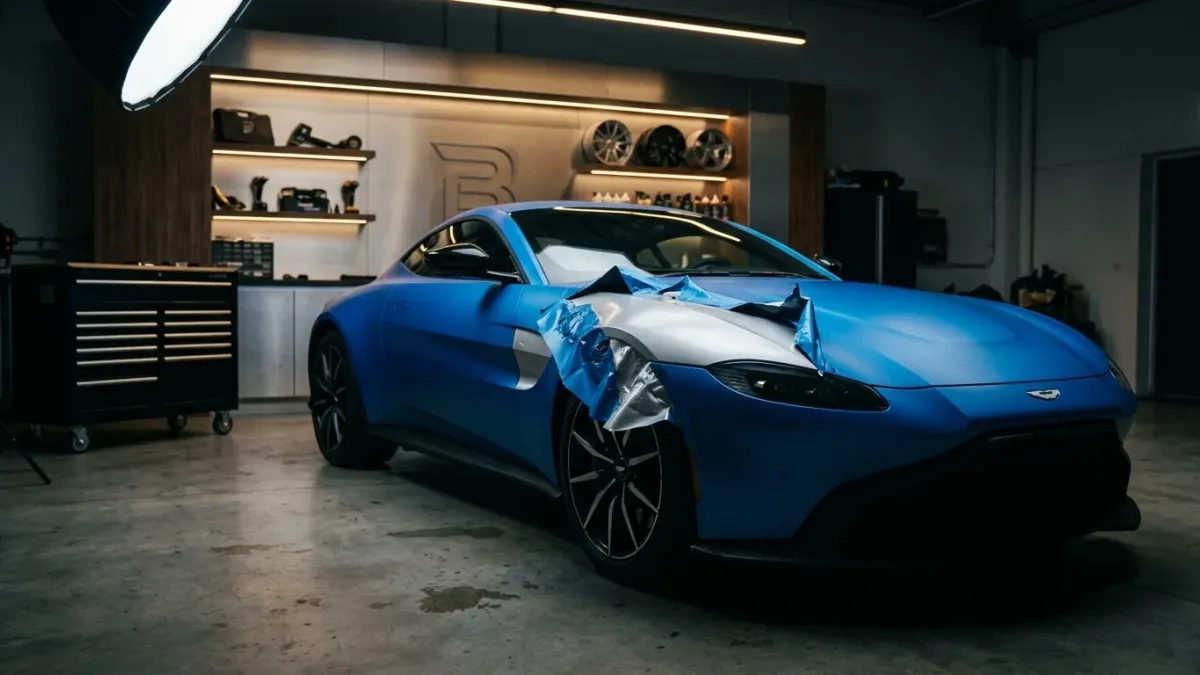
Thinking of giving your ride a fresh new look with a vehicle wrap? That’s fantastic! Vinyl wraps are an incredible way to personalize your car, protect its original paint, and stand out from the crowd. But let me tell you, as someone who’s wrapped hundreds of vehicles over the past 15 years, the journey from a roll of vinyl to a perfectly finished car is paved with potential pitfalls.
I’ve seen it all: the frustrating bubbles, the mysteriously lifting edges, the heartbreaking tears. Most of these issues stem from a handful of common mistakes that even enthusiastic DIYers and beginners make. My goal at Car Wrap Info is to arm you with the real-world, no-fluff advice you need to succeed. So, let’s dive into the top 5 mistakes to avoid, ensuring your next wrap project is a head-turning triumph, not a costly headache.
Mistake 1: Skipping Proper Surface Preparation – The Foundation of Failure
Honestly, if there's one mistake that causes more headaches than any other, it's inadequate surface preparation. Think of your vehicle's surface as a canvas. You wouldn't paint a masterpiece on a dirty, greasy canvas, would you? The same principle applies to vinyl wrapping. Any dirt, dust, wax, polish, oil, or even invisible residues will act as a barrier between the vinyl's adhesive and your car's paint, leading to instant failure.
I've seen wraps peel off within days, not because the vinyl was bad, but because the car looked clean to the naked eye, yet was hiding years of wax buildup. The adhesive simply can't bond properly. This isn't just about aesthetics; it’s about the longevity and integrity of your entire wrap. A compromised bond means lifting edges, premature bubbling, and a drastically shortened lifespan for your investment.
Your Prep Checklist: Don't Cut Corners!
- Thorough Wash: Start with a two-bucket wash using a pH-neutral car soap. Avoid any "wash and wax" products. For a deeper clean, a bit of dish soap (like Dawn) can be surprisingly effective for stripping old waxes, but always rinse thoroughly.
- Chemical Decontamination: After washing, use an all-purpose cleaner (APC) or a dedicated prep spray (like 3M Prep Solvent-70 or Avery Surface Cleaner) on every panel. Denatured alcohol (a 70% Isopropyl Alcohol or IPA mix is also great) is your best friend here. Wipe down everything, especially around edges, door jambs, under handles, and around emblems. These hidden spots are notorious for collecting grime.
- Mechanical Decontamination: A clay bar (a detailing clay, not actual clay) is non-negotiable. It physically pulls embedded contaminants like rail dust, industrial fallout, and overspray from the paint surface that washing alone can't remove. Lubricate the surface with detail spray or a diluted car wash solution as you clay.
- Final Wipe Down: Before applying vinyl, do one last wipe-down with IPA (70% concentration is ideal, as 90%+ evaporates too quickly) on all surfaces. Use lint-free microfiber towels. The goal is a squeaky-clean, residue-free surface.
- Ideal Environment: Work indoors, in a dust-free, temperature-controlled environment (65-75°F or 18-24°C). Dust particles are invisible enemies that become unsightly bumps under your vinyl.
Remember, a few extra hours spent on preparation will save you days of frustration and potential re-work later. This is where professional wraps truly shine; we obsess over cleanliness.
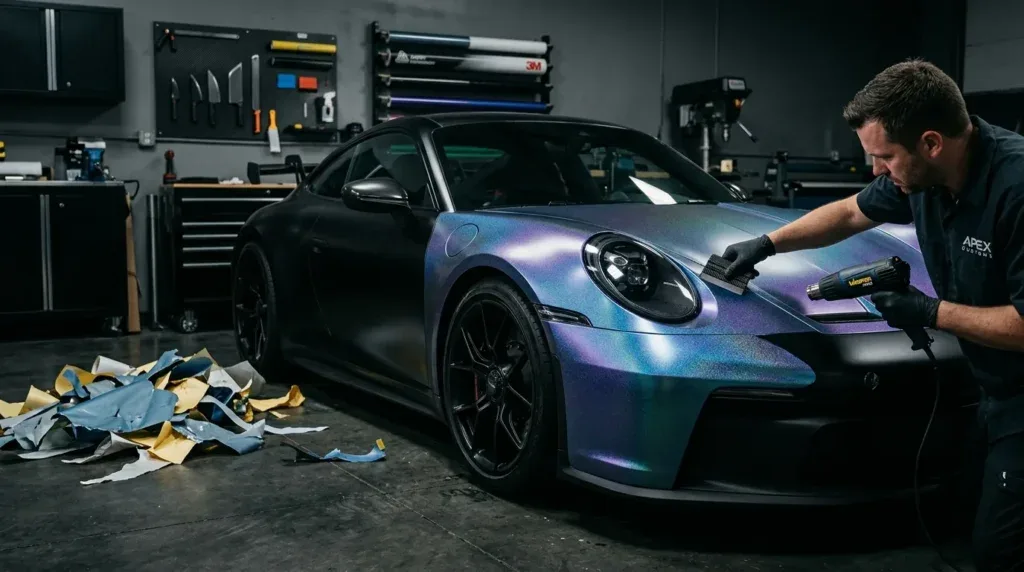
Mistake 2: Using the Wrong Tools or Low-Quality Film – A Recipe for Frustration
I get it, wrapping can seem expensive, and it's tempting to save a few bucks on film or tools. But let me tell you, this is a classic "penny wise, pound foolish" situation. You wouldn't try to build a house with a plastic hammer and cheap plywood, right? The same goes for vehicle wrapping.
I’ve seen countless DIY projects go sideways because someone tried to wrap a complex curve with cheap, stiff calendered vinyl instead of proper cast film. Calendered vinyl is a more affordable, stiffer film, typically 3-4 mil thick, made by rolling molten PVC through calendars. It's great for flat surfaces like signs or short-term graphics, but it has significant memory and shrinkage, making it a nightmare for complex curves. In contrast, cast vinyl is the premium, heat-activated film (usually 2.5-3.5 mil thick) that starts as a liquid, resulting in a stable, conformable material with excellent memory retention and durability, perfect for vehicles.
Investing in Success: Choose Wisely, Wrap Better
- Quality Film is Key: For full vehicle wraps, always choose premium cast vinyl. Popular brands like 3M (2080 or 1080 series), Avery Dennison (Supreme Wrapping Film), Oracal (970RA), Hexis, and Arlon are industry standards for a reason. These films are engineered to conform, stretch, and last. They might cost more (a full wrap on a 2024 Tesla Model Y typically costs $4,200-$5,800 depending on finish and film brand for professional installation), but they'll save you endless headaches.
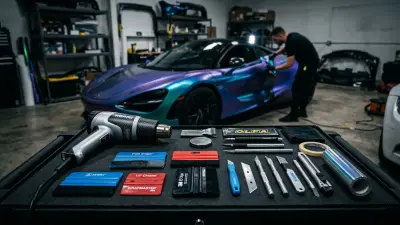
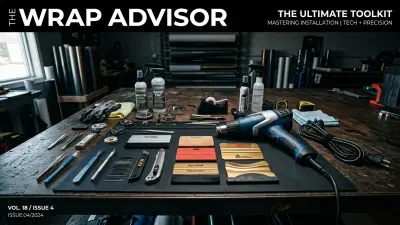
- Essential Tool Kit:
- Squeegees: Don't just get one. You'll need different types – hard plastic for flat areas, softer felt-tipped for delicate surfaces and contours. Brands like 3M, Avery, and Vvivid offer great options.
- Heat Gun: A powerful heat gun with adjustable temperature settings (e.g., a Steinel HG 2310 LCD or a Milwaukee M18 Fuel) is non-negotiable. A hair dryer simply won't cut it; it lacks the necessary heat (you'll need temperatures in the 180-200°F range for post-heating).
- Knifeless Tape: This innovative tape allows you to make precise cuts without ever touching your vehicle's paint with a blade. It's a game-changer, especially for beginners.
- Sharp Blades: Always use fresh, snappy blades (like Olfa brand). A dull blade will tear vinyl, not cut it cleanly.
- Wrap Gloves: These prevent fingerprints and reduce friction, making it easier to glide the vinyl.
- 3M Rivet Brush: Essential for pushing vinyl into deep recesses like rivets on a cargo van or textured plastic.
A good set of tools and quality film will make your life infinitely easier and dramatically improve the final result. Skimping here is a direct path to disappointment.
Mistake 3: Improper Heat Management and Post-Heating – The Memory Game
Heat is both your best friend and your worst enemy when wrapping. It activates the adhesive, allows the vinyl to stretch and conform, and sets its final shape. But misuse of heat is a top reason wraps fail prematurely. Too much heat can overstretch the film, burn it, or damage the adhesive. Too little, and the film won't conform or adhere properly. The most overlooked aspect? Post-heating.
Post-heating is the critical step of uniformly heating the entire wrapped surface, especially stretched areas and edges, to a specific temperature (usually 180-200°F or 82-93°C for most cast vinyls). This process removes the film's "memory," essentially telling the vinyl, "This is your new permanent shape; don't try to shrink back." Without it, the vinyl will constantly try to revert to its original flat shape, leading to lifting, bubbling, and edge peel over time.
Mastering the Heat Gun: Your Vinyl's Best Friend
- Controlled Stretching: When conforming vinyl around curves, use just enough heat to make the film pliable. Gently stretch, don't yank. Focus on using the film's natural elasticity.
- Even Application: When post-heating, use a broad, sweeping motion with your heat gun. Don't hold it in one spot, as this can burn the film.
- Temperature Checks: An infrared thermometer is an invaluable tool to ensure you’re reaching the target temperature uniformly across the surface, especially in deep recesses and around edges.
- The "Memory" Factor: Imagine you've just wrapped a tricky mirror, it looks perfect and bubble-free. But if you skip post-heating, that film's 'memory' will kick in over the next few days or weeks, and those edges are lifting like they never saw a squeegee. This is why post-heating every square inch, especially stretched areas, is absolutely critical.
This is where patience and attention to detail truly pay off. A properly post-heated wrap will last significantly longer and look better for years.
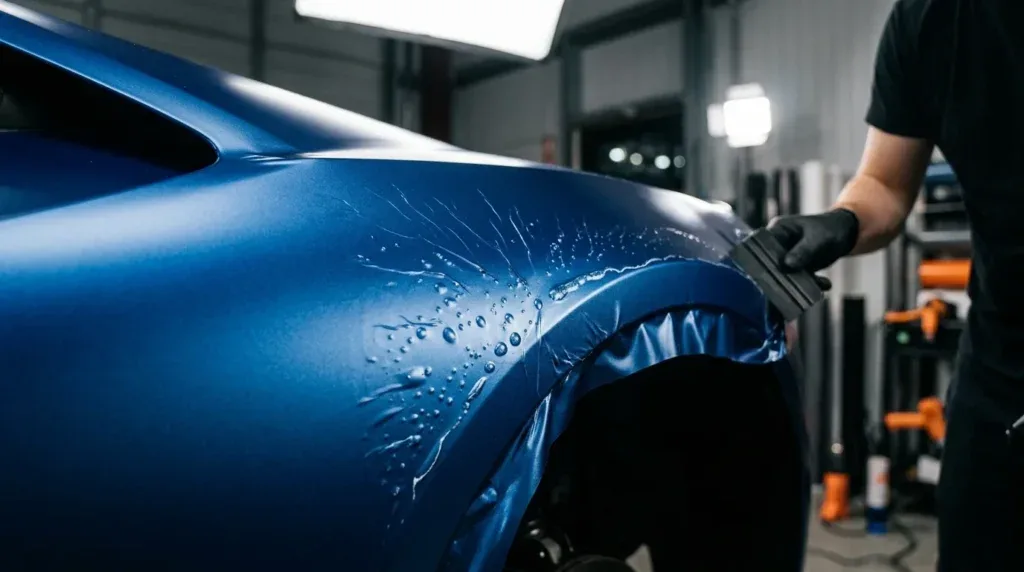
Mistake 4: Overstretching and Improper Tension – The Bubbles and Tears Trap
When you encounter a complex curve or a deep recess, the natural inclination for many beginners is to pull, pull, and pull some more. While cast vinyl is incredibly conformable, it has its limits. Overstretching the film severely compromises its adhesive layer, reduces its durability, and can lead to discoloration or a "stressed" appearance.
When you overstretch, the adhesive becomes thinner and weaker, making it prone to lifting. It also introduces excessive tension into the film, which the vinyl will try to relieve over time, often resulting in "tenting" (where the film bridges over a curve instead of adhering) or ultimately, tearing. For example, stretching a 3M 2080 film by more than 20% can significantly reduce its intended 7-year lifespan.
The "Less is More" Approach to Tension
- Relief Cuts: Instead of fighting the film, learn to make strategic relief cuts in complex areas. These allow the vinyl to relax and lay flat without excessive stretching.
- Bridge and Anchor: For deep recesses or valleys, use the "bridge and anchor" technique. Apply the film to the flat areas first, then use heat and gentle pressure to push it into the recess, working from the center outwards.
- Paneling: Sometimes, the best approach for an extremely complex part (like a bumper with intricate vents) is to wrap it in multiple, well-planned panels rather than trying to force one piece of vinyl to cover everything. This results in a cleaner, more durable finish.
- Consistent Squeegee Pressure: Use consistent, overlapping strokes with your squeegee. This pushes air out evenly and helps the adhesive bond without introducing unnecessary tension. Avoid aggressive, inconsistent pressure.
The goal is to apply the vinyl with as little tension as possible, allowing its natural conformability to do most of the work. This will result in a smoother finish and a much longer-lasting wrap.
Mistake 5: Neglecting Post-Installation Care and Maintenance – Shortening Your Wrap's Life
You’ve invested time, effort, and money into your beautiful new wrap. Don't let it go to waste by neglecting proper care! A vehicle wrap isn't bulletproof; it needs attention just like paint, if not more so. Failing to maintain your wrap properly is like buying a brand-new car and never washing it – it will look dull, fade, and degrade prematurely.
I often hear people assume a wrap is "maintenance-free." Nothing could be further from the truth! Your wrap's lifespan (which can be 5-7+ years with proper care) is directly tied to how you look after it. Neglecting maintenance can lead to fading, staining, premature lifting, and a significantly reduced aesthetic appeal.
Your Wrap's Lifeline: A Maintenance Schedule
- Hand Wash Only: Avoid automatic car washes! The harsh chemicals, stiff brushes, and high-pressure sprays can damage the vinyl, lift edges, and scratch the surface. Hand wash your wrapped vehicle every 1-2 weeks using a pH-neutral car soap and soft microfiber towels.
- Pressure Washer Caution: If using a pressure washer, keep the nozzle at least 12-18 inches away from the surface and use a wide spray pattern (40-degree nozzle). Absolutely avoid aiming directly at seams or lifting edges.
- Wrap-Safe Sealants/Coatings: Just like paint, wraps benefit from protection. Use specific wrap-safe detail sprays, waxes, or ceramic coatings. Products like Chemical Guys Wrap Detailer, Meguiar's M27, or Gyeon Quartz Q²M Cure are excellent. For matte or satin finishes, ensure you use products specifically designed for those finishes to avoid adding shine. A professional ceramic coating, like Gyeon Q2 Matte or CarPro Cquartz Lite, can add $300-$600 to your wrap cost but provides superior UV protection, hydrophobic properties, and makes cleaning much easier.
- Immediate Stain Removal: Bird droppings, tree sap, bug guts, and fuel spills are highly acidic and can etch or stain the vinyl if left on too long. Clean them off as soon as possible with a gentle cleaner.
- Garage Parking: Whenever possible, park your wrapped vehicle indoors or under shade. Prolonged exposure to harsh UV rays is the primary cause of fading and degradation.
You wouldn't spend thousands on a paint job and never wash it, right? So why treat your wrap any differently? Proper maintenance is a small effort for a huge return on your investment, keeping your vehicle looking sharp for years.

Wrapping Up Your Wrapping Journey
Navigating the world of vehicle wraps might seem daunting at first, but by understanding and actively avoiding these top five mistakes, you’ll be well on your way to a successful and satisfying wrap experience. It all boils down to preparation, patience, using the right tools and materials, mastering your techniques, and committing to proper aftercare.
Remember, every expert started as a beginner. Take your time, do your research, and don't be afraid to practice on smaller panels or scrap pieces of vinyl first. The satisfaction of a perfectly executed wrap is truly rewarding. And as always, Car Wrap Info is here to provide the insights and guidance you need every step of the way. Happy wrapping!