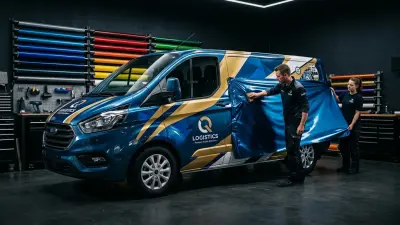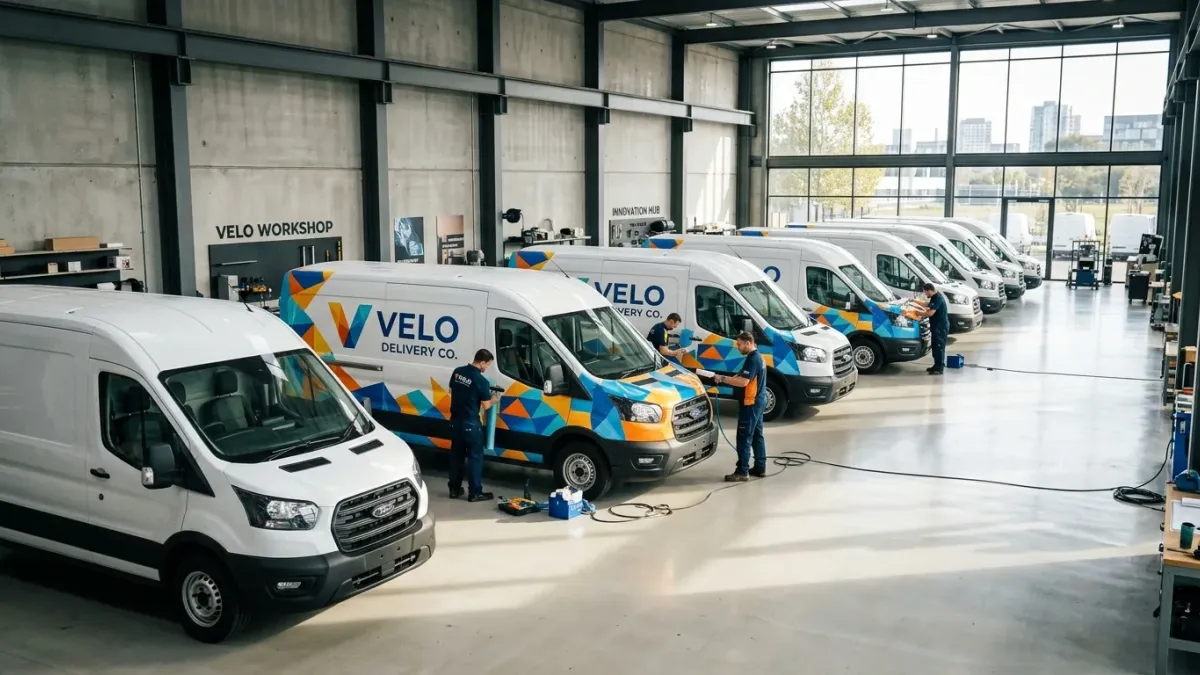
You’re running a small business, and every penny you spend on marketing needs to work harder than a double espresso on a Monday morning. The idea of turning your work vehicles into mobile billboards is brilliant – they’re already out there, driving around, so why not make them advertise for you? But if you’re thinking about fleet branding, you’re probably also thinking, "How can I do this without emptying the marketing piggy bank, and how do I make sure it actually lasts?"
I’ve been knee-deep in vinyl and heat guns for over 15 years, wrapping everything from delivery vans to service trucks. I’ve seen budget wraps that look fantastic for years, and I’ve seen expensive ones fall apart quickly because of poor planning. The secret isn't just about finding the cheapest option; it's about smart choices in design, material, and ongoing care that maximize your return on investment (ROI). We’re going to talk about how to get the most bang for your buck, ensuring your branded vehicles don’t just grab attention, but hold it, build trust, and keep promoting your business for years to come. This isn't just about putting a logo on a door; it’s about creating a durable, effective marketing machine.
Design for Longevity & Impact: More Than Just a Logo
When you're on a budget, every square inch of vinyl counts. This means your design has to be strategic. It's not about filling space; it's about communicating your message clearly and memorably, while also considering how the design will perform over time and across different vehicle types in your fleet. A great design for a single van might not translate well to a pickup truck or a sedan without thoughtful adaptation.
The Power of "Less Is More"
For budget-conscious branding, simplicity is your best friend. Cluttered designs are hard to read quickly and can look amateurish. Focus on your core message: Who are you? What do you do? How can customers contact you? Use clear, legible fonts and high-contrast colors that pop against your vehicle's base paint or chosen wrap color. Think about the "3-second rule": Can someone driving past understand your message in three seconds or less?
- Logo Placement: Prominently display your logo where it's easily visible from multiple angles – typically on the front doors, rear, and possibly the hood for larger vehicles.
- Key Information: Phone number and website should be large and clear. Avoid excessive text listing every single service; let your logo and a catchy tagline do the talking.
- Color Strategy: Leverage your existing vehicle color. If you have white vans, incorporate white into your wrap design to save on material costs. For example, a partial wrap with bold blue and green graphics on a white Ford Transit Connect can look incredibly professional, covering maybe 40% of the vehicle, yet achieving full impact. This might cost you $1,800-$3,000 per vehicle, versus $4,000-$6,000 for a full wrap.
Adapting Design Across a Diverse Fleet
One of the biggest challenges for small fleets is consistency across different vehicle models (e.g., a Ford F-150, a Ram ProMaster, and a Honda CR-V). A good design system accounts for these variations without requiring a full redesign for each. This might involve:
- Creating a modular graphic system where elements can be scaled and positioned to fit various door sizes, window shapes, and body panels.
- Using vinyl lettering for standard information (phone, website) that can be easily applied and adjusted for different vehicle dimensions.
- Standardizing brand colors and fonts across all vehicle types, even if the graphic layout slightly changes.
A well-thought-out design minimizes waste and ensures a cohesive brand identity, regardless of the vehicle's make or model. This upfront planning saves you money on design iterations and ensures a professional look across your entire fleet.
Material Choices: Balancing Cost, Durability & Application
Choosing the right vinyl isn't just about color; it's about longevity, conformability, and ultimately, cost-effectiveness. For fleet branding, especially on a budget, understanding the difference between material types is crucial.
Cast vs. Calendered Vinyl: The Right Film for the Job
You'll primarily hear about two types of adhesive vinyl films:
- Cast Vinyl: This is the premium option. Cast vinyl is a high-performance, heat-activated film, typically 2.5–3 mil (mils are thousandths of an inch) thick, that is manufactured by pouring liquid vinyl onto a casting sheet. This process allows it to be extremely thin, conform beautifully to complex curves (like rivets, deep recesses, or intricate body lines), and offers superior durability (5-7+ years outdoor life) with minimal shrinkage. Brands like 3M 2080/1080 series, Avery Supreme Wrapping Film, Oracal 970RA, and Hexis Suptac are top-tier cast films. For partial wraps or wraps on vehicles with significant curves, cast vinyl is the undisputed champion for long-term performance.
- calendered vinyl: This is your budget-friendly workhorse. calendered vinyl is a more affordable, stiffer film, typically 3-4 mil thick, made by rolling molten vinyl through a series of heated rollers. It's thicker, less conformable, and has a higher tendency to shrink over time compared to cast vinyl, which can lead to lifting edges on curves or around rivets. Its outdoor life is generally 3-5 years. However, for flat or gently curved surfaces – think large sections of a box truck, side panels of a straight-bodied van, or simple vinyl lettering – calendered vinyl like Oracal 651 or 751 (intermediate and high-performance calendered, respectively) is an excellent, cost-effective choice.
When to Use Which for Fleet Branding
For small businesses, a smart strategy often involves a hybrid approach:
- Partial Wraps (Complex Areas): If your partial wrap design involves covering curved bumpers, wheel wells, or deep body lines, invest in cast vinyl. It will look better and last longer, preventing premature lifting and cracking that would necessitate costly re-wraps.
- Partial Wraps (Flat Areas) & Vinyl Lettering: For designs on flat door panels, rear windows, or straight sections of a tailgate, high-quality intermediate calendered vinyl (like Oracal 751 or 3M IJ35C) is perfectly adequate and will save you money. This could be used for your company name, contact info, and simple spot graphics. For example, a plumbing company might use Oracal 751 for their logo and service list on the flat sides of a Ram ProMaster van for a fraction of the cost of cast film, achieving a professional look for $500-$1,200 per vehicle.
- Window Perforated Vinyl: Don't forget window perf for rear and side windows. Window perforated vinyl is a special film with small, evenly spaced holes that allow visibility from inside the vehicle while displaying graphics to the outside. It’s crucial for maintaining visibility while maximizing ad space. A good quality window perf, like 3M Scotchcal IJ8173, is essential for durability and clear vision.

DIY vs. Professional Installation: Where to Save and Where to Splurge
This is where many small businesses try to save, and it's a critical decision. While DIY can reduce upfront costs, poorly installed wraps can quickly become a liability, costing you more in the long run through failed advertising and vehicle damage.
When to Consider DIY (with Caution)
For very basic applications, like simple vinyl lettering on flat surfaces or small, pre-cut spot graphics, a DIY approach can be feasible if you have patience and the right tools. We're talking about basic company name and phone numbers on a flat door, not complex designs or full panels.
DIY Essentials (Small Jobs):
- Surface Prep: Crucial! Proper surface preparation involves thoroughly cleaning the vehicle of all dirt, wax, grease, and contaminants before applying vinyl to ensure optimal adhesion. You'll need isopropyl alcohol (70% or 90%) and lint-free towels.
- Squeegee: A good quality felt-tipped squeegee (like a 3M PA-1) is a must for smooth application and preventing bubbles.
- Heat Gun: For minor stretching or removing small imperfections. Use with extreme caution, as too much heat can damage the vinyl or vehicle paint. Keep temperatures around 180-200°F (82-93°C) for most vinyls, and always keep it moving.
- Application Fluid: For wet applications of smaller decals, a mix of water and a few drops of dish soap helps reposition the vinyl before squeegeeing.
- knifeless tape: If you need clean cut lines without using a blade on your paint, Knifeless tape is a filament-based cutting tape that allows for precise, clean cuts in vinyl without needing a knife, protecting the vehicle's paint.
Even for DIY, always apply vinyl in a clean, dust-free environment, ideally indoors, with temperatures between 60-75°F (15-24°C).
The Case for Professional Installation
For anything beyond basic lettering – partial wraps, complex graphics, or any application involving curves, rivets, or recesses – professional installation is almost always the smarter investment. Here’s why:
- Expertise & Efficiency: Experienced installers understand material properties, optimal stretch points, and how to prevent common issues like lifting, bubbling, and shrinking. They can wrap a full side of a Mercedes Sprinter van in a few hours, while a DIYer might spend days struggling.
- Specialized Tools: Pros use specific tools like 3M rivet brushes (for seamlessly conforming vinyl around rivets), precise cutting tools, temperature-controlled heat guns, and specialized cleaners that DIYers often lack.
- Warranty: Reputable wrap shops offer warranties on both the material and their workmanship. If an edge lifts or a bubble appears, they’ll fix it. This peace of mind is invaluable.
- Post-Heating: Post-heating is a crucial step where vinyl is heated to a specific temperature (usually 180-220°F or 82-104°C, depending on the film) after application to relieve material stress and ensure long-term adhesion, especially in recessed areas and around edges. This prevents shrinkage and lifting – a step often missed or done incorrectly by DIYers.
Cost Breakdown (2025-2026 Estimates):
- DIY Vinyl Lettering Kit: $150-$400 (for materials, if you supply design).
- Professional Vinyl Lettering/Spot Graphics: $300-$800 per vehicle (e.g., side doors, rear window, basic logo on a Ford Transit).
- Professional Partial Wrap (e.g., 25-50% coverage on a Chevy Express van): $1,500-$3,500 per vehicle, depending on design complexity and material.
- Professional Full Wrap (e.g., a 2024 Tesla Model Y, intricate design): $4,200-$5,800, depending on finish (matte, gloss, chrome) and design complexity. For a large utility truck (Ford F-250 crew cab), a full wrap could be $5,000-$8,000 due to size and potential surface prep.
Remember, a Ford F-150 crew cab typically requires 18–22 linear meters of 60-inch film for a full wrap. The cost of materials alone for quality cast vinyl can be substantial, making professional installation a more justifiable expense for ensuring that material investment isn’t wasted.
Protecting Your Investment: Maintenance & Longevity Hacks
A wrap isn't a "set it and forget it" solution. Proper maintenance is key to extending its life, keeping your brand looking sharp, and maximizing your ROI. Aim for 5-7+ years from a quality wrap.
Regular Cleaning is Non-Negotiable
- Hand Washing is Best: Wash your wrapped vehicles every 1-2 weeks, or immediately after exposure to harsh contaminants (bird droppings, bug splatters, tree sap, road salt). Use a mild car wash soap (pH-neutral, no harsh chemicals or abrasives) and a soft microfiber mitt.
- Avoid Pressure Washers (Mostly): If you must use a pressure washer, keep the nozzle at least 12 inches away from the surface, use a wide-angle spray (40 degrees or more), and never aim directly at seams or lifting edges. High pressure can lift or damage the vinyl.
- No Automatic Car Washes: Brush-style automatic car washes can scratch, dull, and even tear your wrap. Touchless washes are generally safer but still use harsh chemicals that can degrade the vinyl over time. Stick to hand washing.
Protecting Your Wrap
- Waxing & Sealants: Many wrap manufacturers offer specific spray sealants or waxes designed for vinyl (e.g., 3M Car Care products, Chemical Guys Wrap Detailer). These add a layer of protection against UV rays and environmental contaminants. Apply every 2-3 months. Avoid traditional carnauba waxes that can stain matte or satin finishes.
- ceramic coatings: Yes, you can ceramic coat a vinyl wrap! A ceramic coating is a liquid polymer that chemically bonds with the surface of the vinyl, creating a hydrophobic layer that repels water, dirt, and UV rays, making cleaning easier and enhancing durability. This is an excellent way to add an extra layer of protection, especially for high-traffic fleet vehicles. Products like Ceramic Pro Vinyl or Gtechniq Halo are specifically formulated for vinyl.
- Parking Smart: Whenever possible, park your fleet vehicles in shaded areas or garages. Prolonged exposure to direct sunlight and harsh UV rays is the biggest enemy of vinyl, causing fading and cracking.
Clean Removal Practices
When it's time to refresh your branding or sell a vehicle, clean removal is important to protect the underlying paint. High-quality cast vinyl, properly installed and maintained, should remove cleanly without leaving adhesive residue or damaging the OEM paint, assuming the paint itself was in good condition prior to wrapping. If you used cheaper, low-quality calendered vinyl, or if the wrap was left on too long (beyond its recommended lifespan), expect more adhesive residue and a tougher removal process, potentially requiring professional help.
To remove vinyl, apply low heat (around 120-150°F or 49-65°C) with a heat gun, then slowly peel the vinyl back at a sharp angle. Any remaining adhesive can usually be cleaned with specialized adhesive removers like 3M General Purpose Adhesive Cleaner.
By focusing on smart design, appropriate material choices, strategic professional installation, and diligent maintenance, your small business fleet can be a powerful, long-lasting marketing tool that delivers consistent branding without consistently draining your budget. It's an investment that pays dividends, mile after mile.