Why Meticulous Prep is Non-Negotiable for Any Wrap
You've picked out the perfect color, maybe a stunning matte black from 3M's 2080 series or a vibrant gloss metallic from Avery Supreme Wrapping Film. You're excited, perhaps a little nervous, ready to transform your ride. But before that beautiful roll of vinyl even touches your car, there's a critical, often underestimated step that dictates the entire success of your project: vehicle preparation. Honestly, if you're looking for real-world, no-fluff advice, know this: preparation is 90% of a successful wrap application.
Think of it like painting a wall. You wouldn't just slap paint over dust, grease, or peeling old paint, would you? A vinyl wrap, whether it's a 2.5-3 mil cast vinyl (the premium, heat-activated film that conforms to complex curves without shrinking back) or a 4-5 mil PPF (paint protection film), relies entirely on a clean, smooth surface for optimal adhesion. Any tiny particle, spec of dust, or hidden oil can become a bubble, a lifted edge, or a contaminated spot that ruins the finish and drastically shortens the life of your wrap. This isn't just about aesthetics; it’s about ensuring your investment lasts the promised 5-7+ years, protecting your paint and looking sharp.
What would happen if you skipped these steps? In my experience, you'll be dealing with premature lifting, especially around edges and recessed areas, unsightly bubbles, and a generally poor finish that screams "DIY gone wrong." Even a more forgiving calendered vinyl (the more affordable, stiffer film better suited for flat surfaces) will fail if the surface isn't properly prepared. So, let's dive into the essential steps that separate a professional-grade wrap from an expensive mistake.
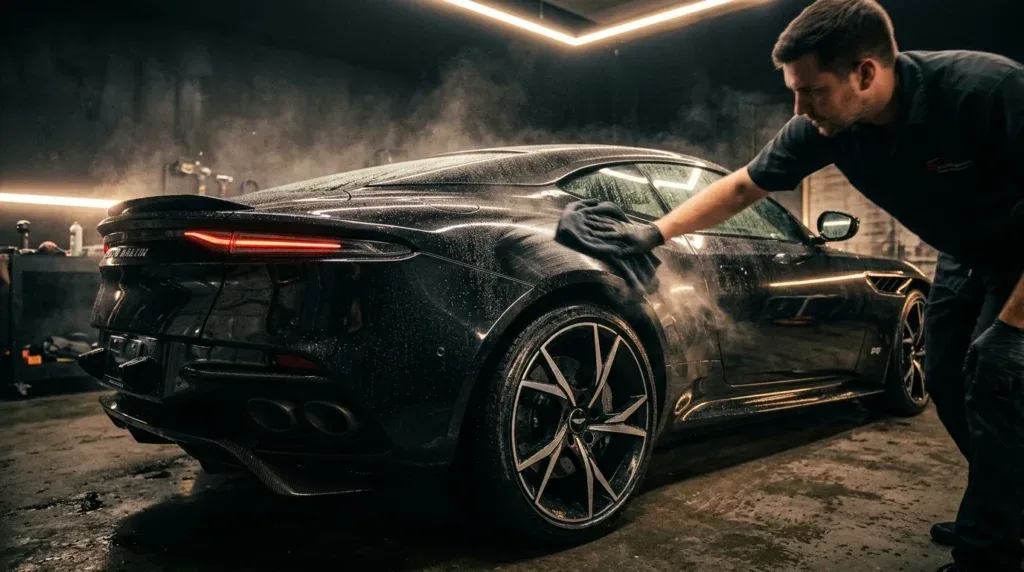
The Essential Cleaning Ritual: Getting Your Vehicle Squeaky Clean
Before you even think about clay bars or IPA wipes, you need to get rid of the visible dirt and grime. This isn't just a casual car wash; it's a deep cleaning aimed at removing everything that could interfere with vinyl adhesion.
The Initial Wash: Removing the Grime
Start with a thorough wash. Use the two-bucket method: one bucket with pH-neutral car soap and water, and another with clean rinse water for your wash mitt. This prevents transferring grit back onto the vehicle's surface. While some professional detailing soaps work, for pre-wrap degreasing, a slightly stronger but still paint-safe detergent like a mild, diluted dish soap (e.g., Dawn) can be surprisingly effective at stripping waxes and oils – but use it sparingly and ensure it's rinsed off completely.
Pay extra attention to seams, door jambs, under mirrors, behind handles, and around emblems. These are notorious hiding spots for dirt and debris. Use a soft wash mitt or brush for intricate areas. Rinse the vehicle thoroughly, making sure no soap residue is left behind. This step is about removing bulk contamination; we’ll tackle the invisible stuff next.
Drying Without a Trace
Once washed, your vehicle needs to be completely dry. And I mean bone-dry. Use high-quality microfiber drying towels that won't leave lint. Better yet, employ an air blower (like a leaf blower or a dedicated car dryer) to blast water out of every crevice, seam, and emblem. Water trapped in these areas will seep out later, ruining your wrap's adhesion and potentially causing lifting. Take your time here; any moisture left behind is a ticking time bomb.
Deep Decontamination: Erasing Invisible Enemies
Now that the car is visually clean and dry, it’s time to tackle the contaminants you can’t see but can definitely feel. This is where many DIY wrappers stumble, and it’s arguably the most critical stage for wrap adhesion.
The Clay Bar Treatment: Smooth as Glass
Even after a thorough wash, your car's paint often harbors embedded contaminants like industrial fallout, rail dust, tar spots, and tree sap. Run your hand across the paint – does it feel perfectly smooth, like glass? If not, you need a clay bar. A clay bar is a synthetic resin compound used with a lubricant to gently lift and remove these stubborn particles from the paint surface without scratching it.
Work one panel at a time. Spray a generous amount of clay lubricant (or a detail spray) onto a small section, then gently glide the clay bar across the wet surface. You'll feel it grab initially, then smoothly glide as contaminants are removed. Fold the clay frequently to expose a clean surface. This step is crucial for providing a truly smooth, contaminant-free surface that the vinyl can bond to fully. Rinse and dry any residue immediately after each panel.
The IPA Wipe-Down: The Final Adhesion Booster
This is your last chance to remove any remaining waxes, oils, fingerprints, or silicones before applying the wrap. Grab some 70-75% Isopropyl Alcohol (IPA) solution. Why 70-75%? Because pure 99% IPA evaporates too quickly to effectively break down oils, and too much water dilutes its cleaning power. You can also use dedicated surface prep cleaners from brands like 3M (e.g., 3M surface preparation System) or Avery (Avery Surface Cleaner), which are formulated specifically for this purpose.
Use the two-towel method: spray IPA onto one clean microfiber towel, wipe down a small section (e.g., a quarter panel), and immediately follow with a separate, clean, dry microfiber towel to wipe it completely dry. Work panel by panel, ensuring no IPA residue dries on the surface. This final wipe creates a pristine, squeaky-clean surface that maximizes the vinyl's adhesion and helps prevent those dreaded early lifting issues. Don't touch the surface with your bare hands after this step – your skin oils can easily contaminate it.
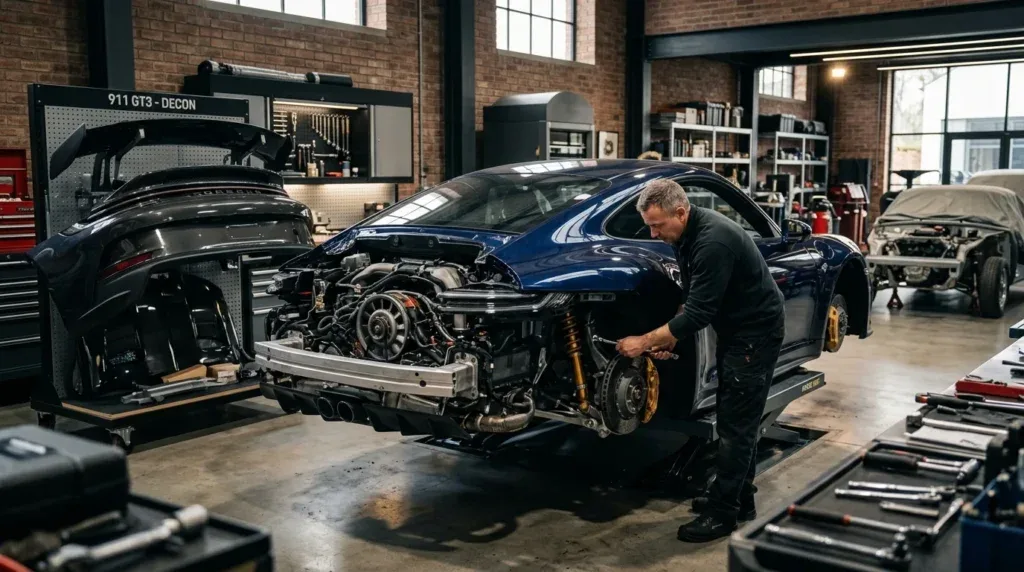
Strategic Disassembly & Edge Considerations
Sometimes, getting that truly seamless, long-lasting finish means taking a few things apart. This step separates a good wrap from an outstanding one.
When to Disassemble: A Pro’s Edge
For a truly professional, tucked-edge finish, removing certain components is often essential. This includes door handles, emblems, side markers, taillights, and sometimes even headlights. Why go to this trouble? Because it allows the vinyl to be wrapped around the edges of body panels, rather than being cut flush, which dramatically improves the wrap's longevity and appearance. A tucked edge is far less likely to lift than a cut edge.
For example, wrapping a Ford F-150 crew cab, which might take 18-22 linear meters of 60-inch film, involves numerous emblems and handle cut-outs. If you can remove them, you'll achieve cleaner cuts and deeper tucks. However, this isn't for everyone. If you're a DIYer, know your limits. Don't disassemble anything you're not confident you can reassemble correctly. For complex vehicles like a 2024 Tesla Model Y, which can run $4,200–$5,800 for a full wrap, professional disassembly is almost always recommended to achieve that factory-finish look.
Addressing Challenging Areas: Rivets, Recesses, and Sealing
Some vehicles have rivets, deep recesses, or textured plastic parts that are notoriously difficult for vinyl to adhere to. For rivets, you might use a 3M rivet brush during application to ensure proper adhesion. For deep channels or complex seams, Knifeless tape is a game-changer, allowing for perfect cuts without touching the paint. For areas under extreme tension or on low-energy plastics (like some trim pieces), an adhesion promoter such as 3M Primer 94 can be used. Be incredibly judicious with primer; it's very aggressive and should only be applied in tiny amounts exactly where needed, typically on edges that are prone to lifting or on textured plastics that the vinyl struggles to bond to. Always post-heat these areas after application to activate the vinyl's adhesive fully.
The Environment and Final Checks: Setting the Stage
Your vehicle is now impeccably clean, decontaminated, and prepped. But the environment you work in can make or break the final result.
First, ensure your workspace is as clean and dust-free as possible. A garage is ideal, with closed doors and windows to minimize airborne dust. Controlled airflow is a huge plus. The ideal temperature for most vinyl installations is between 65-75°F (18-24°C), with moderate humidity. Temperatures too cold make the vinyl brittle and difficult to stretch; too hot makes it overly soft and prone to stretching out of shape. Extreme humidity can also affect adhesive performance.
Finally, before you even unroll your film, do one last, meticulous walk-around. Grab a bright flashlight and inspect every single inch of the vehicle. Look for any stray dust, lint, or fingerprints. Use a tack cloth or a final IPA wipe on any questionable spots. Imagine this situation: you've spent hours meticulously applying a large panel of vinyl, only to discover a tiny piece of lint or a pet hair trapped underneath. That small imperfection can become a permanent flaw, potentially requiring you to peel back the vinyl and re-do the entire section, wasting material and precious time. A quick touch test with a gloved hand on the surface can also reveal any lingering residues. This final vigilance is your last line of defense against preventable flaws.