JDM enthusiasts love to give their favorite drift machines, tuner coupes, and classic sports cars a fresh visual identity, and the neon‑lit world of cyberpunk provides a perfect backdrop. A well‑executed cyberpunk livery can turn a 1990s Nissan Skyline or a 2024 Toyota GR86 into a moving billboard of futuristic style while protecting the original paint. Below you’ll find a practical roadmap that walks you through every decision point, from selecting the right film to sealing the final edge.
Quick answer: Choose a high‑quality 2‑3 mil cast vinyl (3M 2080, Avery SW900, or Oracal 970RA) for complex curves, design the graphics in vector software using a neon‑rich palette, prep the car with a flawless surface, apply the film with a heat gun set to 120‑150 °C, and finish with a 5‑year warranty‑backed sealant for a wrap that lasts 5‑7 years.
Understanding the Cyberpunk Aesthetic
Neon‑Heavy Color Palette
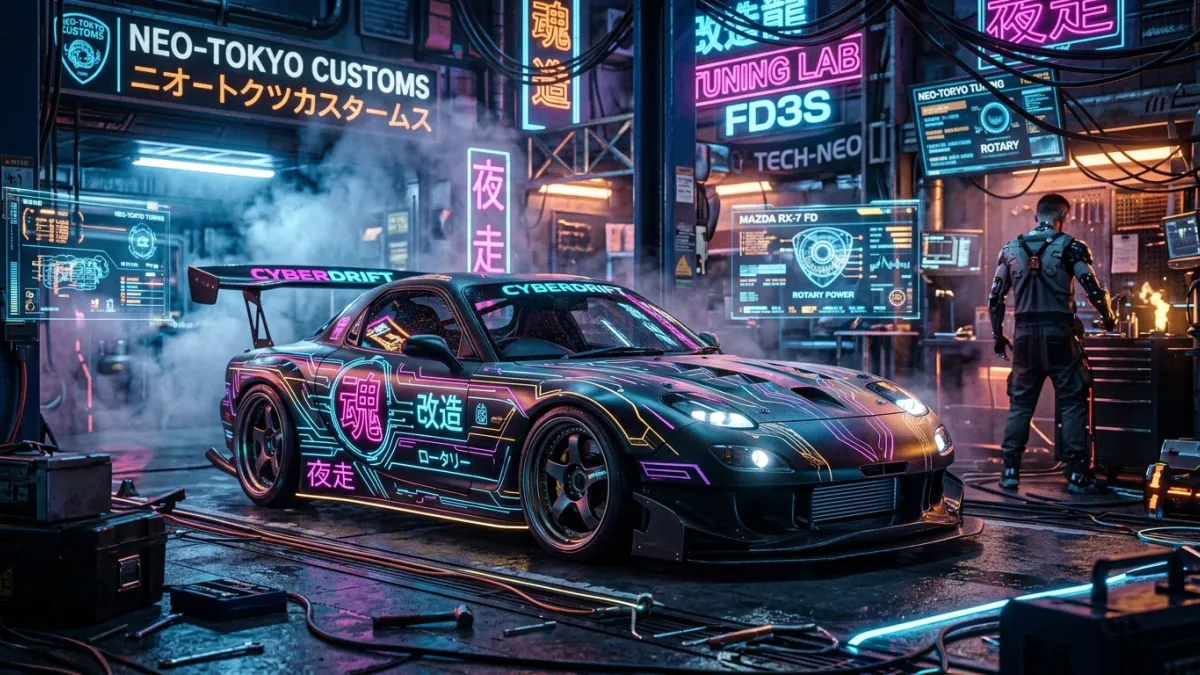
Cyberpunk thrives on high‑contrast hues—electric blues, hot pinks, acid greens, and ultraviolet purples—paired with deep blacks or matte gunmetal. When planning a JDM icon, start by mapping out three primary colors: a base (often matte black or carbon‑fiber), an accent neon, and a secondary glow. The contrast makes the graphics pop under street lights and LED signage.
Light‑Source Effects
Glowing lines, grid patterns, and “glitch” distortions mimic the look of holographic billboards. Use gradient fills that shift from solid neon at the edge to transparent toward the interior of a shape. This technique tricks the eye into believing the paint itself emits light, a hallmark of cyberpunk visual language.
Typography and Iconography
Japanese kanji mixed with futuristic Latin characters creates a cultural bridge that resonates with JDM fans. Choose a typeface that has sharp angles or rounded digital styling—think “Eurostile” or “Orbitron.” Keep text to a minimum; a single model name or a stylized emblem is enough to convey the theme without overcrowding the surface.
Choosing the Right Vinyl for JDM Icons
Film selection determines how well the wrap conforms to a vehicle’s curves, how long it survives exposure, and how much it costs. Below is a quick comparison of the most common options.
| Film Type | Thickness (mil) | Best Use | Typical Cost (per sq ft) | Warranty |
|---|---|---|---|---|
| Cast Vinyl (e.g., 3M 2080, Avery SW900) | 2.0‑3.5 | Complex curves, doors, hood, roof | $7‑$12 | 5‑7 years |
| Calendered Vinyl (e.g., Oracal 970RA) | 4‑5 | Flat panels, trunk lids, fenders | $4‑$8 | 3‑5 years |
| Paint Protection Film (PPF) | 6‑10 | High‑impact zones, front bumper, hood | $10‑$18 | 10‑12 years |
For a cyberpunk skin on a 1999 Mazda RX‑7, a 2.5 mil cast vinyl from 3M 2080 offers the flexibility needed around the double‑wishbone front and the deep‑dish rear wheel wells. If the budget is tighter and the surface is largely flat—like the roof of a 2023 Subaru WRX—Oracal 970RA provides excellent color depth at a lower price point.
Designing the Livery – From Sketch to Digital File
Software Choices
Adobe Illustrator remains the industry standard because it works with vector graphics that scale without pixelation. Free alternatives such as Inkscape or CorelDRAW Essentials also produce production‑ready files. Avoid raster‑only programs unless you embed the bitmap at a minimum of 300 dpi and lock the resolution.
Layout Tips for JDM Shapes
Begin by importing a high‑resolution template of the target vehicle—most manufacturers provide PDF outlines on their technical sites. Align your neon lines with the natural flow of the car: follow the A‑pillar, accent the side skirts, and let the glow trail from the front grille to the rear spoiler. Remember that the eye travels from left to right, so place the most striking element on the driver’s side for maximum impact.
Mock‑up and Approval
Print a small section (12 × 12 in) on matte paper and tape it to the actual car. This “test patch” reveals any color shift caused by lighting conditions or surface curvature before you cut the full roll. Once satisfied, export the final artwork as a PDF/X‑1a file with all fonts outlined and layers flattened.
Preparing the Car for a Perfect Wrap
A clean, defect‑free surface is the foundation of any long‑lasting wrap. Even the most skilled installer will struggle with bubbles if the paint is oily or if the body has micro‑scratches.
- Wash the vehicle with a pH‑neutral car shampoo, then rinse thoroughly.
- Use a clay bar (e.g., 3M Clay Bar Kit) to remove bonded contaminants.
- Apply a light polishing compound to any swirl marks; wipe with a microfiber towel.
- Degrease all panels with isopropyl alcohol (70 %+) or a dedicated surface prep spray.
- Cover any factory‑installed badges, vents, and trim with masking tape.
Installer tip: When working on the Nissan Skyline’s rear hatch, I once set the heat gun to 180 °C, which caused the cast film to shrink and lift at the seam. Dialing the gun back to 130 °C and pre‑heating the area for only 5‑7 seconds eliminated the problem.
Installation Workflow for a Cyberpunk Wrap
- Measure and Cut: Unroll the film, lay it over the panel, and cut a generous margin (2‑3 in) using a straight edge and a sharp utility knife.
- Position the Film: Peel back the release liner halfway, align the graphic with reference points (door handles, headlamp centers), and lightly tack down the corners with a squeegee.
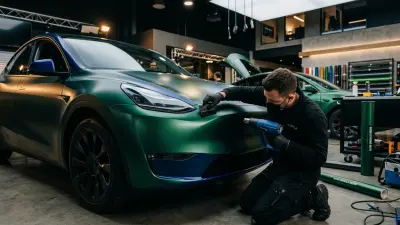
- Apply Heat: Use a heat gun set to 120‑150 °C. Warm the film in a sweeping motion, allowing it to become pliable without scorching.
- Squeegee Out Air: Starting from the center, push bubbles toward the edges using a felt‑edged squeegee. Apply 2‑3 kg of pressure; a heavier press can damage delicate neon gradients.
- Trim Excess: Once the film adheres, use a razor blade to cut the excess along the edge, leaving a 1‑mm overhang for sealing.
- Seal Edges: Heat the overhang, then use a seam sealer (e.g., 3M Edge Sealant) to press the film flush with the body. This prevents water ingress and edge lifting.
- Post‑Heat and Cool: Re‑heat the entire panel for 30‑45 seconds to ensure the film fully conforms, then let it cure for 24 hours before washing.
For a full‑body cyberpunk wrap on a 2022 Honda Civic Type R, expect to use roughly 22 linear meters of 60‑inch 3M 2080 cast vinyl, which translates to about 250 sq ft of material.
Aftercare & Longevity
Even the toughest cast films need regular attention to keep neon colors vibrant. Follow these guidelines for a 5‑year lifespan:
- Hand‑wash with a mild car shampoo no more than once a week; avoid high‑pressure washers on the edges.
- Dry with a soft microfiber towel; do not let water sit on the film for more than 5 minutes.
- Apply a polymer‑based sealant (e.g., Gyeon Quartz) every 6‑8 months to reinforce the UV barrier.
- Do not use abrasive polishes or waxes on neon sections; they can dull the gloss and affect the color shift.
- Inspect seams quarterly; re‑heat any lifting edge with a heat gun set to 130 °C and press flat with a soft squeegee.
For DIYers who prefer professional assistance, the full color change wrap cost guide offers a realistic budget range: matte cyber‑chrome on a 2024 Tesla Model Y runs $4,200‑$5,800, while a gloss neon on a 1995 Toyota Supra sits around $3,300‑$4,500.
Choosing the right film, preparing the surface meticulously, and respecting heat‑gun temperatures are the three pillars of a successful cyberpunk livery. Start with a 3M 2080 cast vinyl if your JDM icon has many curves, lay out a neon‑rich vector file, and follow the step‑by‑step install process above. Within a day, you’ll have a street‑legal piece of futuristic art that protects the paint and turns heads at every stoplight.
Frequently Asked Questions
Can I use a standard gloss vinyl for a cyberpunk wrap?
Gloss vinyl will display neon colors, but it lacks the stretch needed for deep curves and typically offers a shorter warranty (3‑4 years). Cast vinyl is recommended for a seamless, long‑lasting finish.
How do I prevent the neon colors from fading?
UV exposure is the main culprit. Choose a film with a built‑in UV inhibitor (most 3M and Avery products include this) and add a polymer sealant every six months to reinforce protection.
Is it possible to wrap a vehicle with a factory‑installed PPF?
Yes, but you must verify that the PPF surface is clean and free of any adhesive residues. A light sanding with 1500‑grit sandpaper followed by a thorough wipe‑down will create a suitable bonding surface.
Do I need a special license to install vinyl wraps commercially?
Most jurisdictions treat vinyl wrapping as a body‑shop service, so a general automotive repair license suffices. However, if you plan to sell the finished vehicle, check local regulations regarding aftermarket modifications.
What is the best way to remove a cyberpunk wrap without damaging the paint?
Heat the film with a gun set to 130 °C until it softens, then peel it off slowly using a plastic wrap remover. Finish with an adhesive remover like 3M Adhesive Remover to clear any residue.
Recommendation: For most JDM projects, start with a 2.5‑mil cast vinyl such as 3M 2080 or Avery SW900, because the flexibility handles door panels, hood creases, and complex roof lines. Begin by cleaning the car, creating a vector mock‑up, and ordering a test strip. Once the test adheres flawlessly, cut the full roll, follow the heat‑and‑squeegee routine, and seal every edge. This approach minimizes costly rework and ensures a vibrant, durable cyberpunk masterpiece.
Sources
- 3M Automotive Wrap Films – Technical Data Sheet, 3M Official Site
- Avery Dennison Wrapping Film Specifications, Avery Dennison
- Oracal 970RA Product Page, Oracal
- Gyeon Quartz Sealant Technical Information, Gyeon