You've invested in a stunning vehicle wrap, whether it's a bold color change, a sleek matte finish, or a custom graphic that turns heads. Congratulations! A well-installed wrap isn't just about aesthetics; it's also a fantastic way to protect your original paint. But getting the wrap on is only half the battle. The real secret to making that investment last 5-7 years, or even longer, and keeping it looking fresh off the installer's bay, lies in proper maintenance. Neglect your wrap, and you'll quickly see it lose its luster, lift at the edges, or even crack prematurely. No one wants that, right?
As someone who's wrapped hundreds of vehicles over 15 years, I've seen firsthand the difference that dedicated care makes. It's not rocket science, but there are specific techniques and products that make all the difference. This isn't just about cleaning; it's about understanding the material and respecting its properties. Let's dive into how you can keep your wrap looking like new, protecting both your investment and your ride's aesthetic appeal.
Initial Curing & Essential Post-Installation Care
The first few weeks after your wrap is installed are critical. Think of it like a fresh coat of paint – it needs time to set. The adhesive on most premium vinyl wraps, like cast vinyl (the high-quality, heat-activated film that conforms beautifully to complex curves without shrinking back), continues to cure and bond to your vehicle's surface during this period. For the first 72 hours to a week, it's crucial to keep your vehicle dry. Avoid washing it, driving through heavy rain, or exposing it to excessive moisture. This allows the adhesive to fully activate and create a strong, lasting bond.
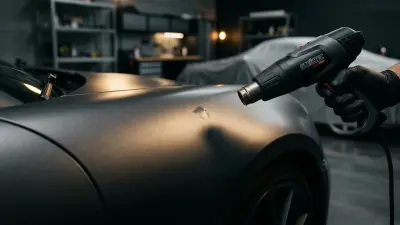
During this initial cure time, avoid pressing down on any lifted edges or bubbles yourself, unless explicitly instructed by your installer. Small bubbles, especially in cold weather, are normal and often "gas out" or dissipate as the film fully adheres. If you notice persistent lifting or significant bubbles after the first week, contact your installer immediately. They might need to perform some post-heating – a critical step where heat is applied to the vinyl's edges and recessed areas to permanently "set" its memory and prevent future lifting – or re-squeegee certain sections. Trust me, addressing these minor issues early prevents bigger problems down the road.
Regular Cleaning: The Right Way to Wash Your Wrapped Vehicle
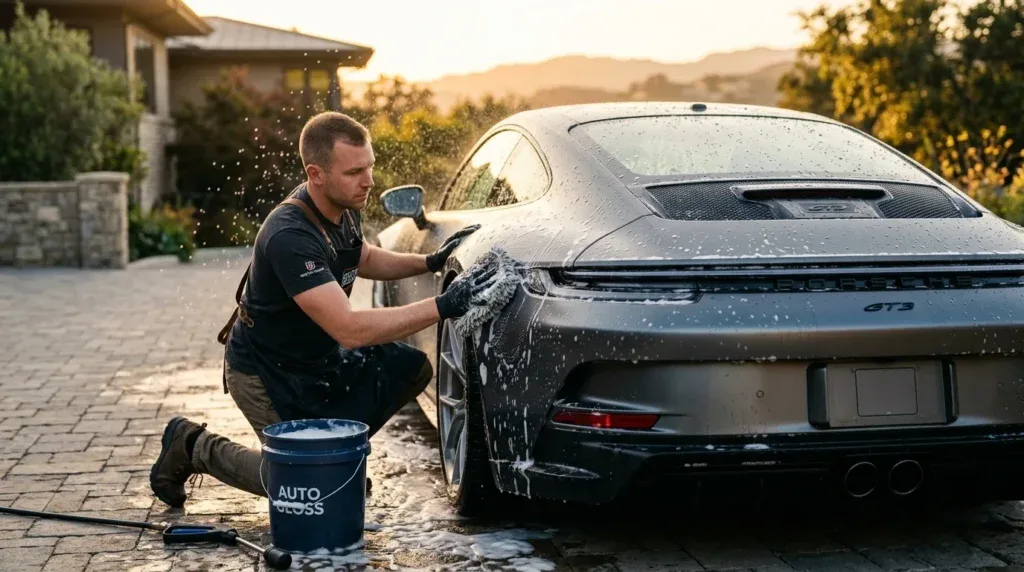
Once your wrap has properly cured, establishing a regular cleaning routine is paramount. My golden rule: treat your wrapped vehicle like you would a show car. That means hand washing is always preferred. Automatic car washes, especially those with brushes, are your wrap's worst enemy. The harsh bristles can scratch the vinyl, dull its finish, and even damage edges, leading to premature lifting.
Here’s my step-by-step guide for a safe and effective hand wash:
- Rinse Thoroughly: Start by rinsing your entire vehicle with a gentle stream of water from a hose or a pressure washer set to a wide fan pattern (keep the nozzle at least 2-3 feet away from the surface, especially edges). This removes loose dirt and debris, preventing it from scratching the wrap during the wash.
- Two-Bucket Method: This is non-negotiable for any car enthusiast, and especially for wrapped vehicles. Use one bucket with pH-neutral car wash soap (e.g., Meguiar's Gold Class Car Wash, Chemical Guys Meticulous Matte Auto Wash for matte/satin wraps) and water, and another bucket with clean rinse water. Dip your wash mitt into the soap bucket, wash a section, then rinse your mitt thoroughly in the clean water bucket before going back to the soap. This prevents transferring grit back onto your wrap.
- Soft Wash Mitt & Gentle Technique: Always use a high-quality microfiber wash mitt or a soft chenille mitt. Wash from top to bottom, using straight-line passes rather than circular motions. Apply minimal pressure; let the soap do the work. Pay extra attention to areas where dirt tends to accumulate, like rocker panels and wheel wells.
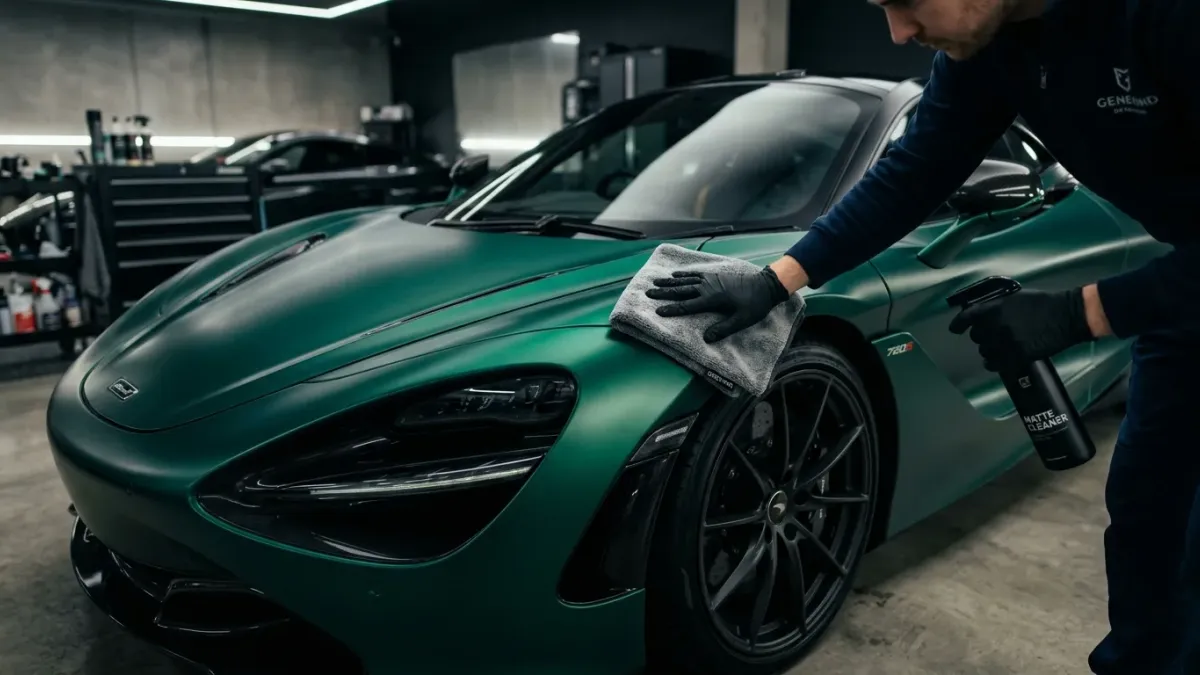
- Specifics for Matte/Satin Finishes: If you have a matte or satin wrap (like 3M 2080 Matte Black or Avery Supreme Satin Black), it's crucial to use a dedicated matte-specific car wash soap. Regular glossy car soaps often contain waxes or gloss enhancers that will leave streaks or shine spots on your matte finish, completely ruining its aesthetic. Products like Dr. Beasley's Matte Wash are excellent for preserving that unique look.
- Rinse Again, Thoroughly: After washing, rinse the entire vehicle from top to bottom. Ensure all soap residue is completely removed, as dried soap can leave spots or streaks.
- Drying is Key: Don't let your wrap air dry, especially in direct sunlight, as this can lead to water spots. Use premium, clean microfiber drying towels to gently blot dry the surface. For an even safer and faster dry, consider using a leaf blower or a dedicated car dryer to blow water off, especially from edges and crevices.
Honestly, dedicating 30-45 minutes to a proper hand wash every 1-2 weeks is the single best thing you can do for your wrap's longevity and appearance. Imagine this situation: you skip hand washing for convenience and take your freshly wrapped 2024 Tesla Model Y through an automatic car wash. A few months later, you notice fine scratches all over your beautiful 3M 2080 Satin Black wrap and the edges around your mirrors are starting to lift. That's a costly mistake that could have been easily avoided. But what would you do in that situation? Prevention is always better than repair, especially when it comes to vinyl.
Advanced Protection & Spot Treatment for Longevity
Beyond regular washing, there are a few additional steps you can take to further protect your wrap and tackle stubborn issues.
Wrap Sealants & Ceramic Coatings
For an added layer of protection and easier cleaning, consider a wrap-specific sealant or ceramic coating. These products create a hydrophobic barrier that repels water, dirt, and contaminants, making your wrap much easier to maintain. Brands like 3M offer their Wrap Film Series 2080 Sealant, specifically formulated for their films. For ceramic coatings, make sure to choose one that is explicitly safe for vinyl. Many traditional paint ceramic coatings are too harsh or can react negatively with the vinyl. Products like Gyeon Q2 Matte (for matte wraps) or specific vinyl-safe ceramic coatings from CarPro or Feynlab are excellent choices. These can extend the life of your wrap and keep it looking vibrant for years.
Dealing with Stubborn Spots
Bird droppings, bug splatters, and tree sap are acidic and can etch into your vinyl if left too long. Address these as quickly as possible! For bird droppings and bugs, gently mist the area with a quick detailer (again, matte-safe for matte wraps) and let it dwell for a minute or two before gently wiping with a soft microfiber towel. For tree sap, a specialized tar and sap remover (check compatibility with vinyl first!) or even isopropyl alcohol (IPA) diluted 50/50 with water can work, but always test on an inconspicuous area first. Remember, gentle is the key; never scrub aggressively.

What NOT to Do: Common Mistakes to Avoid
This section is just as important as what you *should* do. Avoiding these common pitfalls will save you headaches and money.
- No Abrasive Cleaners or Harsh Chemicals: Stay away from industrial degreasers, paint thinners, oven cleaner, or petroleum-based solvents. These can permanently damage or discolor your vinyl.
- Avoid Wax on Matte/Satin Finishes: This is a big one! Traditional car waxes contain fillers and gloss enhancers that will ruin the flat, non-reflective look of your matte or satin wrap, leaving shiny, uneven patches. Only use matte-specific sealants or quick detailers.
- Steam Cleaners on Edges: While steam can be effective for some cleaning, using it too close to the edges of your wrap can melt the adhesive or lift the vinyl.
- Scraping or Picking at Edges: Resist the urge to pick at any minor lifting. This will only make it worse. Contact your installer for professional repair.
- Excessive Pressure Washing: As mentioned, use a pressure washer with caution. Keep it at least two feet away and avoid aiming directly at seams, edges, or intricate cut areas.
- No Automatic Car Washes with Brushes: I can't stress this enough. The rotating brushes will scratch, dull, and potentially tear your wrap. Touchless automatic washes are generally safer, but still not ideal compared to a proper hand wash.
To be fair, sometimes life gets in the way, and a quick wash is all you can manage. If you absolutely must use an automatic car wash, opt for a touchless one. But even then, inspect your wrap afterwards for any residue or streaking, especially on matte finishes. Your wrap, whether it's a vibrant Oracal 970RA or a sophisticated Hexis, is designed to last, but its longevity is directly tied to the care you give it.
Maintaining your vehicle wrap isn't a chore; it's an investment in keeping your ride looking exceptional and protecting your paint for years to come. By following these practical tips and avoiding common mistakes, you'll ensure your wrap stays vibrant, smooth, and free from damage. A little care goes a long way, transforming a temporary modification into a lasting statement. So, grab your pH-neutral soap and microfiber mitt, and let's keep those wraps looking showroom fresh!