So, the time has come. That vibrant color change wrap you loved for years is starting to show its age, or perhaps you're ready to sell your vehicle and want to restore it to its original glory. Whatever the reason, successfully removing a vehicle wrap might seem daunting, but it doesn't have to be a nightmare of peeling paint and sticky residue. In my 15+ years in this business, I’ve seen my fair share of both smooth removals and disaster zones. The good news? You can absolutely achieve a clean, safe removal at home if you approach it with the right tools and a solid plan.
This guide from Car Wrap Info will walk you through everything you need to know, just like I'd teach someone in my own shop. We’ll cover the critical steps, the specific tools that make all the difference, and the common pitfalls to avoid. Your car's original paint is precious, and our goal is to ensure it remains protected and pristine throughout this process.
Why Proper Wrap Removal Matters (and When to Do It)
Let's be honest, improper wrap removal can turn into a costly headache. Ripping off a cold wrap can take chunks of clear coat with it, leave behind a horrific amount of adhesive, or even damage the underlying paint. This is why understanding the "why" behind proper technique is just as important as the "how." The goal isn't just to get the vinyl off; it's to do so without causing expensive damage to your vehicle's finish.
So, when is the right time? Most high-quality cast vinyl wraps, like 3M 2080/1080 series or Avery Supreme Wrapping Film, are designed to last 5-7 years. Beyond that, the vinyl's plasticizers start to break down, making the film brittle and the adhesive harder to remove cleanly. If your wrap is showing signs of significant fading, cracking, or edge lifting, it's definitely time. The sooner you remove it past its prime, the easier and cleaner the process will be. Waiting until the wrap is severely degraded will exponentially increase the time and effort required, and significantly raise the chances of leaving stubborn adhesive residue or damaging the paint during removal.
Imagine you’re finally selling that beloved SUV, and you want to present it in its best possible light. You decide to take off the wrap yourself to save some cash. But what if you just started pulling without heat? You'd quickly find yourself with a tiny strip of vinyl, a huge mess of adhesive, and a growing sense of dread. I've seen it many times. That's why the right time for removal is key, and it’s usually before the wrap turns into a flaky, brittle mess.
Essential Tools for a Smooth Wrap Removal
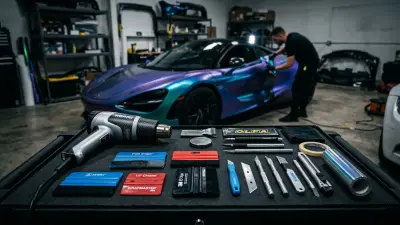
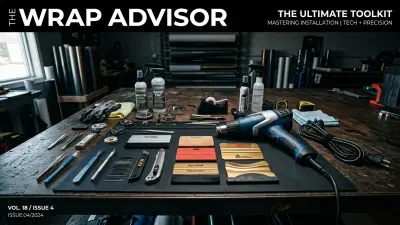
Before you even think about touching your wrap, gather your arsenal. Having the right tools on hand will save you immense frustration and greatly improve your results. Don't cheap out here – a small investment in quality tools can prevent major headaches later.
- heat gun: This is your most critical tool. You need one with adjustable temperature settings. Aim for a temperature range of 150-200°F (65-95°C) on the film surface. A standard hair dryer might work for very small sections but won't provide consistent, powerful enough heat for large panels.
- Plastic Squeegee or Scraper: Absolutely no metal blades! Use a soft plastic squeegee or a dedicated plastic razor blade scraper. These are invaluable for gently lifting edges or tackling stubborn adhesive spots without scratching the paint.
- Adhesive Remover: This is your cleanup hero. Brands like 3M General Purpose Adhesive Cleaner, Goo Gone Automotive (ensure it's automotive-safe), or Rapid Remover are excellent choices. They're designed to break down vinyl adhesive without harming clear coats.
- Microfiber Towels: You'll need plenty of clean, soft microfiber towels for wiping away adhesive residue and cleaning the surface.
- Nitrile Gloves: Protect your hands from adhesive and cleaners.
- Safety Glasses: Essential to protect your eyes from dust or chemical splashes.
- Rubbing Alcohol (IPA): For a final wipe-down and surface prep after all residue is gone.
Honestly, having these items ready makes the process so much smoother. Based on my experience, trying to "make do" with household items often leads to more work and potential damage. The right tools make all the difference between a clean removal and a sticky disaster.
Step-by-Step Wrap Removal Technique
Alright, let's get down to business. Patience is your best friend during this process. Rushing will only lead to more adhesive residue and potential paint damage.
Step 1: Vehicle Prep and Initial Lift
Start by washing your vehicle thoroughly to remove any dirt or grime. This prevents scratching the paint during the process. Once clean and dry, find an inconspicuous edge of the wrap to start – perhaps on a fender or a door jamb. Gently try to lift a small corner with your fingernail or a plastic scraper.
Step 2: Heat Application – The Gentle Touch
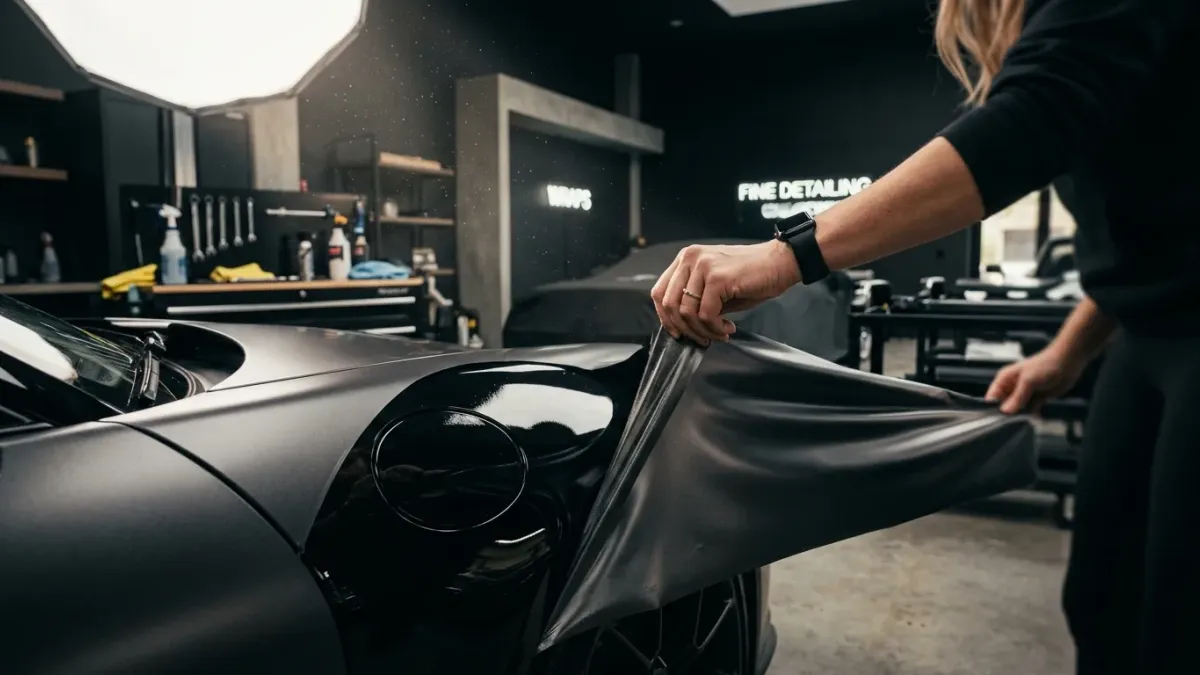
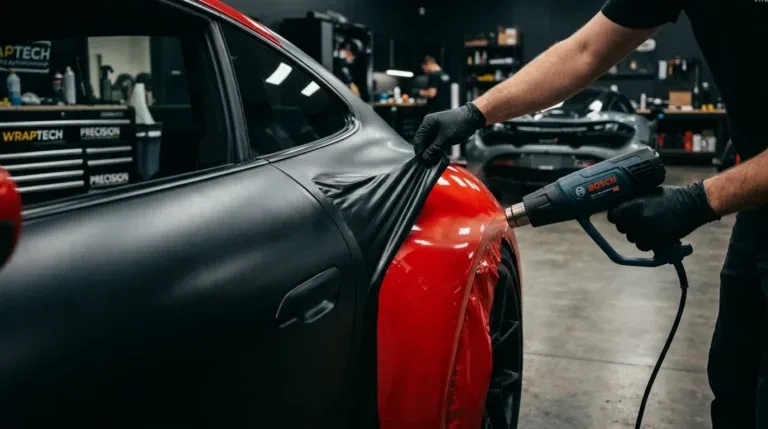
Once you have a small edge lifted, grab your heat gun. Apply heat to the vinyl in slow, sweeping motions, holding the gun about 6-12 inches away from the surface. You're aiming to warm the adhesive, not melt the vinyl or cook the paint. Think of warming up a sticker, not cooking a steak. You'll feel the vinyl become more pliable and stretchy when it's at the right temperature (around 150-200°F / 65-95°C on the film surface). As you heat, continue to gently pull the lifted edge.
Step 3: The Critical Pulling Angle and Speed
This is where experience truly pays off. Pull the vinyl at a shallow angle (15-30 degrees) back on itself, almost parallel to the surface. Avoid pulling straight up or at a steep 90-degree angle. Pull slowly and steadily. If the vinyl snaps or leaves a lot of adhesive behind, it's either not warm enough, you're pulling too fast, or the angle is too steep. Reapply heat and adjust your technique. The goal is for the adhesive to come off with the vinyl, leaving minimal residue.
Work in small sections, continuously applying heat just ahead of where you're pulling. This is a marathon, not a sprint. A full wrap on a sedan might take a DIYer 8-16 hours, depending on its condition and your skill level. A professional might do it in 4-8. The "pull angle" is critical for minimizing residue and preventing tears.
Step 4: Dealing with Stubborn Spots and Adhesive Residue
Despite your best efforts, some adhesive residue is almost inevitable, especially on older wraps. Don't panic! This is where your adhesive remover comes in. Liberally spray the affected area with your chosen adhesive remover, let it dwell for a few minutes (check product instructions), and then gently wipe it away with a clean microfiber towel. You might need to repeat this process several times for really stubborn spots. For any extremely tough, dried-on adhesive, you can gently use your plastic scraper after applying remover, but always be cautious and use light pressure.
Step 5: Post-Removal Cleaning and Inspection
Once all the vinyl is off and the bulk of the adhesive is removed, it's time for a thorough cleaning. Wash the entire vehicle again with an automotive-safe soap. Then, use rubbing alcohol (IPA) on a microfiber towel to do a final wipe-down of all the wrapped panels. This will remove any lingering adhesive oils or residues, leaving a perfectly clean surface. Inspect your paint carefully for any signs of damage. If the wrap was applied correctly to healthy paint, it should look just as good as it did on installation day.
Common Mistakes to Avoid & Pro Tips
To help you succeed, let's highlight what NOT to do, along with some seasoned advice.
- Pulling Too Fast or at the Wrong Angle: This is the number one cause of excessive adhesive residue and tearing. Remember, slow and shallow!
- Too Much Heat: Overheating the vinyl can melt it, making it much harder to remove cleanly, and in extreme cases, it can damage your paint or clear coat. Keep the heat gun moving.
- Not Enough Heat: If the vinyl keeps tearing into small pieces, it's likely too cold. The adhesive is holding too strong.
- Using Metal Scrapers or Abrasive Tools: This is a guaranteed way to scratch and damage your paint. Stick to plastic.
- Skipping Adhesive Remover: Don't try to scrub off residue with just soap and water. You'll spend hours and risk damaging your paint. Invest in a good adhesive remover.
- Working in a Cold Environment: Trying to remove a wrap in freezing temperatures is a battle you won't win easily. Work in a warm garage or on a sunny day to make the vinyl more pliable from the start.
Here are a few pro tips based on years of doing this: Take breaks! This can be a physically demanding process, especially on larger vehicles. Having a helper for larger panels (like the hood or roof) can make a huge difference, allowing one person to heat and the other to pull. Always test a small, inconspicuous area first to dial in your heat and pulling technique before tackling a prominent panel. For extremely old, baked-on wraps, don't be afraid to consider professional removal. While DIY costs might be $50-150 for tools and chemicals, professional removal can run $500-$1000 for a full vehicle, depending on its size and the wrap's condition – a worthwhile investment if your time is limited or the wrap is particularly stubborn.
To be fair, wrap removal takes time and patience, but patience and the right technique prevent costly errors. Trust me, spending a few extra hours now will save you hundreds, if not thousands, in potential paint repairs down the line.
Removing a vehicle wrap might seem like a big job, but with the right approach and the guidance we’ve laid out here, it's absolutely achievable for the diligent DIYer. You're not just taking off a wrap; you're preserving your vehicle's original finish and preparing it for its next chapter, whether that's a fresh new look or a return to stock. Take your time, trust the process, and you'll be amazed at the clean results you can achieve.
Ready for a new wrap, or just want to keep your freshly revealed paint pristine? Car Wrap Info has comprehensive guides on everything from choosing your next film to maintenance routines that extend its life, ensuring your vehicle always looks its best!