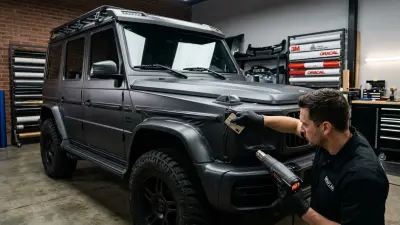
Alright, gearheads and customization enthusiasts, let's talk chrome. For decades, shiny chrome trim was the hallmark of luxury and elegance on our vehicles. But just like bell-bottoms gave way to slim-fit jeans, automotive style has evolved. Today, that factory chrome often looks, well, a little dated. We're seeing a massive shift towards a sleeker, more unified, and often stealthier aesthetic, and that's exactly where a precision chrome delete comes into play.
I've been knee-deep in vinyl for over 15 years, transforming everything from daily drivers to show-stopping custom builds. And if there's one customization that consistently delivers a dramatic visual upgrade without breaking the bank, it's the chrome delete. It’s more than just slapping on some black vinyl; it’s an art form that requires meticulous attention to detail, the right tools, and a solid understanding of vinyl mechanics. This isn't just about covering chrome; it's about integrating it seamlessly into your vehicle's design, making it look like it rolled off the assembly line that way.
Forget the vague advice you might find elsewhere. Here at Car Wrap Info, we're diving deep into the actionable, no-fluff strategies you need to execute a chrome delete that truly stands out. Whether you’re a seasoned DIYer looking to refine your technique, a beginner ready to tackle your first trim piece, or someone considering a professional installation, this guide will equip you with the expert insights to achieve a truly flawless finish. We’ll cover the specific tools, the critical prep work often overlooked, advanced installation techniques for those notoriously tricky areas, and how to maintain your newly deleted chrome for years of head-turning style.
The Essential Arsenal: Tools & Materials for a Masterful Chrome Delete
Before you even think about touching your vehicle, you need the right gear. Skimping on tools or materials is the fastest way to a frustrating experience and a subpar result. Think of it like this: you wouldn't build a house with a butter knife, right? Precision vinyl work demands precision tools.
Choosing Your Vinyl: Beyond Just "Black"
The choice of vinyl is paramount for chrome delete. You need a high-quality cast vinyl – that's the premium, heat-activated film that's engineered to conform beautifully to complex curves without shrinking back over time. Avoid cheaper, calendered vinyl; it's stiffer, less conformable, and prone to lifting and shrinking, especially on the tight radii of trim pieces.
- 3M 2080 Series: This is my go-to for chrome deletes. It's a 3.5 mil cast film known for its exceptional conformability, repositionability, and an invisible Comply™ adhesive that makes bubble removal a breeze. Available in a vast array of finishes including Gloss Black, Matte Black, Satin Black, and even Carbon Fiber, which can add a unique texture to specific accents.
- Avery Dennison Supreme Wrapping Film (SWF): Another fantastic 3.2 mil cast option. Avery SWF offers similar benefits to 3M 2080, with great conformability and Easy Apply RS™ technology for air release. Their Satin Black and Gloss Black are particularly popular for chrome deletes.
- Oracal 970RA/975 Structure Cast: Oracal's premium cast films (around 4 mil) also perform exceptionally well. The 970RA (RapidAir) is excellent for general trim, while the 975 Structure Cast can offer textured finishes like carbon fiber or brushed metal if you're going for a truly unique look.
For most chrome deletes, you'll likely need 5-10 linear feet of 60-inch wide film. For example, doing all window trims on a mid-size sedan like a Toyota Camry or a Honda Civic typically requires about 5-7 linear feet. A full grille surround on a larger SUV might take 3-4 feet on its own.
The Indispensable Tool List
- Heat Gun: Absolutely non-negotiable. Essential for stretching, post-heating, and conforming vinyl. Look for one with adjustable temperature settings. For most cast vinyl, you’ll be working in the 150-220°F (65-105°C) range for pliability, and post-heating around 200-220°F (93-105°C) to set the memory.
- Squeegees: A variety is best.
- Felt-edged Squeegee: Prevents scratching the vinyl during application. My preference is the 3M Gold PA1 or the Avery ProFlex.
- Hard Plastic Squeegee: For intricate tucking and firm pressure on flat sections.
- Detail Squeegees (like 3M PA1-B Blue or mini squeegees): Crucial for tight corners, channels, and reaching into small gaps.
- Sharp Blades: Always use a fresh, ultra-sharp 30-degree snap-off blade (like Olfa or NT Cutter). Dull blades tear vinyl and leave jagged edges. Snap off a new segment every few cuts.
- Knifeless Tape (e.g., 3M Design Line): This is a game-changer for precise cuts without touching your paint. Essential for clean separation lines, especially on window trims or complex grille pieces.
- Surface Cleaner/Degreaser: Isopropyl Alcohol (IPA) 70% or a dedicated surface prep cleaner like 3M Surface Prep Wipes or Avery Surface Cleaner.
- Lint-Free Microfiber Cloths: To ensure a spotless surface.
- Primer 94 (3M Adhesion Promoter): For critical edges, deep recesses, and areas prone to lifting (e.g., around emblem posts, tight corners). Apply sparingly with a cotton swab or felt dauber.
- Precision Tweezers/Pick Tool: For grabbing small vinyl pieces, removing liners, or manipulating vinyl in tight spots.
- Cutting Mat (if pre-cutting emblems): Protects your work surface.
- Magnets (optional but helpful): To hold larger pieces of vinyl in place before final application.
The Foundation: Meticulous Prep for Unyielding Adhesion
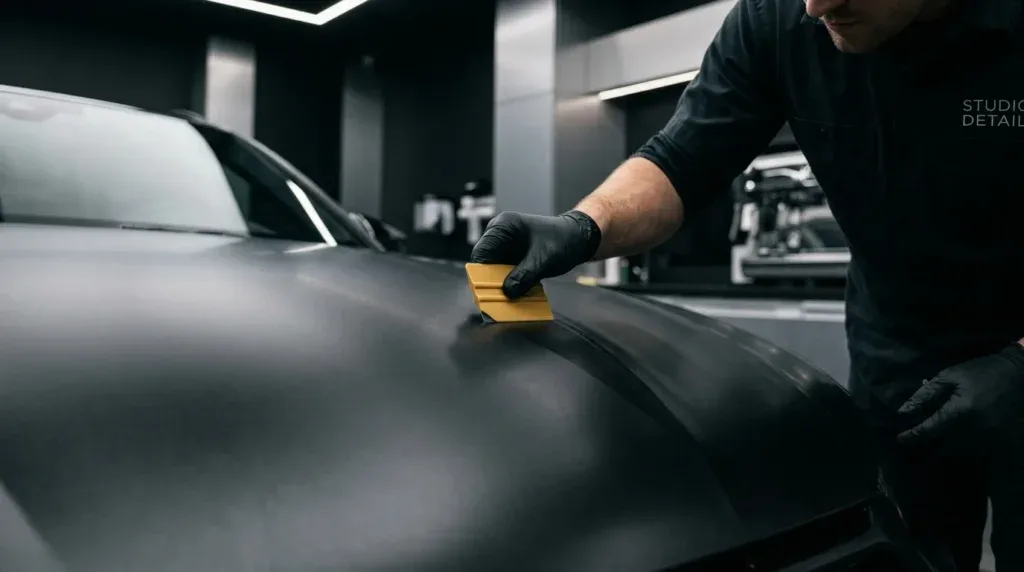
Listen up, this is where most DIY chrome delete projects fail. Poor preparation is the silent killer of any wrap. You can have the best vinyl and the steadiest hand, but if your surface isn't immaculate, your wrap will lift, bubble, and look terrible within weeks. I've seen it countless times.
Step-by-Step Prep Protocol
- Thorough Wash: Start with a complete, deep wash of your vehicle. Pay extra attention to the chrome areas. Use a mild car soap and rinse thoroughly.
- Decontamination (Clay Bar): This step is often skipped but is critical. Chrome trim, just like paint, accumulates road grime, tar, and environmental fallout. A clay bar kit (with a proper lubricant) will lift these embedded contaminants, leaving a perfectly smooth surface for the vinyl to adhere to. Feel the chrome with your fingertips – it should feel like glass.
- Degrease with IPA: After claying, liberally spray the chrome surfaces with 70% Isopropyl Alcohol (IPA) and wipe clean with a fresh, lint-free microfiber cloth. IPA removes any remaining oils, waxes, or residues. Do this twice for good measure.
- Edge Cleaning: Pay special attention to the edges where the chrome meets paint or rubber seals. Use a detail swab or an IPA-soaked cloth wrapped around a credit card to get deep into crevices. This is where lifting typically starts.
- Primer 94 Application (Strategic Use): For areas with extreme curves, tight radii, or where the vinyl will be under constant stress (like the very edge of a door handle or the inner lip of a grille surround), a thin, *even* application of 3M Primer 94 can make all the difference. Apply it *sparingly* with a cotton swab or a small felt dauber *only* to the adhesion surface, let it flash off for a minute or two, then apply your vinyl. Too much primer creates a gummy mess and can make removal harder later.
Ensure your work environment is as clean and dust-free as possible. A garage is ideal. Any dust or debris trapped under the vinyl will be visible and can compromise adhesion.
The Art of Precision: Mastering Tricky Chrome Delete Applications
Now for the fun part – applying the vinyl. This is where patience, technique, and a steady hand come into play. We'll focus on common, challenging areas.
Technique 1: Window Trim (The Long & Lean)
Window trim is arguably the most common chrome delete. It often involves long, thin strips with gentle curves, but also sharp corners and rubber seals.
- Measure & Cut: Measure your trim length and add 2-3 inches on each end for overlap. Cut your vinyl strip about 1/2 to 1 inch wider than the chrome trim.
- Knifeless Tape Placement: For a super clean edge against the paint, run a line of Knifeless Tape just along the edge of the chrome where it meets the paint or the rubber. This allows for a perfect cut without touching your vehicle's finish.
- Tack & Work: Peel back 1-2 inches of the liner from one end. Tack the vinyl down, ensuring it’s perfectly aligned. Apply light heat (around 150°F) to make the vinyl pliable.
- Squeegee Pressure: Using a felt-edged squeegee, apply medium, consistent pressure. Work from the center of the trim outwards, pushing air and wrinkles towards the edges. Keep the vinyl slightly tensioned, but avoid overstretching, especially on long runs, to prevent shrinkage later.
- Dealing with Curves: For gentle curves, use light heat to relax the vinyl, then stretch it *just enough* to conform. For sharper bends, you might need to stretch more aggressively in one direction, then relax and "bridge" the vinyl over the curve using controlled heat.
- Tucking & Trimming: Use a detail squeegee to tuck the excess vinyl under rubber seals or into body gaps. For the Knifeless Tape, pull the filament slowly and steadily to create a perfect cut line. Trim any remaining excess vinyl with your sharp 30-degree blade, always cutting *away* from the vehicle's paint. Leave a small amount of overlap (e.g., 1/8 inch) where the trim meets another panel, if possible, for better adhesion.
Common Mistake: Overstretching the vinyl on curves. This creates thin spots and puts tension on the adhesive, leading to lifting and shrinkage, especially during temperature fluctuations. Use just enough heat and stretch to conform.
Technique 2: Grille Surrounds (The Intricate Beast)
Grille surrounds can be complex due to intricate shapes, tight corners, and often multiple layers of chrome. This is where your detail squeegees and Primer 94 truly shine.
- Sectioning: For complex grilles (e.g., on a Mercedes C-Class or Audi A4), you might need to wrap individual chrome sections rather than attempting one giant piece. This is often easier and yields cleaner results.
- Pre-stretch/Relief Cuts: For deeply recessed areas or sharp internal corners, consider making small relief cuts (not through the chrome, just into the vinyl) to allow the material to lay flat without excessive stretching or bunching.
- Heating & Anchoring: Start by anchoring a flat section of the vinyl. Use focused heat (around 180°F) to manipulate the vinyl into the recesses and around tight bends. Work slowly, pushing the vinyl with your fingers and detail squeegees.
- Primer 94 for Edges: On the very edges and particularly tight inside corners of a grille, dab a tiny amount of Primer 94. Allow it to dry, then firmly squeegee the vinyl into place. This prevents lifting in high-stress areas.
- Post-heating: Once the vinyl is applied and trimmed, post-heat the entire grille area to 200-220°F (93-105°C) to set the vinyl's memory and ensure maximum adhesion. Press firmly with a soft glove or microfiber to activate the adhesive further.
Common Mistake: Not removing all original chrome emblems or badges before wrapping the grille. It’s always best to remove them, wrap the underlying surface, and then reapply or replace the emblem. Trying to wrap *around* an emblem almost guarantees a messy, unprofessional look.
Technique 3: Emblems & Badges (The Small Details)
Emblems are often small but highly visible. For a truly professional look, there are two main approaches:
- Removal & Wrap Separately: This is the cleanest method. Carefully debadge the emblem (using fishing line and heat for adhesive, prying tools for clips). Wrap the emblem piece by piece on a cutting mat. Use a heat gun to conform the vinyl to the curves. Trim carefully with a fresh blade. Reattach using 3M VHB tape or automotive adhesive. This is especially good for intricate badges like those on a Tesla Model 3 or a Ford F-150.
- On-Vehicle Wrap (for simpler emblems): For flatter, simpler emblems (like a block letter "RAM" on a truck tailgate), you can apply a piece of vinyl over the entire emblem. Heat thoroughly (170-190°F), press the vinyl into the contours with your fingers, and use a detail squeegee or even a 3M rivet brush to conform it into all the recessed areas. Then, carefully trim the excess vinyl around the edges with your sharp 30-degree blade. This requires a very steady hand.
Pro Tip: Take a photo of the emblem's exact placement before removal. Use painter's tape to mark its position on the vehicle for perfect reinstallation.
Beyond Installation: Longevity, Maintenance, and When to Call a Pro
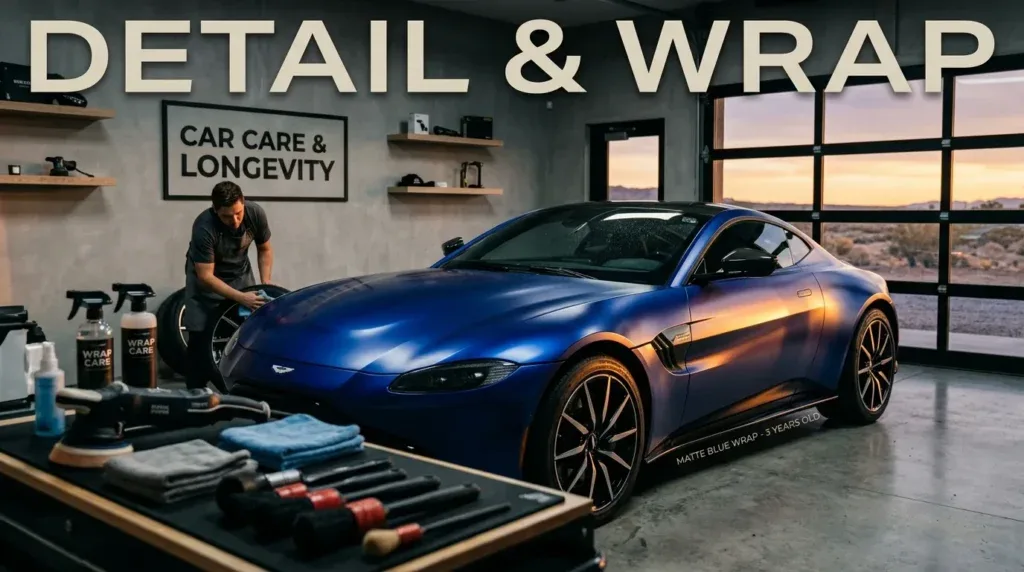
Your chrome delete isn't a "set it and forget it" modification. Proper care will ensure it looks pristine for its full lifespan, typically 5-7 years for quality cast vinyl.
Maintenance & Cleaning for Vinyl Wraps
- Regular Washing: Hand wash with a pH-neutral car soap and a soft microfiber mitt every 1-2 weeks. Avoid automatic car washes, especially those with brushes, as they can scratch the vinyl or lift edges.
- Spot Cleaning: For bugs or bird droppings, clean immediately with a dedicated vinyl cleaner or a mild soap solution.
- Avoid Harsh Chemicals: Do NOT use abrasive cleaners, wax, polish, or solvents on your vinyl. These can damage the finish, especially on matte or satin films.
- Waxing/Sealants (Specific Types): While traditional car wax is a no-go for vinyl, there are specific ceramic spray coatings or sealants designed for matte and gloss wraps (e.g., Chemical Guys Matte Auto Wash & Seal, Adam's Polishes Ceramic Boost). These can add a layer of protection and make cleaning easier without altering the finish. Always test on an inconspicuous area first.
- Post-Heating Check: Periodically (every 6-12 months), check all edges and corners for any signs of lifting. A quick pass with a heat gun (180-200°F) and a firm press can reactivate the adhesive and prevent further lifting.
DIY vs. Professional: A Cost-Benefit Analysis (2025-2026 Estimates)
Deciding between DIY and professional installation often comes down to budget, skill, and complexity.
- DIY Costs:
- Materials: For a typical mid-size sedan's window trim, expect to spend $50-$100 on 3M 2080 or Avery SWF film (5-7 linear feet).
- Tools: A starter kit (heat gun, squeegees, blades, IPA) might run $100-$200. If you already have some, less.
- Time & Patience: This is the hidden cost. Expect to spend 4-8 hours for your first window trim job, potentially much more for complex grilles. Mistakes mean wasted material and frustration.
- Total DIY (materials + basic tools, for a simple job): $150-$300.
- Professional Installation Costs: These prices vary widely based on vehicle type, complexity, and shop location. These are estimates for 2025-2026.
- Window Trim Only (mid-size sedan): $250 - $450
- Grille Surround Only (complex SUV/sedan): $300 - $700
- Emblems/Badges (per emblem, removed & wrapped): $50 - $150
- Roof Rails Only (SUV/Wagon): $200 - $400
- Full Chrome Delete (all exterior chrome on a typical sedan/small SUV like a 2024 Honda CR-V or a Lexus IS): $700 - $1,500. This might include window trim, grille, emblems, door handles, and roof rails.
- Full Chrome Delete (larger, more complex vehicles like a Ford F-150 crew cab or a BMW X5): $1,000 - $2,000+. The extra labor for intricate pieces and larger surface areas adds up.
When to Call a Pro: If you're tackling a complex, multi-piece grille, deeply recessed door handles, or if you simply don't have the time or patience for meticulous detail, hiring a reputable professional is a wise investment. A professional wrap shop has the experience, specialized tools, and controlled environment to ensure a factory-like finish that will last. They also offer warranties on their work, which provides peace of mind.
My advice? For a complete beginner, start with a small, flat, less visible piece of chrome (e.g., a simple trim piece on an older car). Get comfortable with the material, the heat gun, and the squeegee. Once you've mastered the basics, then consider more visible or complex areas. But for something like a full chrome delete on a new 2025 Tesla Model Y, which has very tight tolerances and intricate trim, I'd strongly recommend a professional to ensure that pristine, "factory" look you're after.
A chrome delete isn't just about changing a color; it's about transforming the character of your vehicle. With the right knowledge, tools, and a healthy dose of patience, you can achieve a sleek, modern, and utterly unique look that will turn heads for all the right reasons. Happy wrapping!